
advent-window
We live in Newnham Croft in Cambridge. It has a very active community group, and over Christmas 2024 the group organised an window based advent calendar.
Each terrace house that signed up was assigned a date leading up to Christmas. They each had to decorate the window and make the date visible somewhere in the display.
I initially was not super into it - in previous years people had made paper / 2D displays stuck to the windows, christmas lights, etc. But I went on a work trip to Mexico and thus had 20+ hours of plane time to doodle.
I ended up looking at old Macy’s shop window displays to see how they managed to create the illusion of depth. I decided to use the window front as the hypotenuse of a right tri to get enough depth to build a small room.


rhino
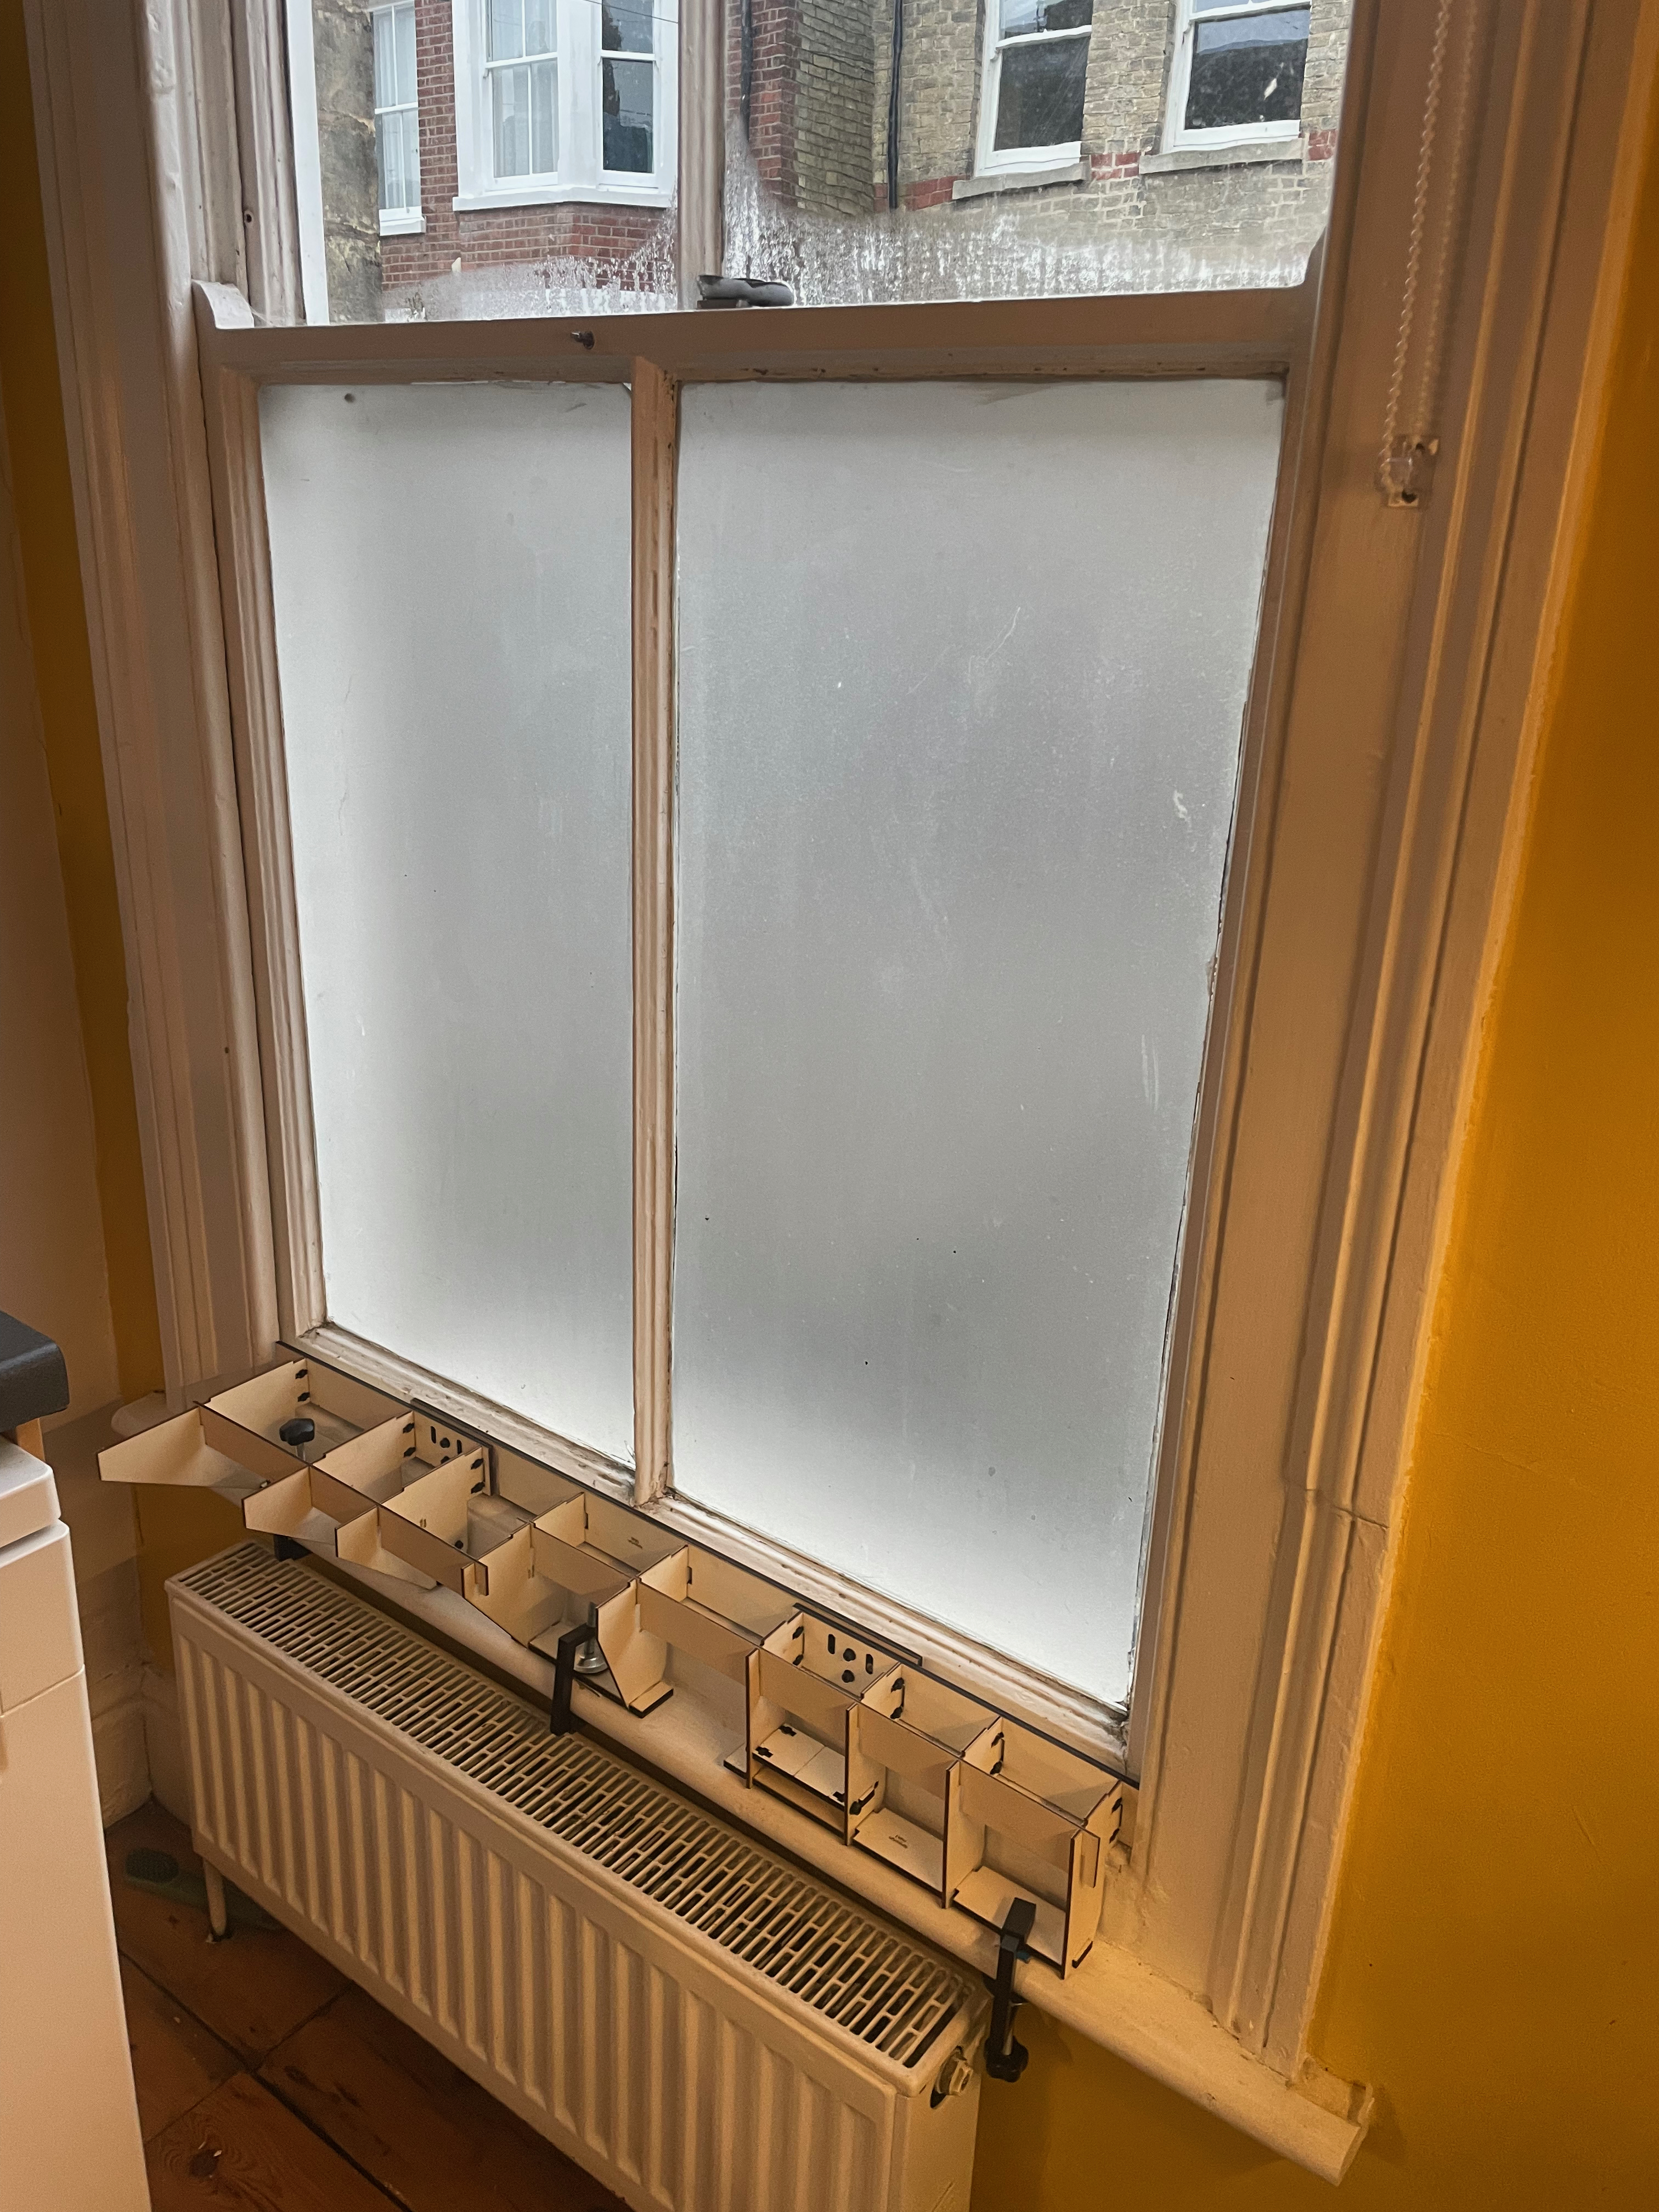
First job was to measure the window and work out how to support it. There were 2 preexisting window pulls on the window pane itself. Above the window, there were a few mounting holes for the blinds. I tried to use all these holes to fasten the display.Over 2 nights I speed-cadded the room. I split it into 3 major components:
1. base support mounted to the window pull holes
2. ceiling / sky support mounted to the top of the window and blinds mounting holes
3. the display itself
I had to be fairly organised to design something structurally sound and decorative and assemblable.
I had ideas of adding lights /power sockets etc etc so added holes and cable routing everywhere.
Laser
I used the laser at the Makerspace and blasted it out all in one night. I used a packing script in Grasshopper called OpenNest to get really nice nesting for the laser, and ended up making very little waste wood.


There ended up being >100 unique pieces ! So here I felt the need to label each one, especially since many were only slightly different. To deal with this i wrote a little Grasshopper script to: label each piece with its layer name and then a unique ID based on its calculated area.
Install
Install and assembly was easy. There were a few missed Boolean unions but the birch was so soft it was easy to make edits with a knife.
[assy pic]


I designed it to use a few t-slots and then have everything else slot into each other. But at some point I just decided to add hot glue to deal with the tolerances.
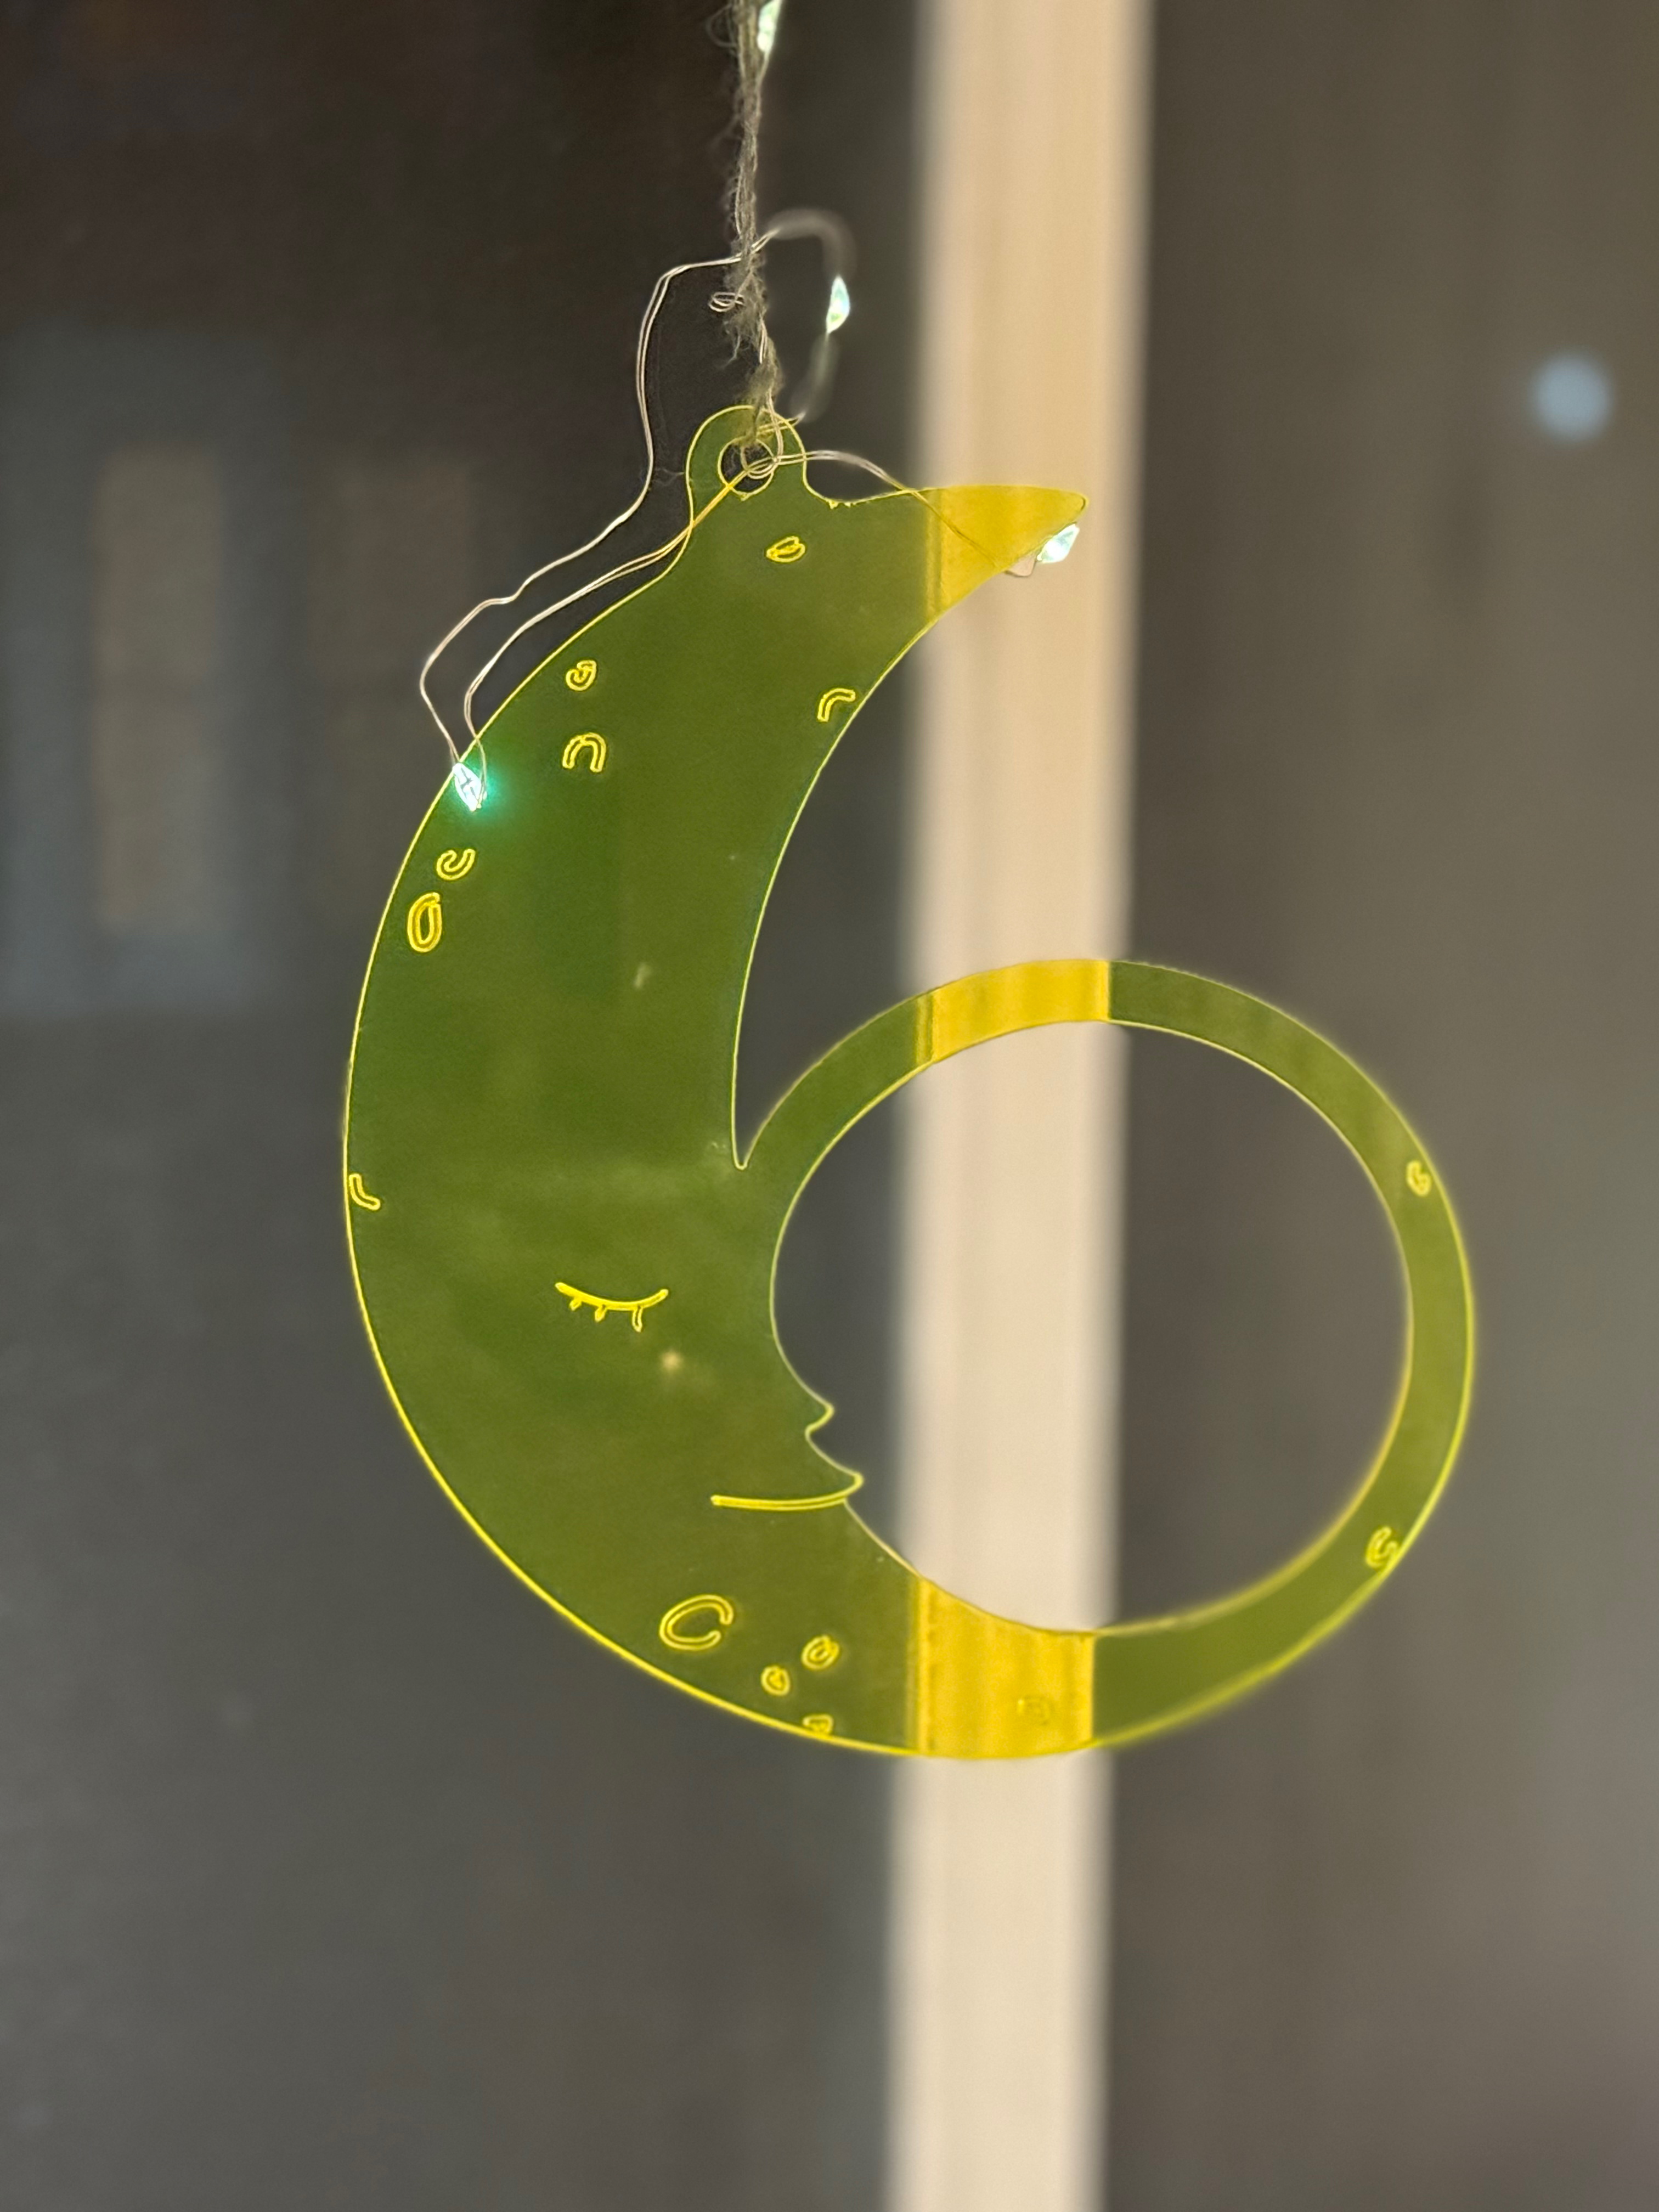
By this time it was late on the night before so I just slapped on an LED strip to illuminate the room
paint
We painted the birch with some wood stain and other alcohol dyes. It was super quick.
I had also sourced a bunch of mini christmas decorations and doll-house objects (tiny dog!) to place inside.
servos
The main excitement of this was to have Santa pop up and down the chimney. I printed some santa boots to pop out the top, spring loaded to return upwards. A servo pulled them down the chimney, and lowered a little pressie into the fireplace.Initially i set up a PIR sensor to trigger when someone walked past, but it was too noisy and unreliable, so I just added a big button for people to press.


