
Big Plotter
Justin, 2023 ongoingA classic case of a small need turning into a new idea turning into a bigger project turning into a CNC machine
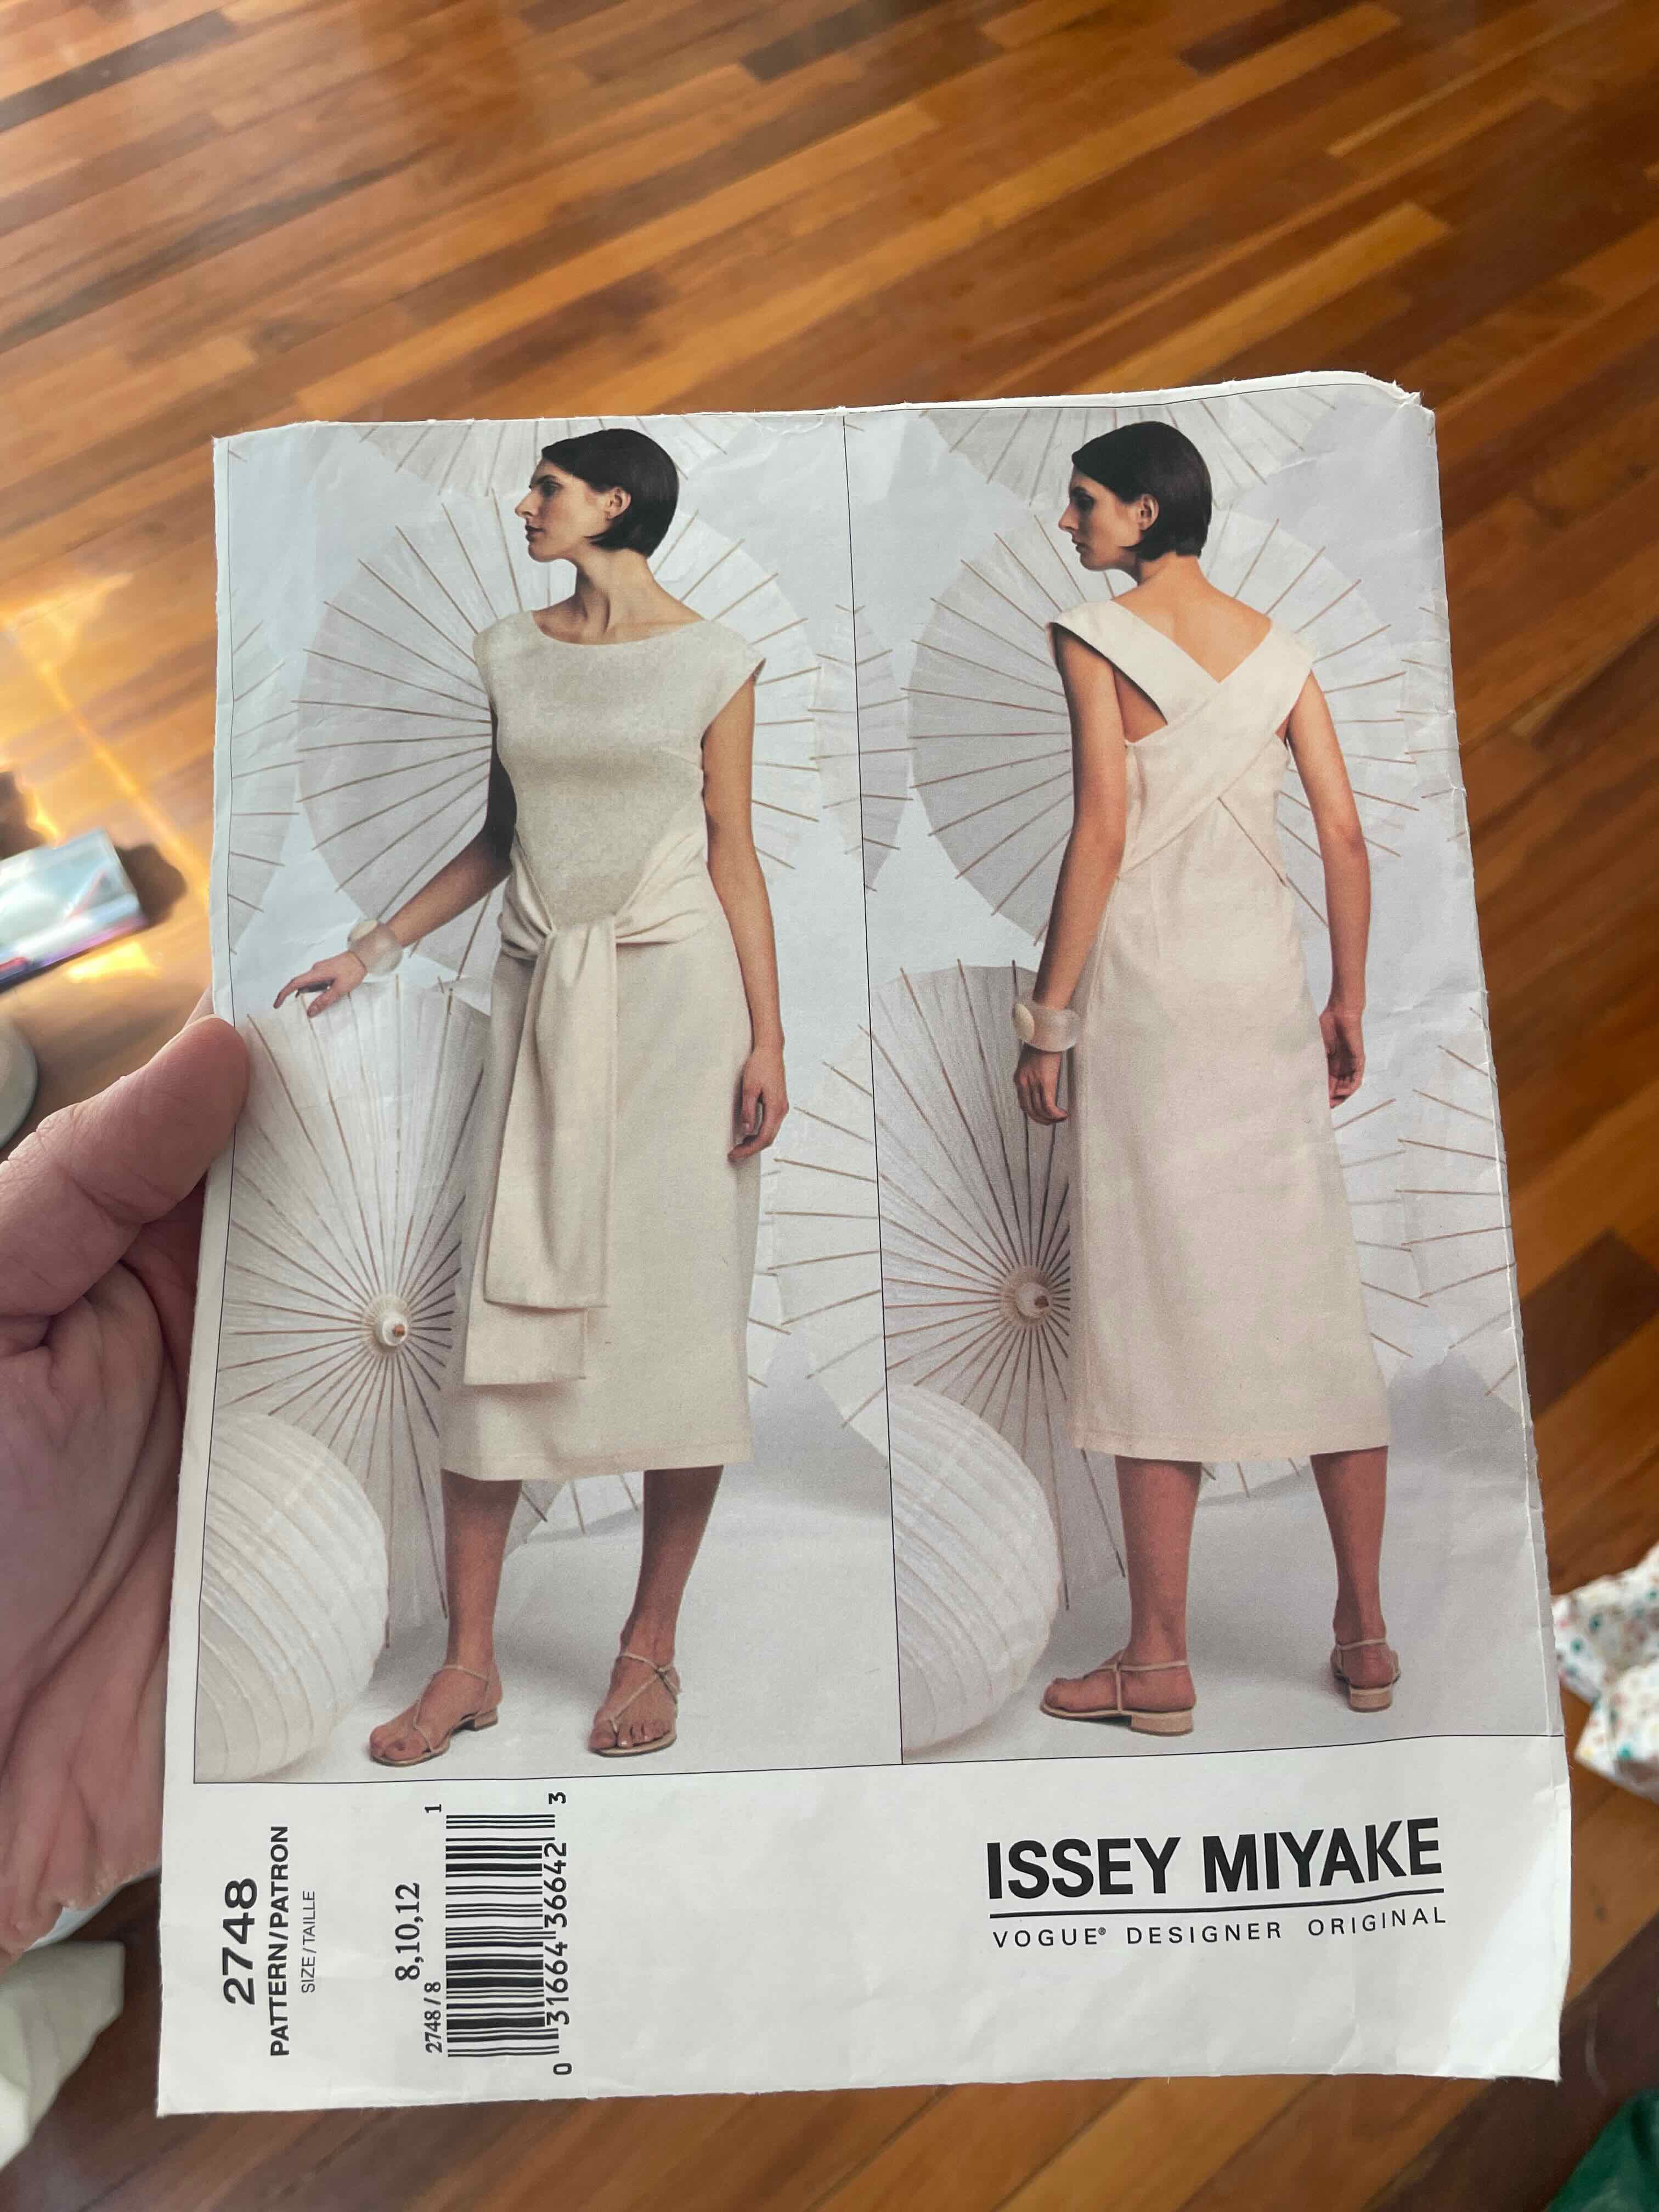
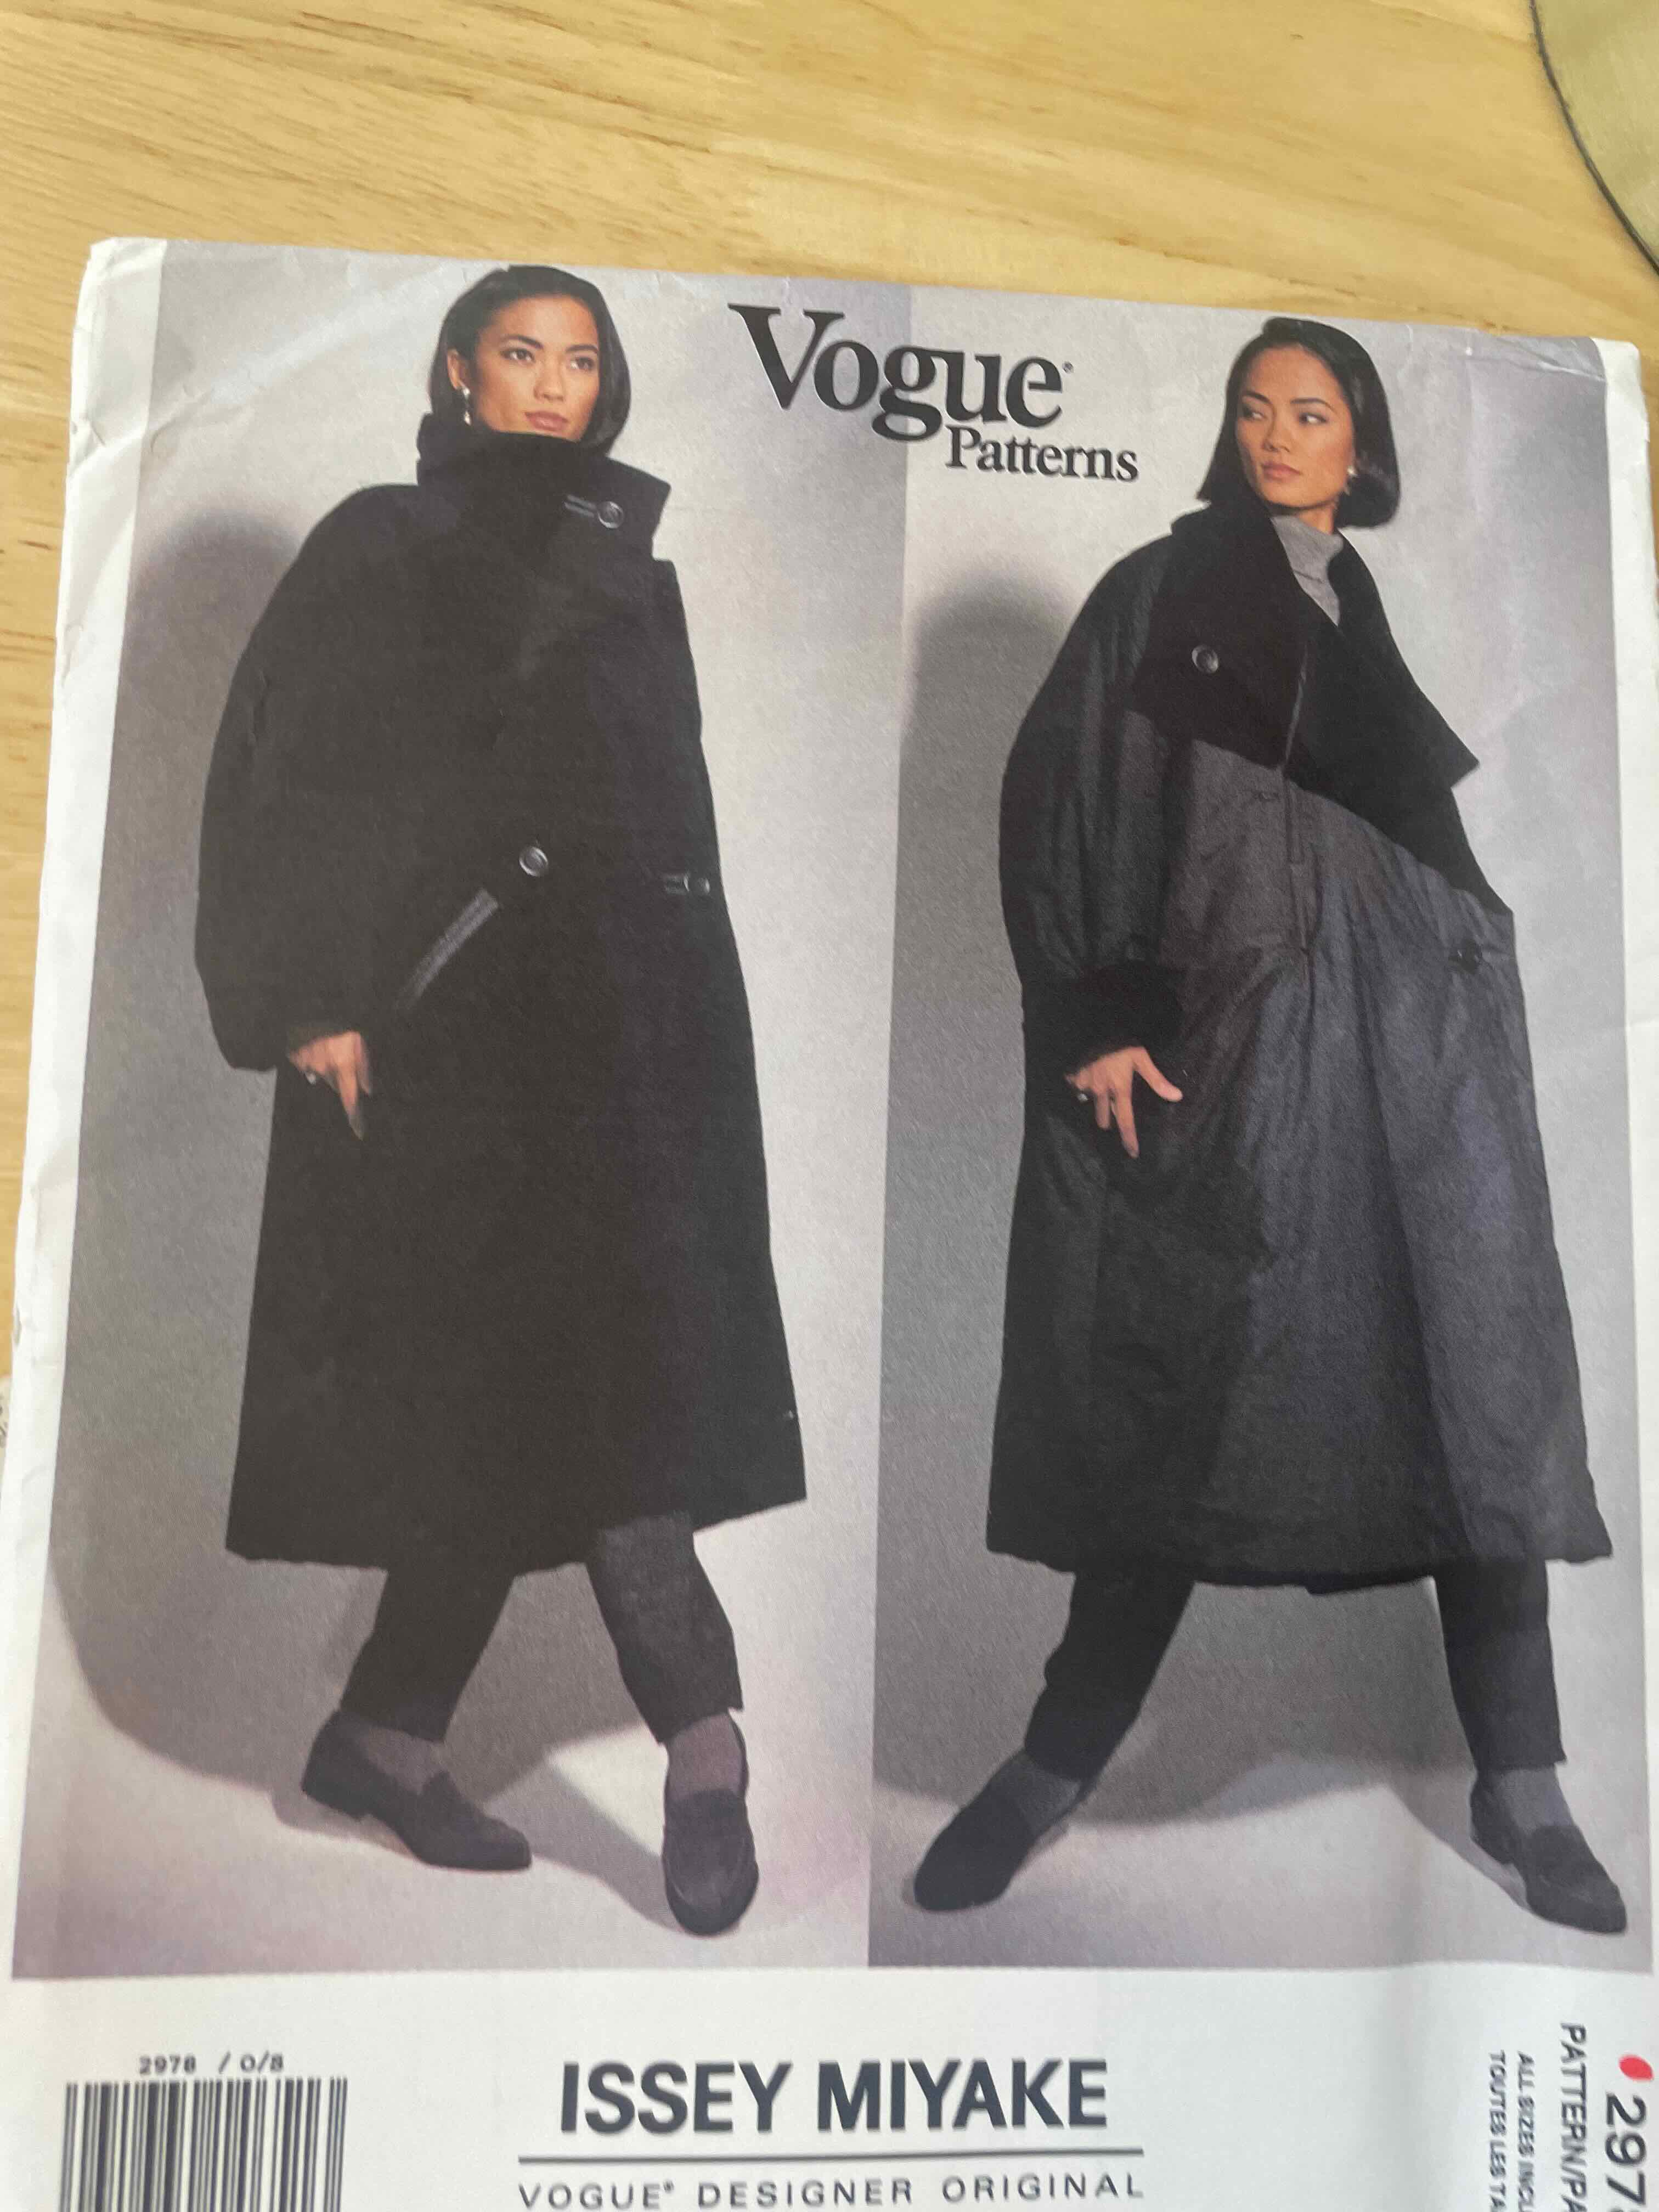
A few years ago I found some vintage (1980’s) vogue Issey Miyake patterns. I finally felt like sewing these (they are quite involved), but the fragility of the ~40 year old tracing paper made it worrying to handle.
I decided I needed a way to digitise these patterns. Manully taking photos then tracing works okay; I have tried it before on other drafting projects (see barbera coat), but it is hard to do accurately. There is a lot of distortion, lighting, overlap etc that is hard to deal with.
So I decided I needed to take repeatable images of the pattern, and know where my camera is (i.e. a scanner). Though the pattern pages fit into an A5 envelope, unfolded some are >1m in long dimension (these are mostly coats). So the working area had to be quite large. I settled on 4’ x 4’ based on dimensions of scrap in the garage.
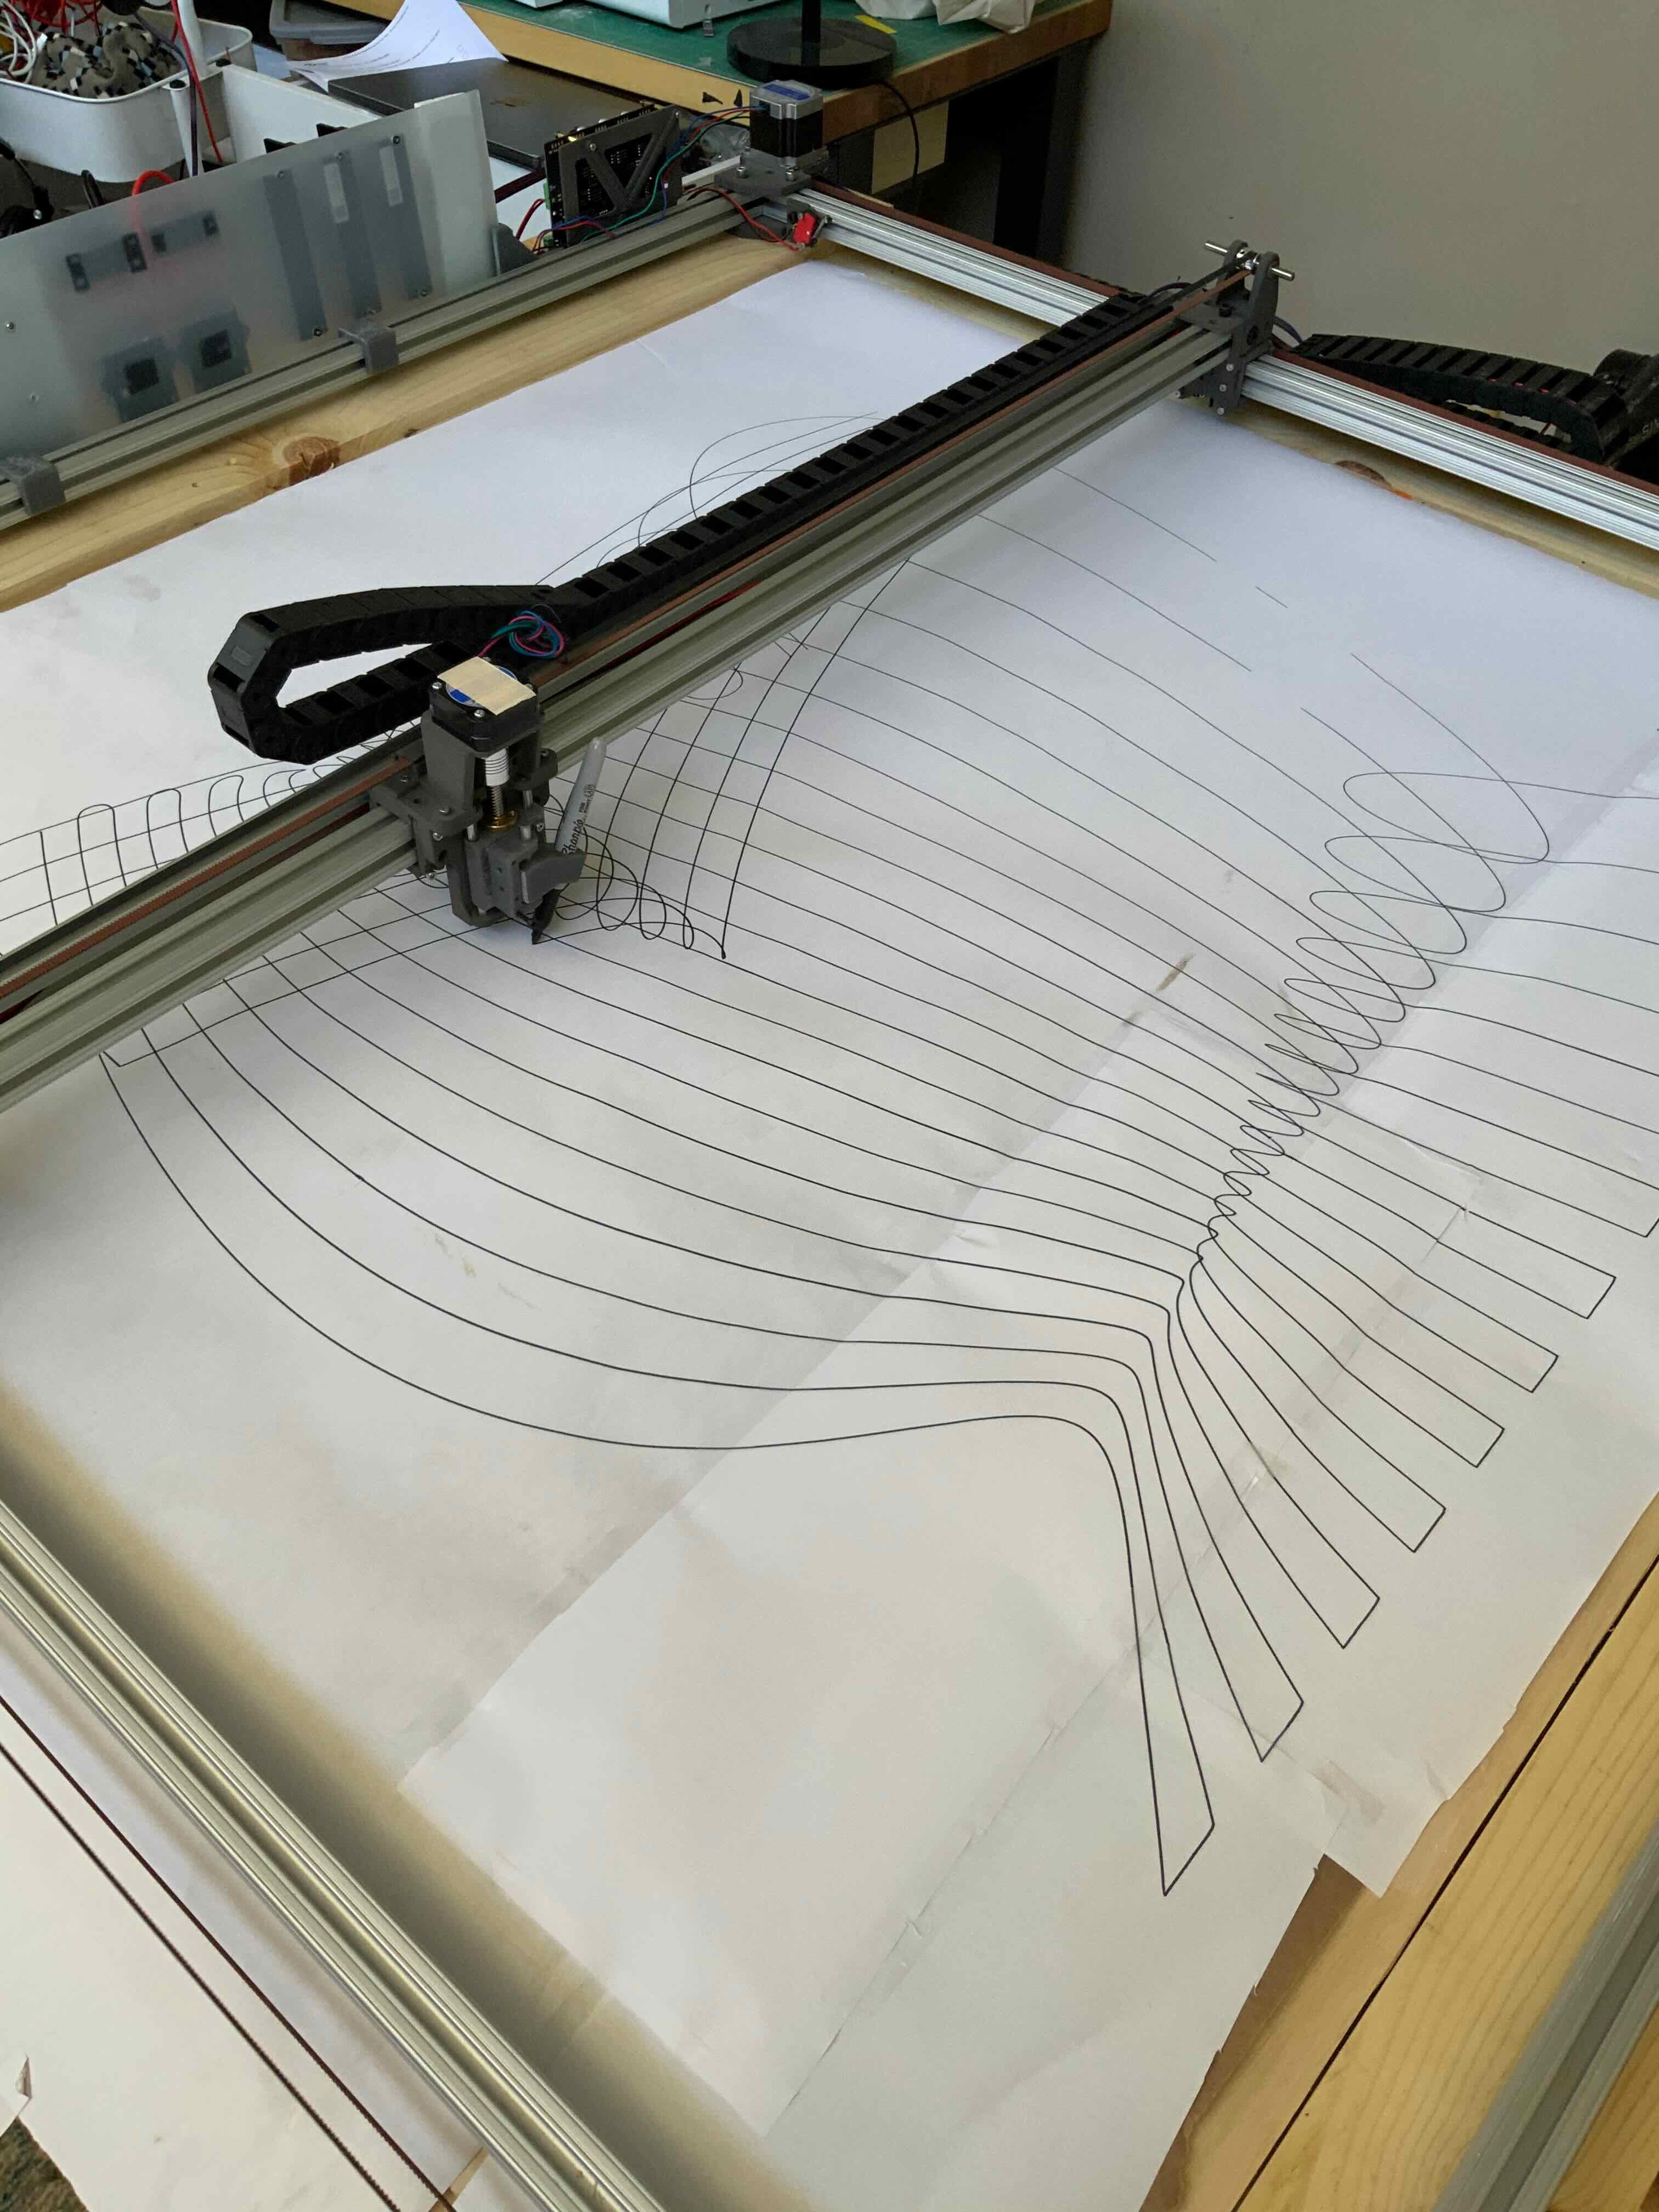
Originally I thought this could be passive - maybe some encoders on a frame that measured where my camera was for each photo, but I thought why not turn it into 2 axis CNC setup. Then I could plot/cut out whatever I digitise.
It’s only a couple of motors, some belts, an MCU, quite a few drivers, power supplies, wire, and more robust lienar rails, right?
I decided I needed a way to digitise these patterns. Manully taking photos then tracing works okay; I have tried it before on other drafting projects (see barbera coat), but it is hard to do accurately. There is a lot of distortion, lighting, overlap etc that is hard to deal with.
So I decided I needed to take repeatable images of the pattern, and know where my camera is (i.e. a scanner). Though the pattern pages fit into an A5 envelope, unfolded some are >1m in long dimension (these are mostly coats). So the working area had to be quite large. I settled on 4’ x 4’ based on dimensions of scrap in the garage.
Originally I thought this could be passive - maybe some encoders on a frame that measured where my camera was for each photo, but I thought why not turn it into 2 axis CNC setup. Then I could plot/cut out whatever I digitise.
It’s only a couple of motors, some belts, an MCU, quite a few drivers, power supplies, wire, and more robust lienar rails, right?
I took a lot of instruction/lessons learned from Maniacal labs’ Cyberplotter. I already owned a smoothieboard, but any other CNC control board would work. They are quite cheap now compared to when I got my smoothie. I used a similar standard 2 drive motor to actuate the gantry, and single motor to actuate the toolhead.
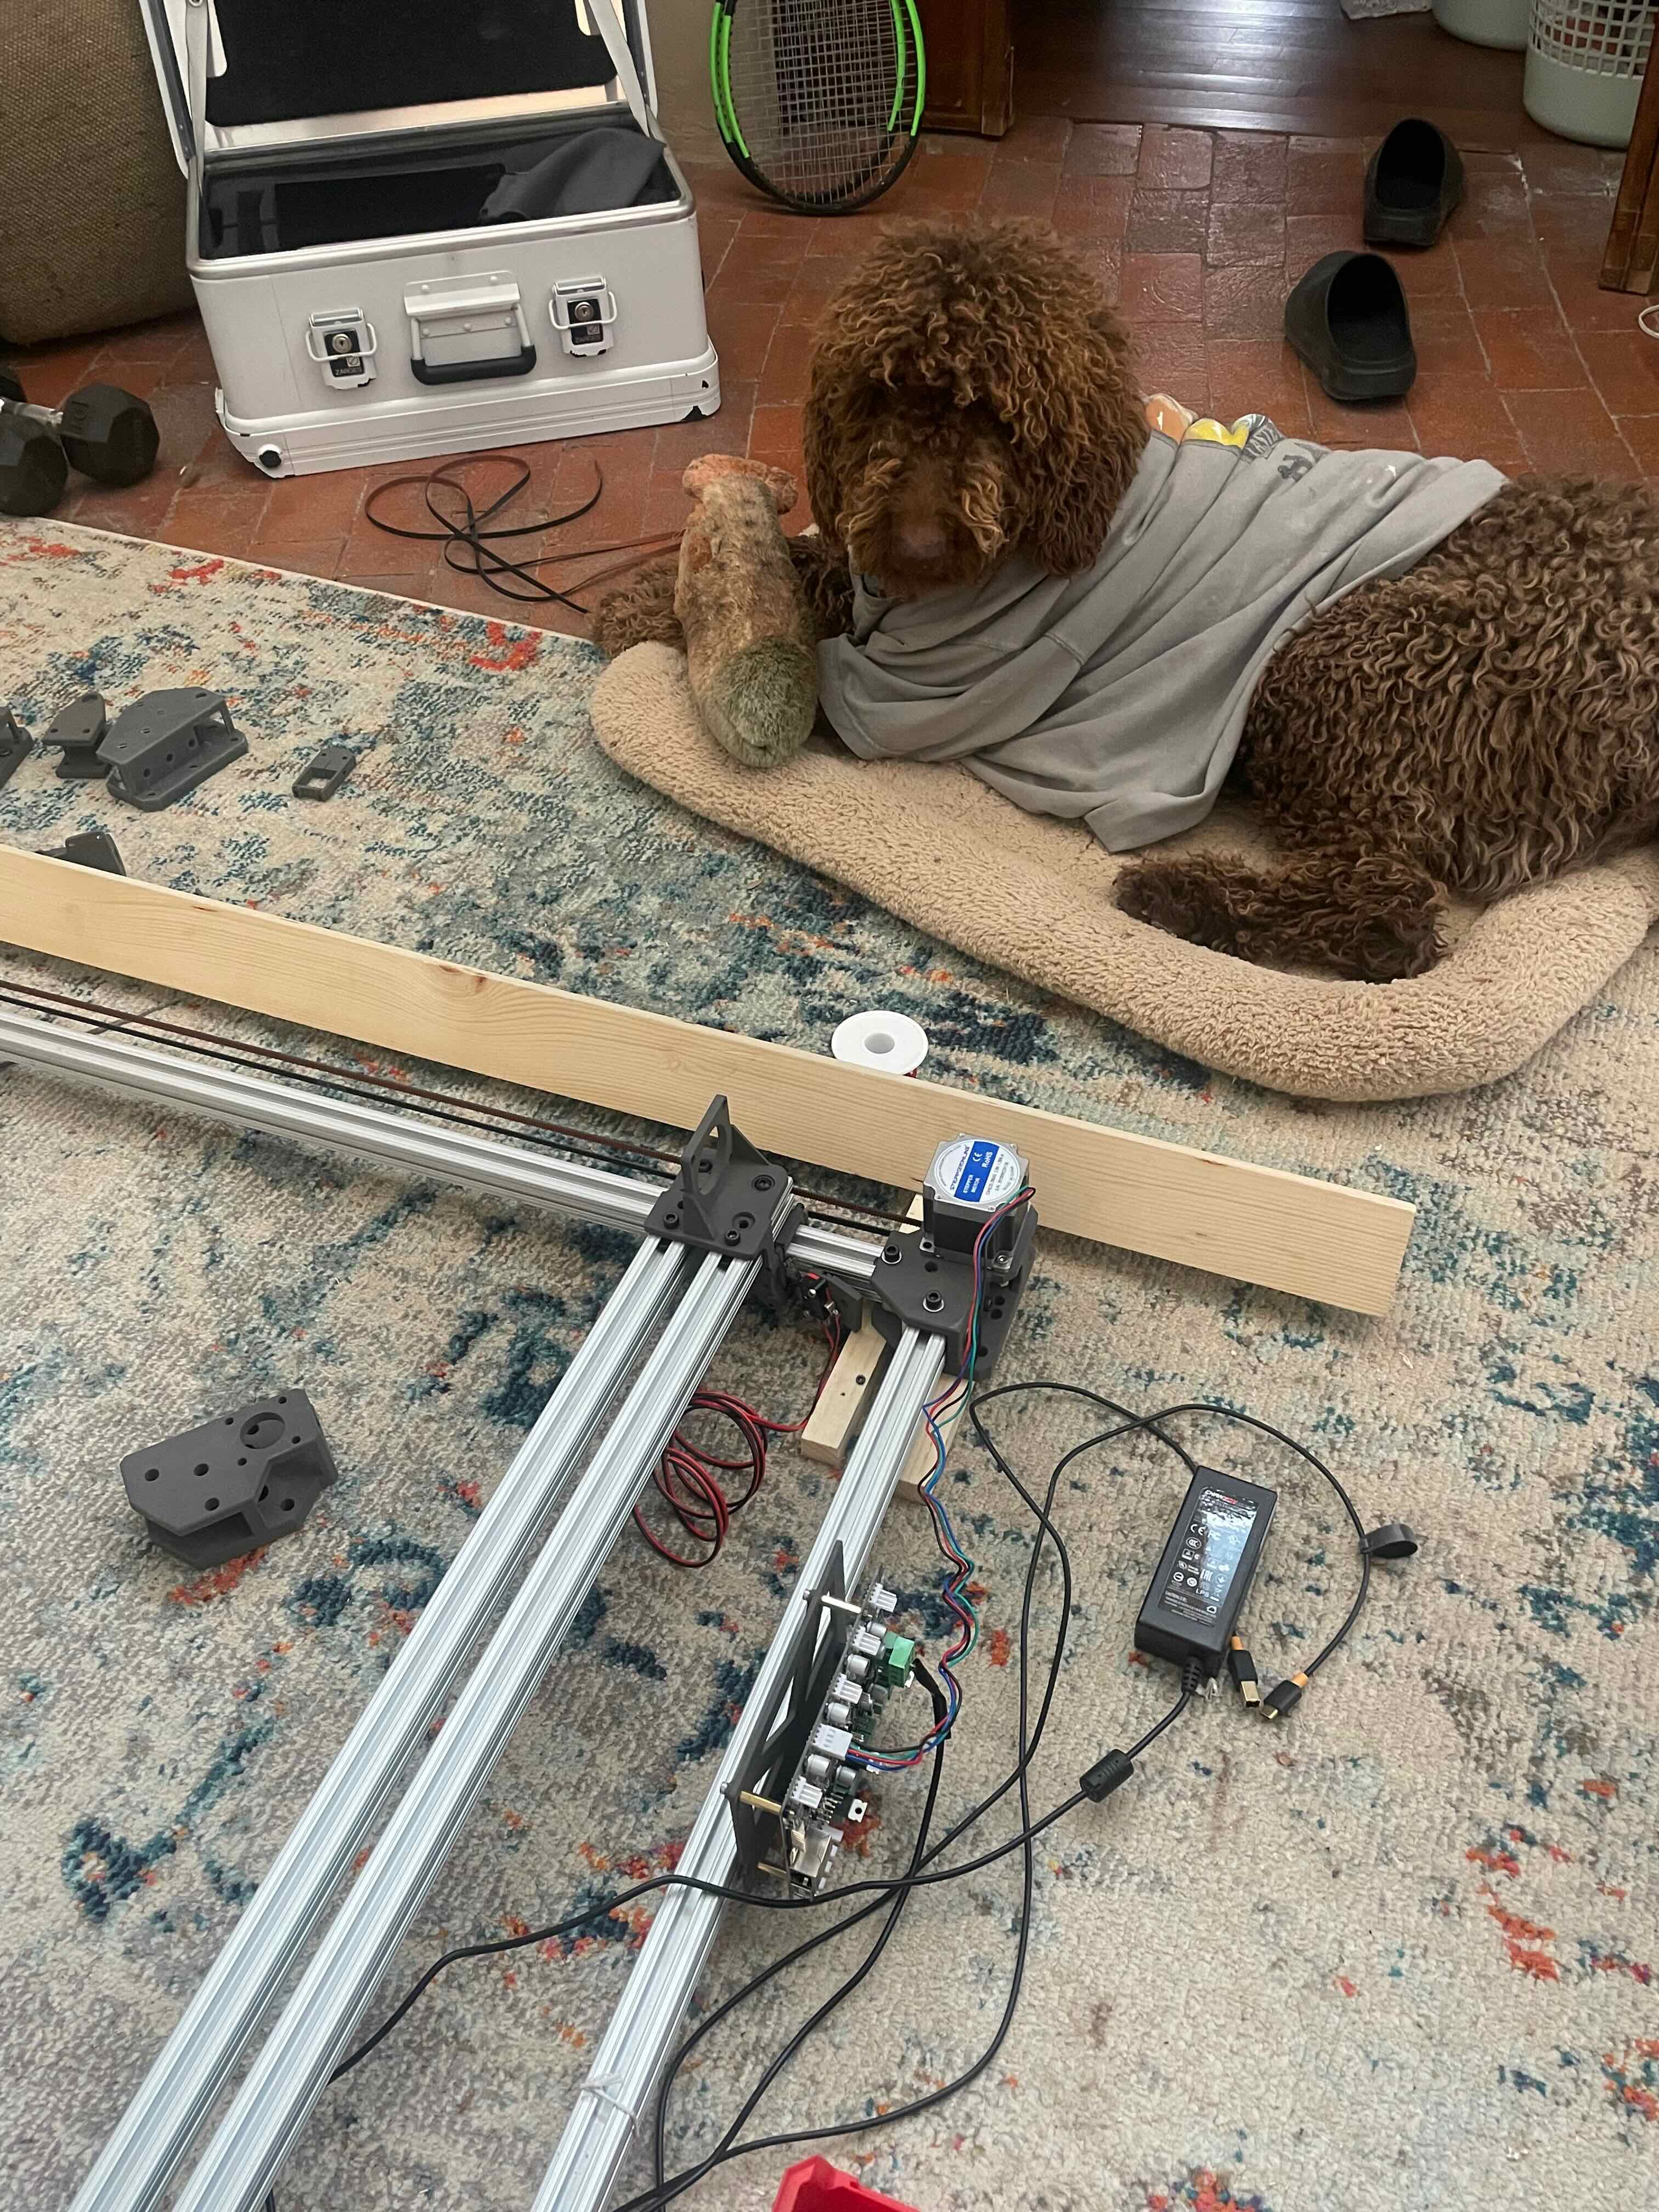
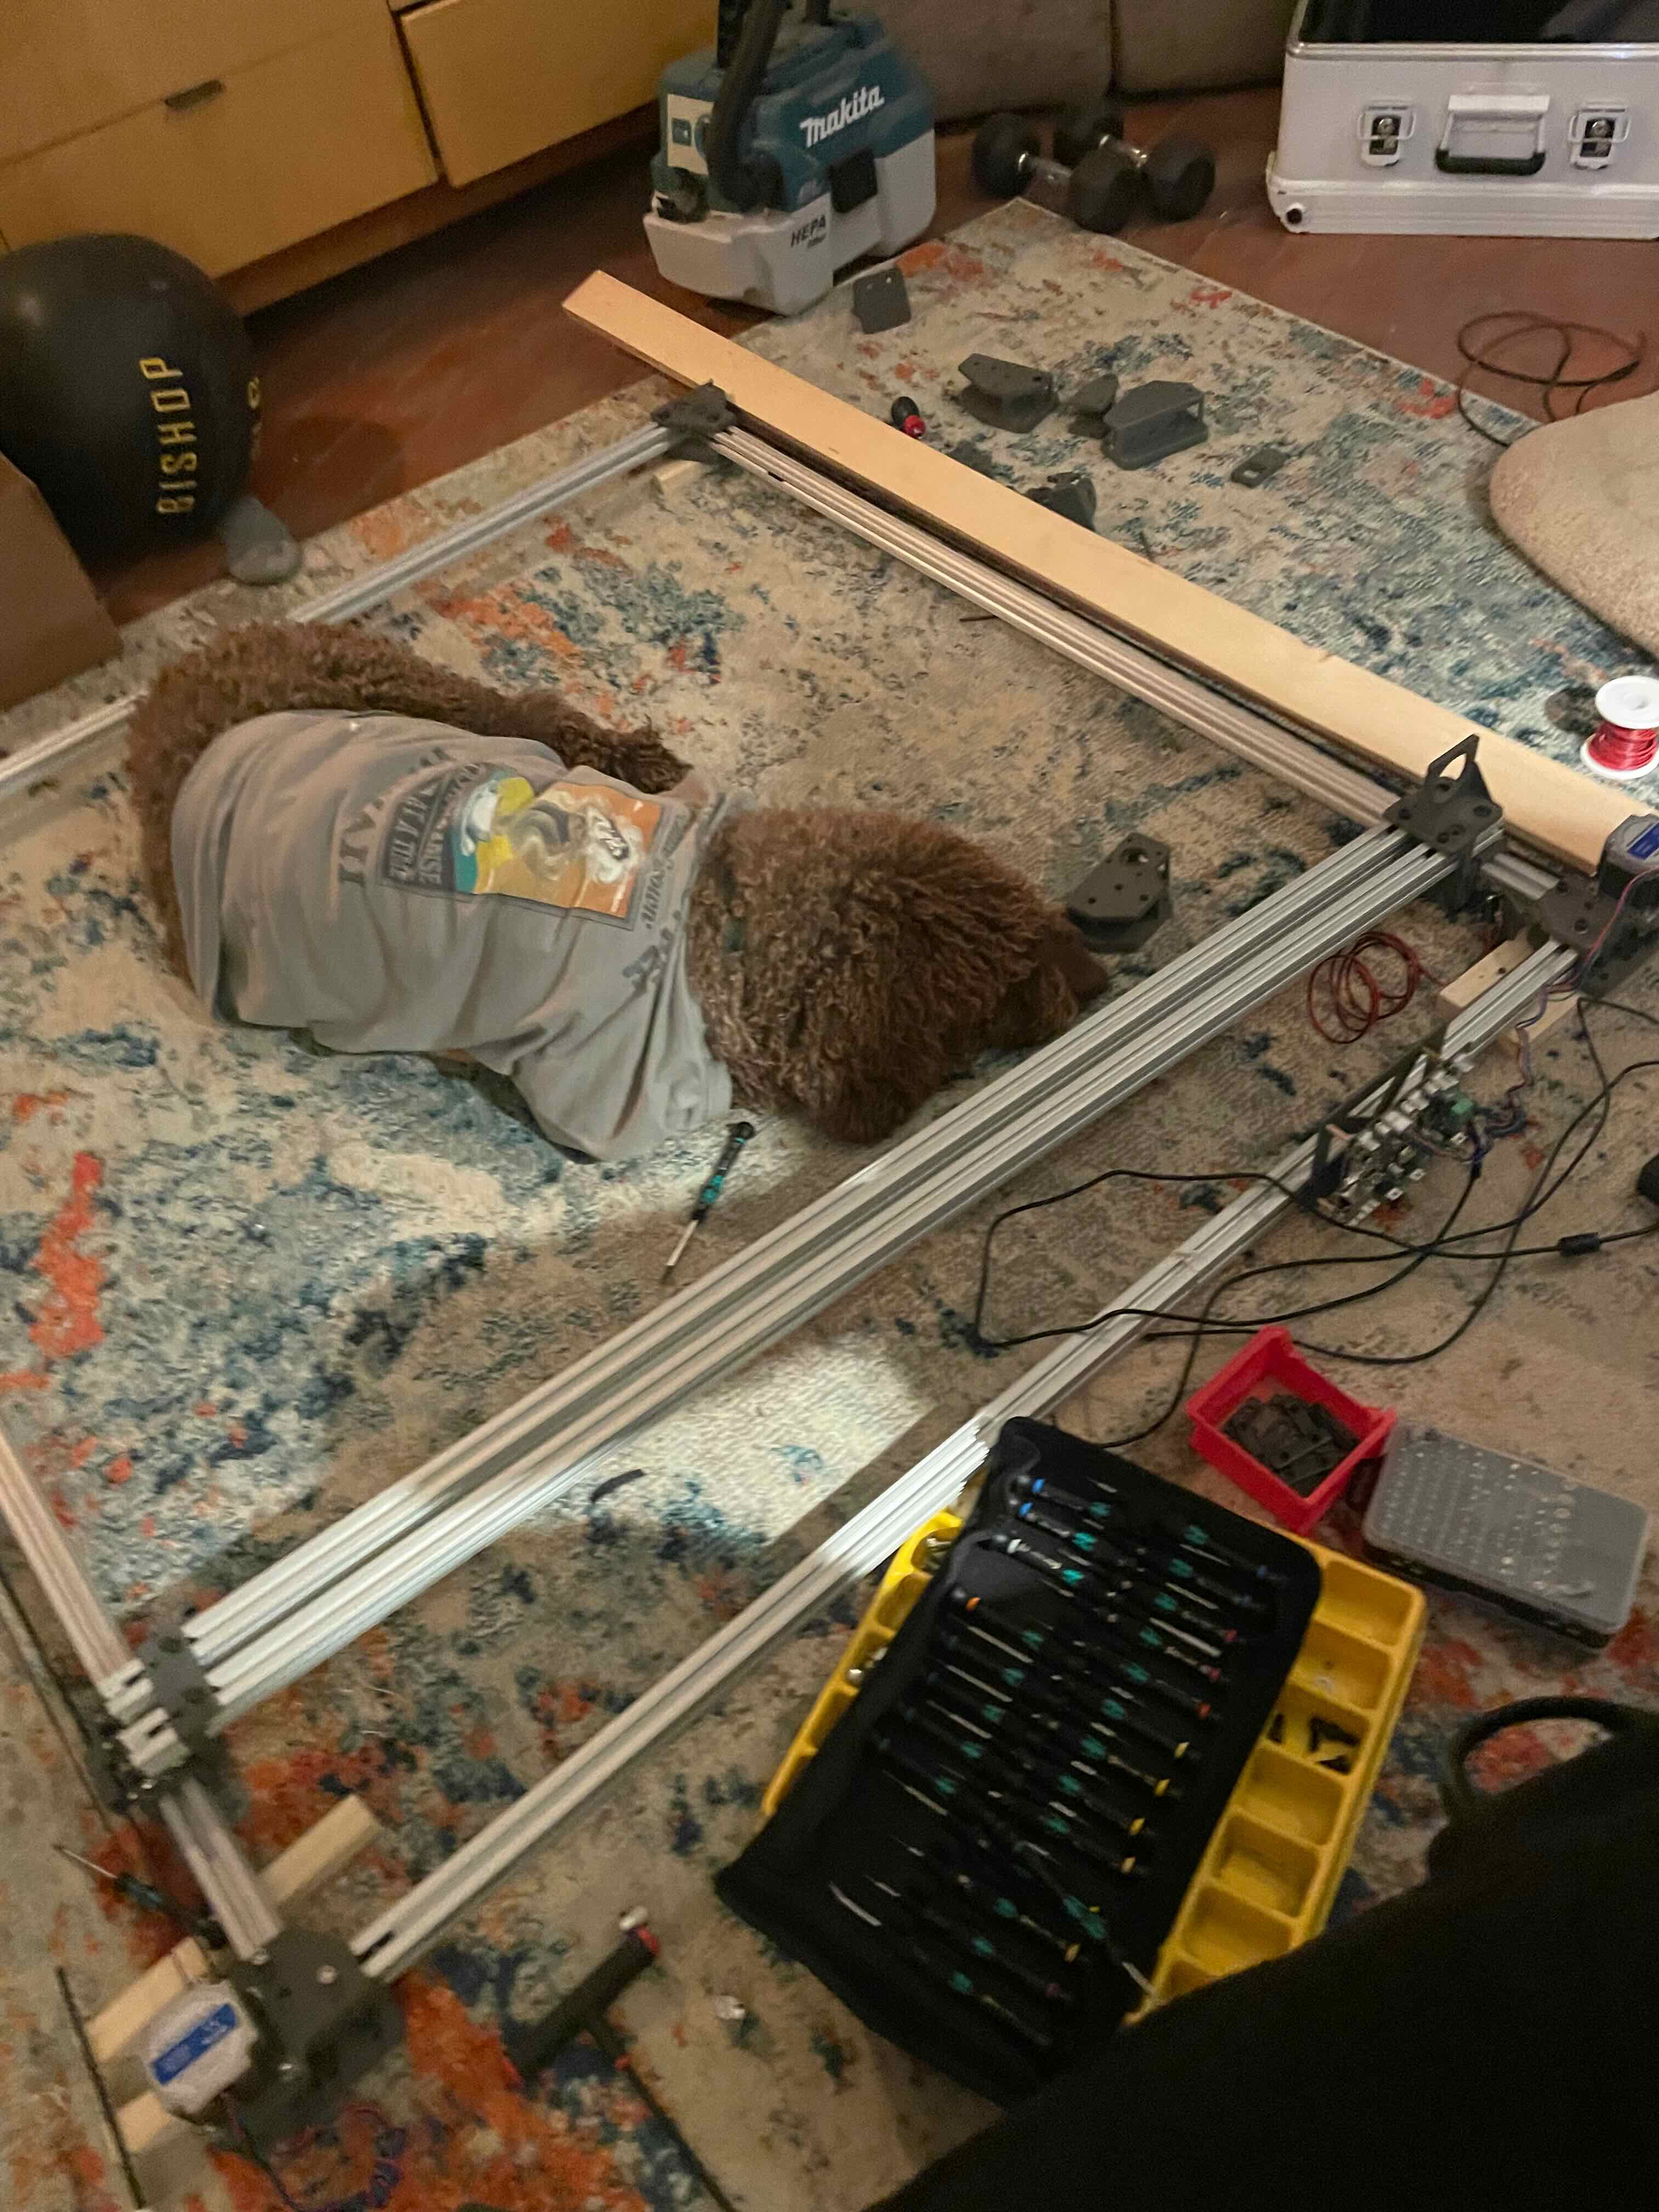
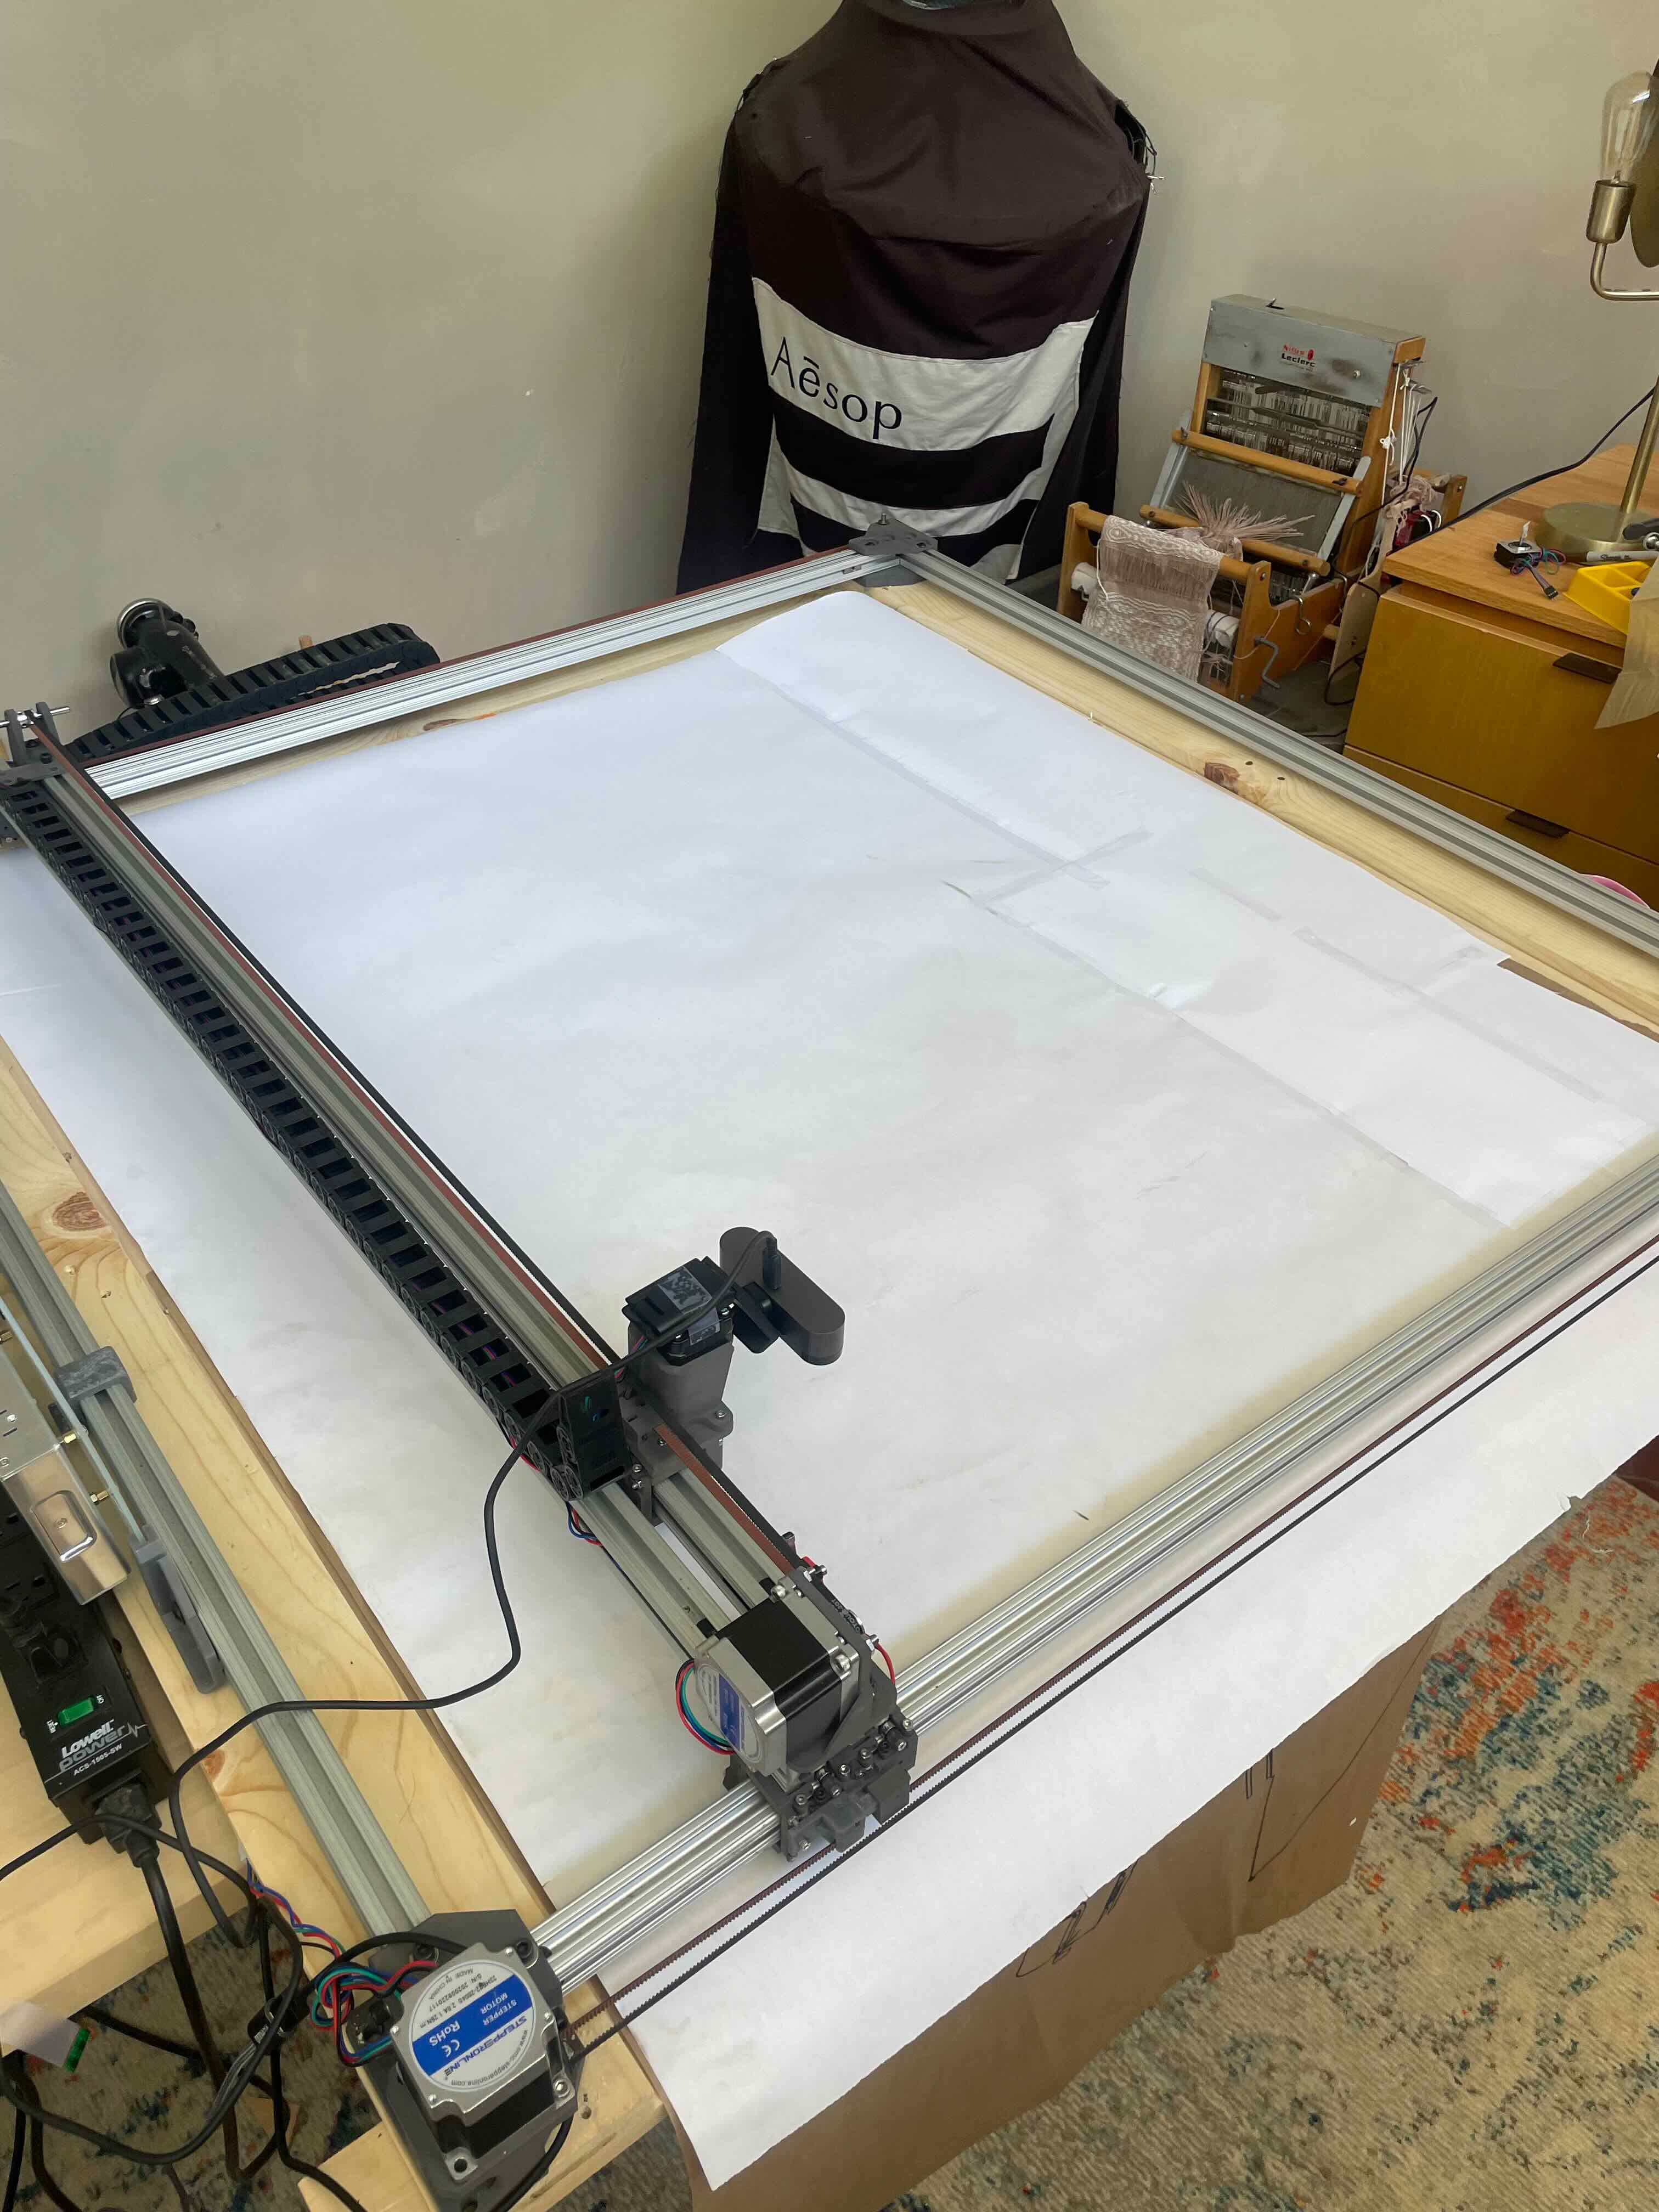
Linear carriages and frame
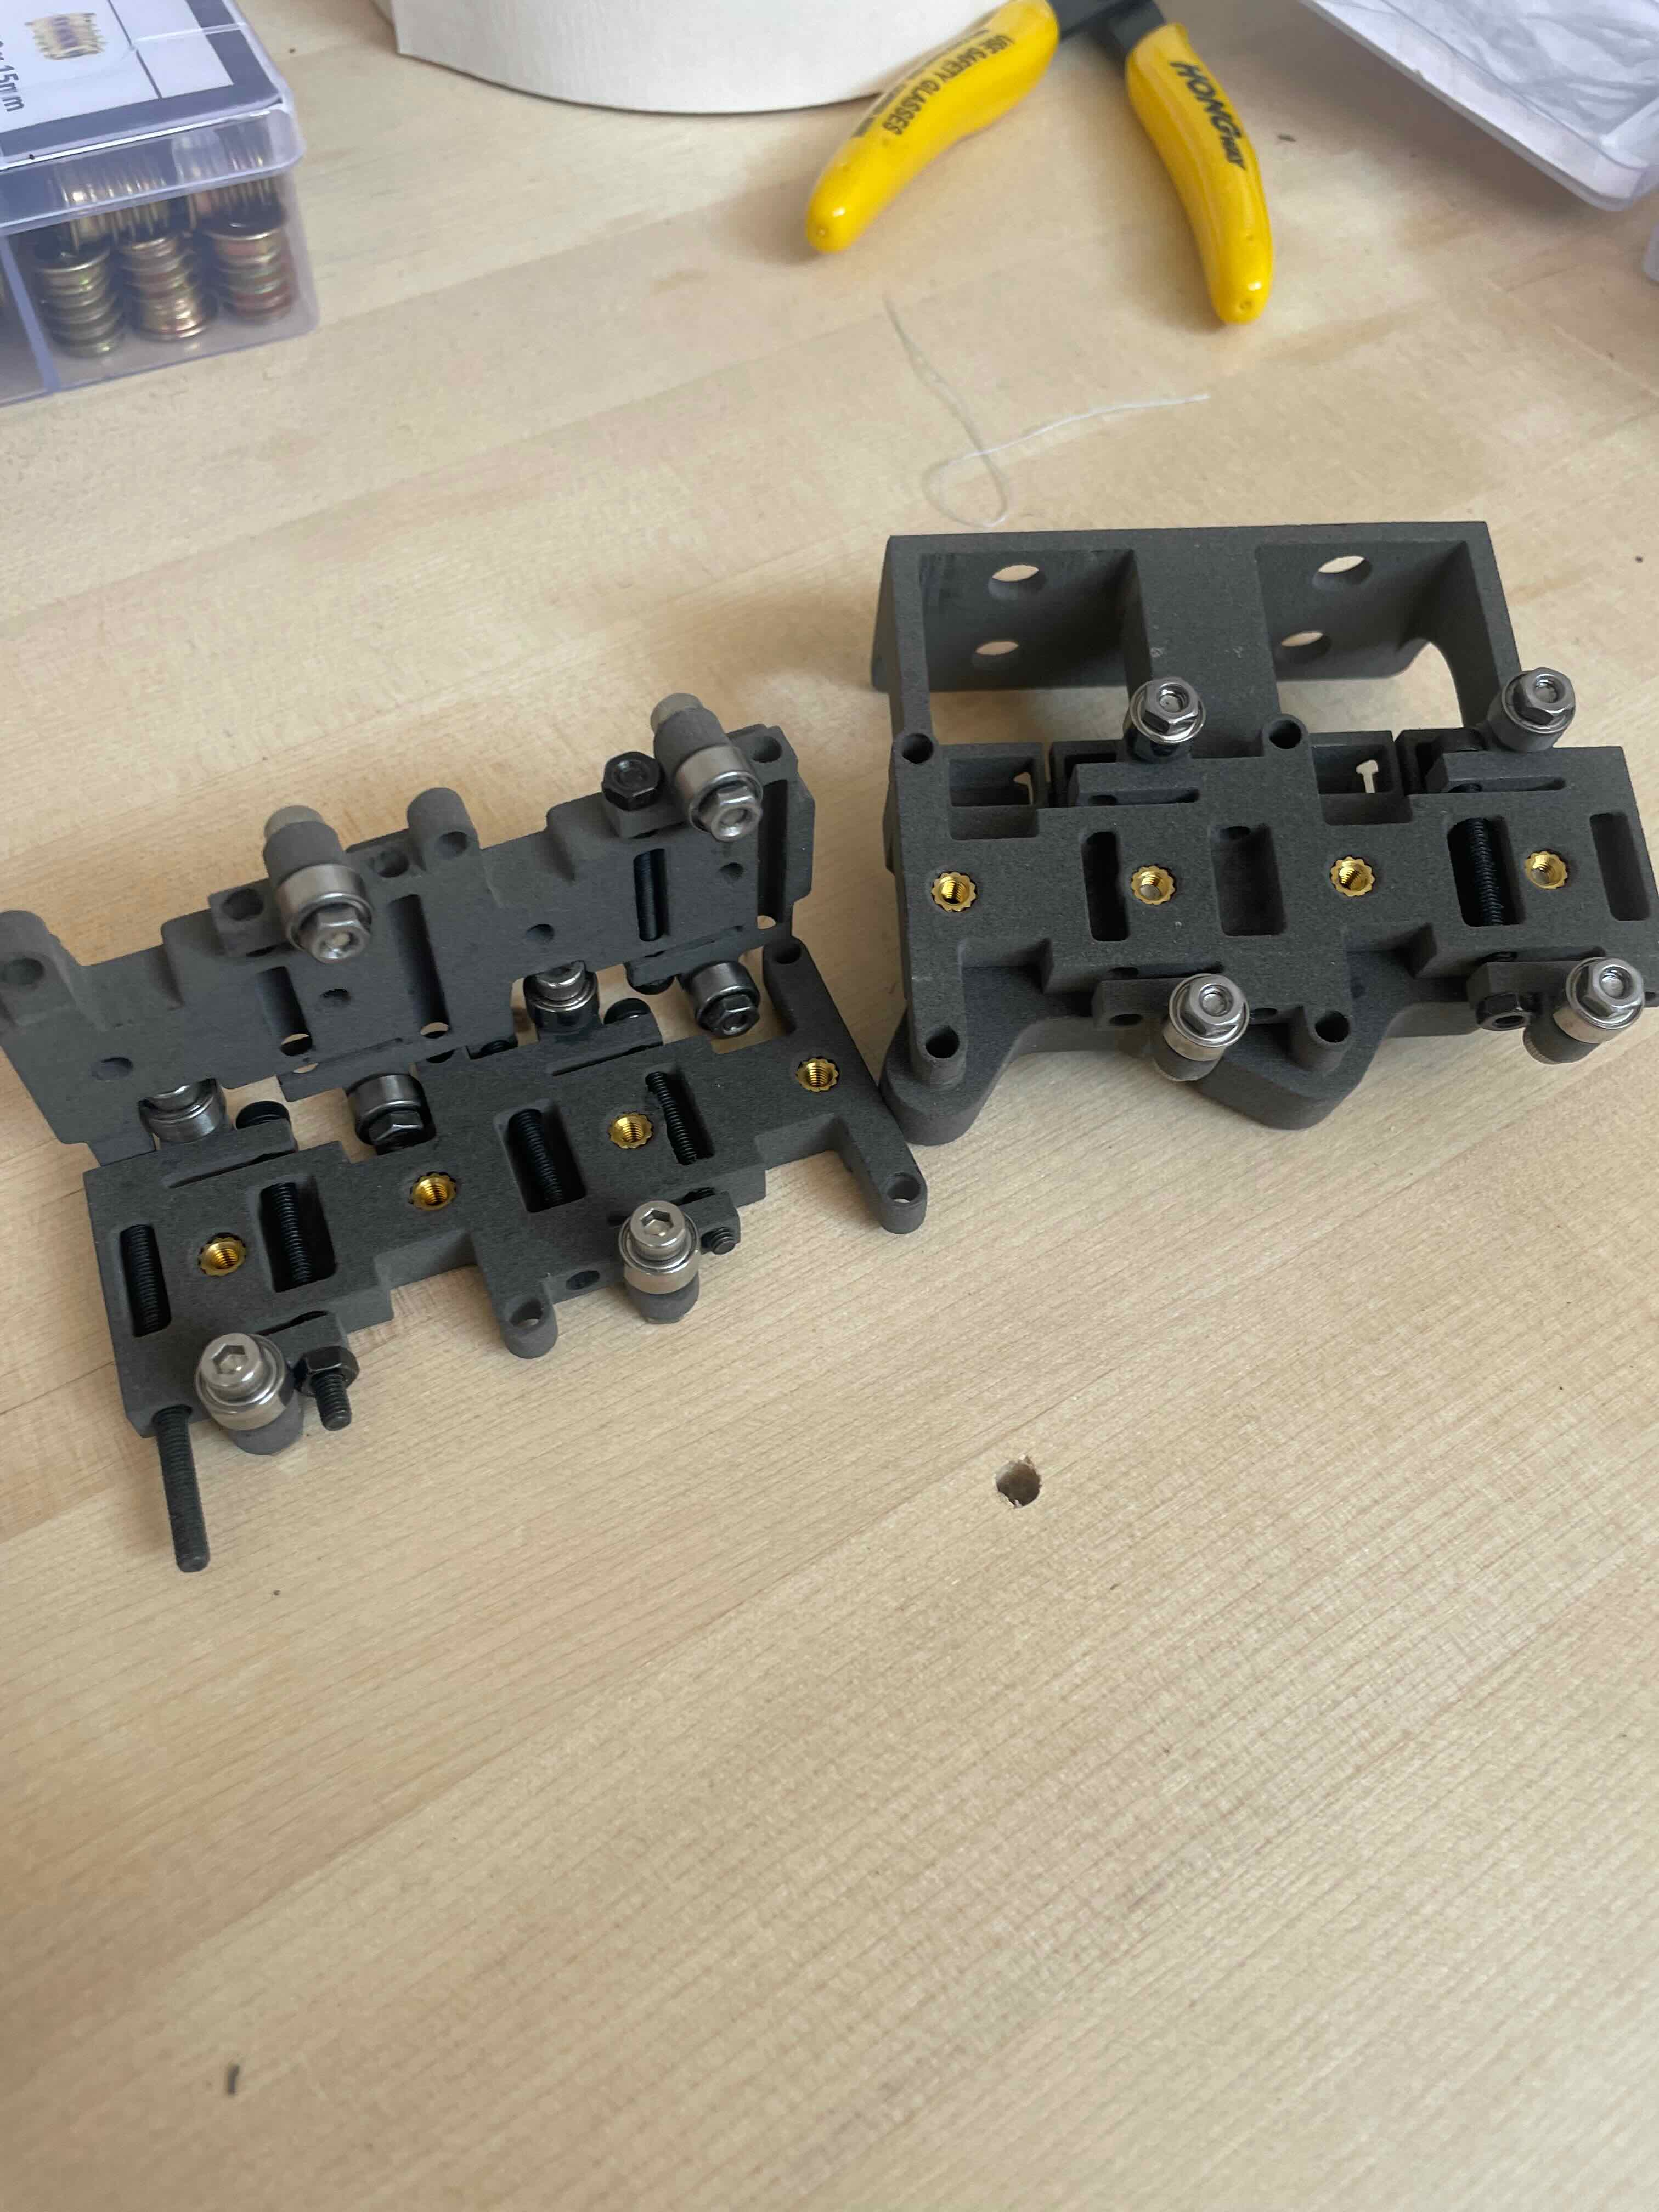
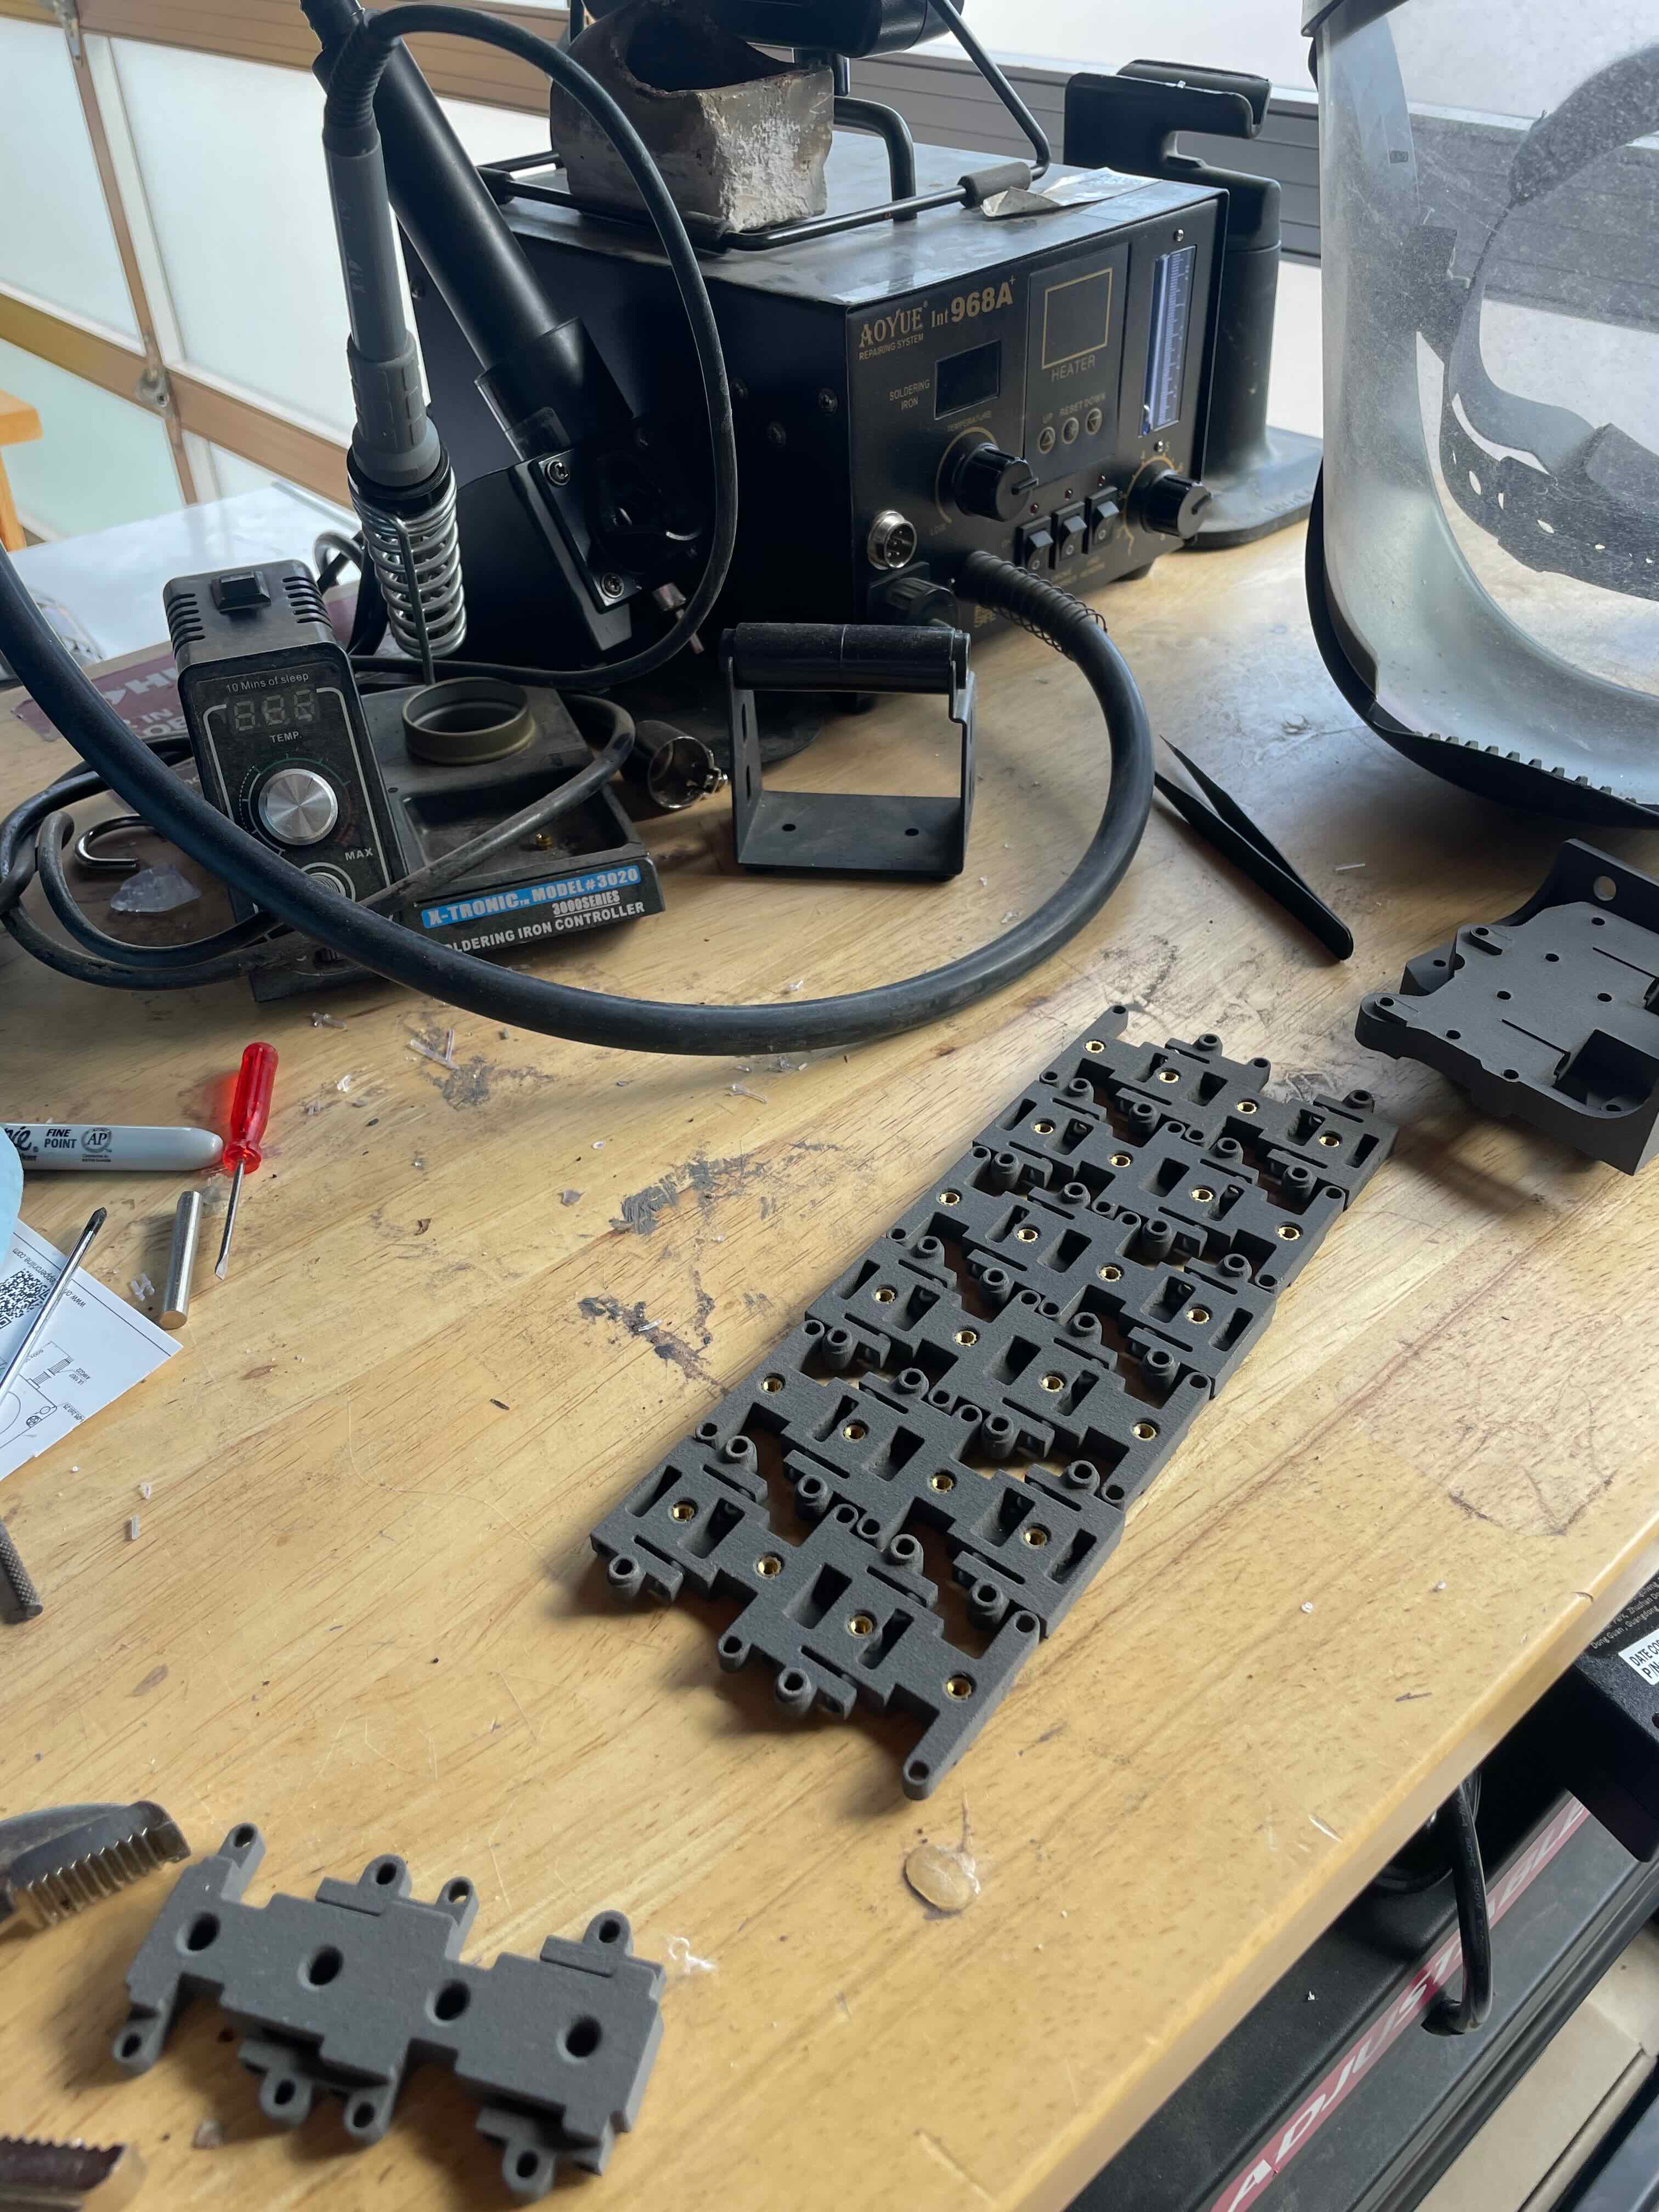
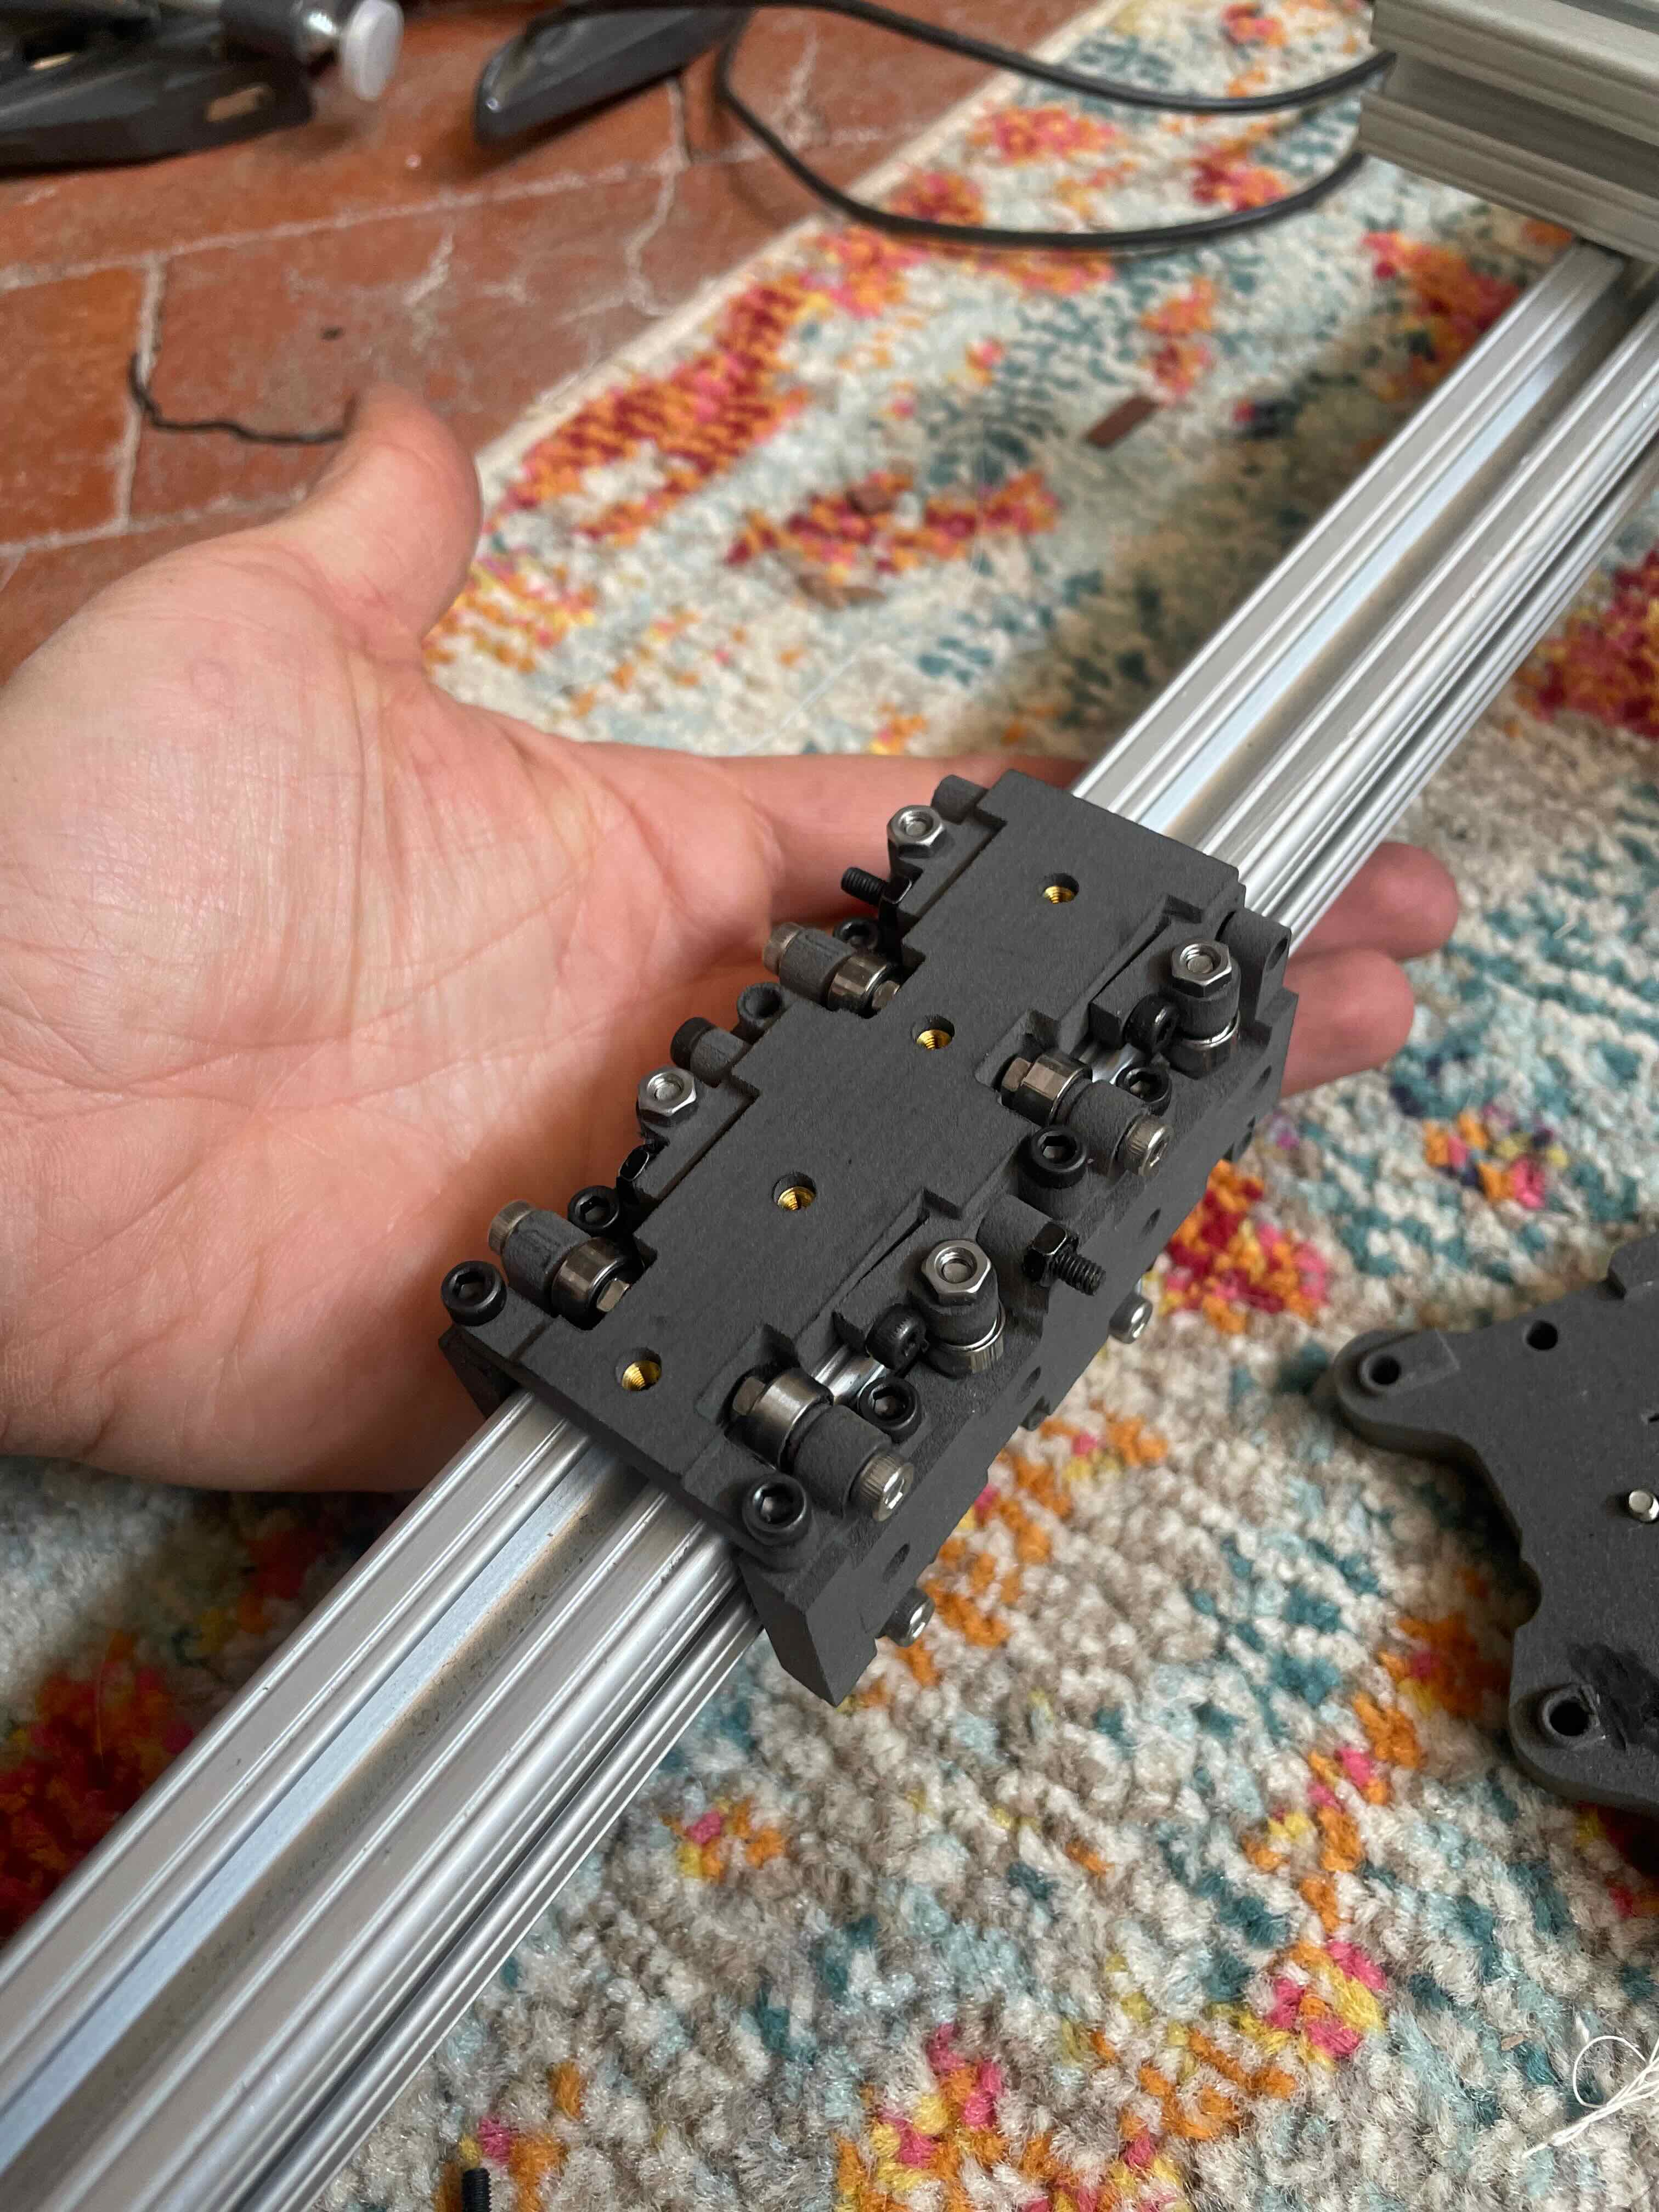
I had lots of 4’ 80/20 extrusion lying around from other projects. I really don’t like cutting it down so 4’ became the defining dimension. Specialised 80/20 linear carriages are very expensive - so first up was designing my own carriages. I printed them on the Fuse 1. Each has 16 roller bearings (4 for each face) and are adjustable using a long M3 bolt. The result is quite a low play and smooth movement.

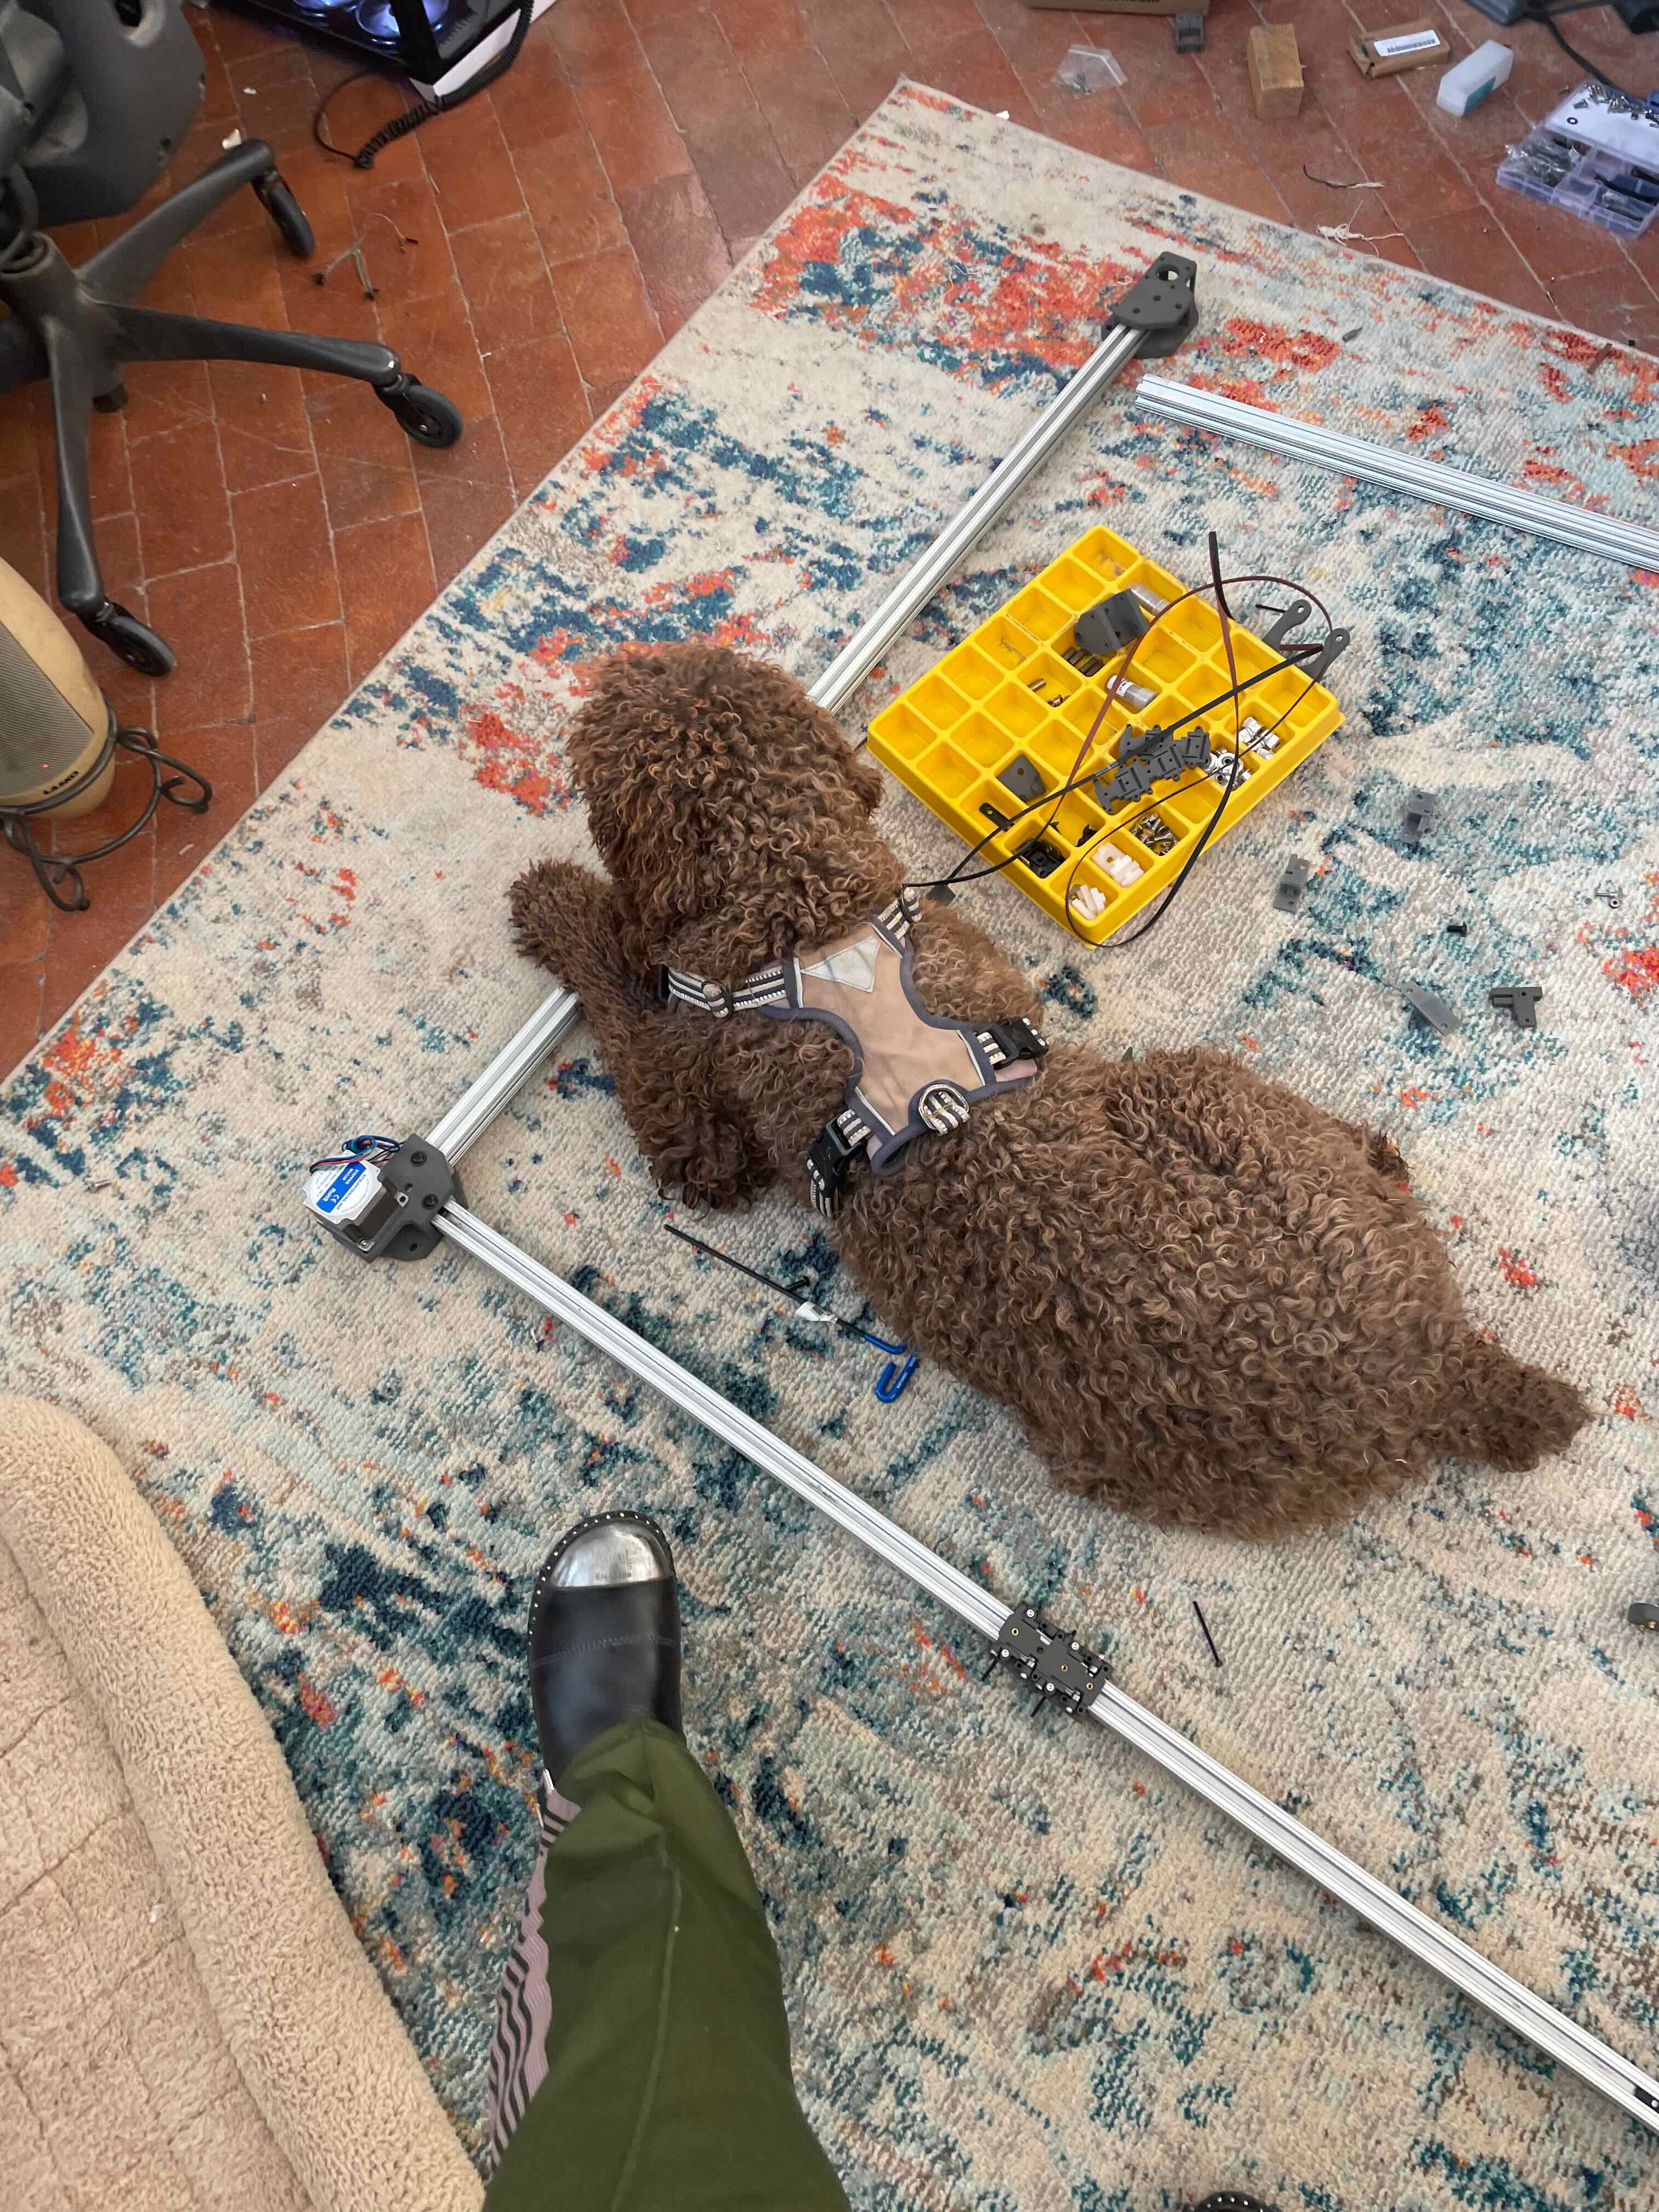
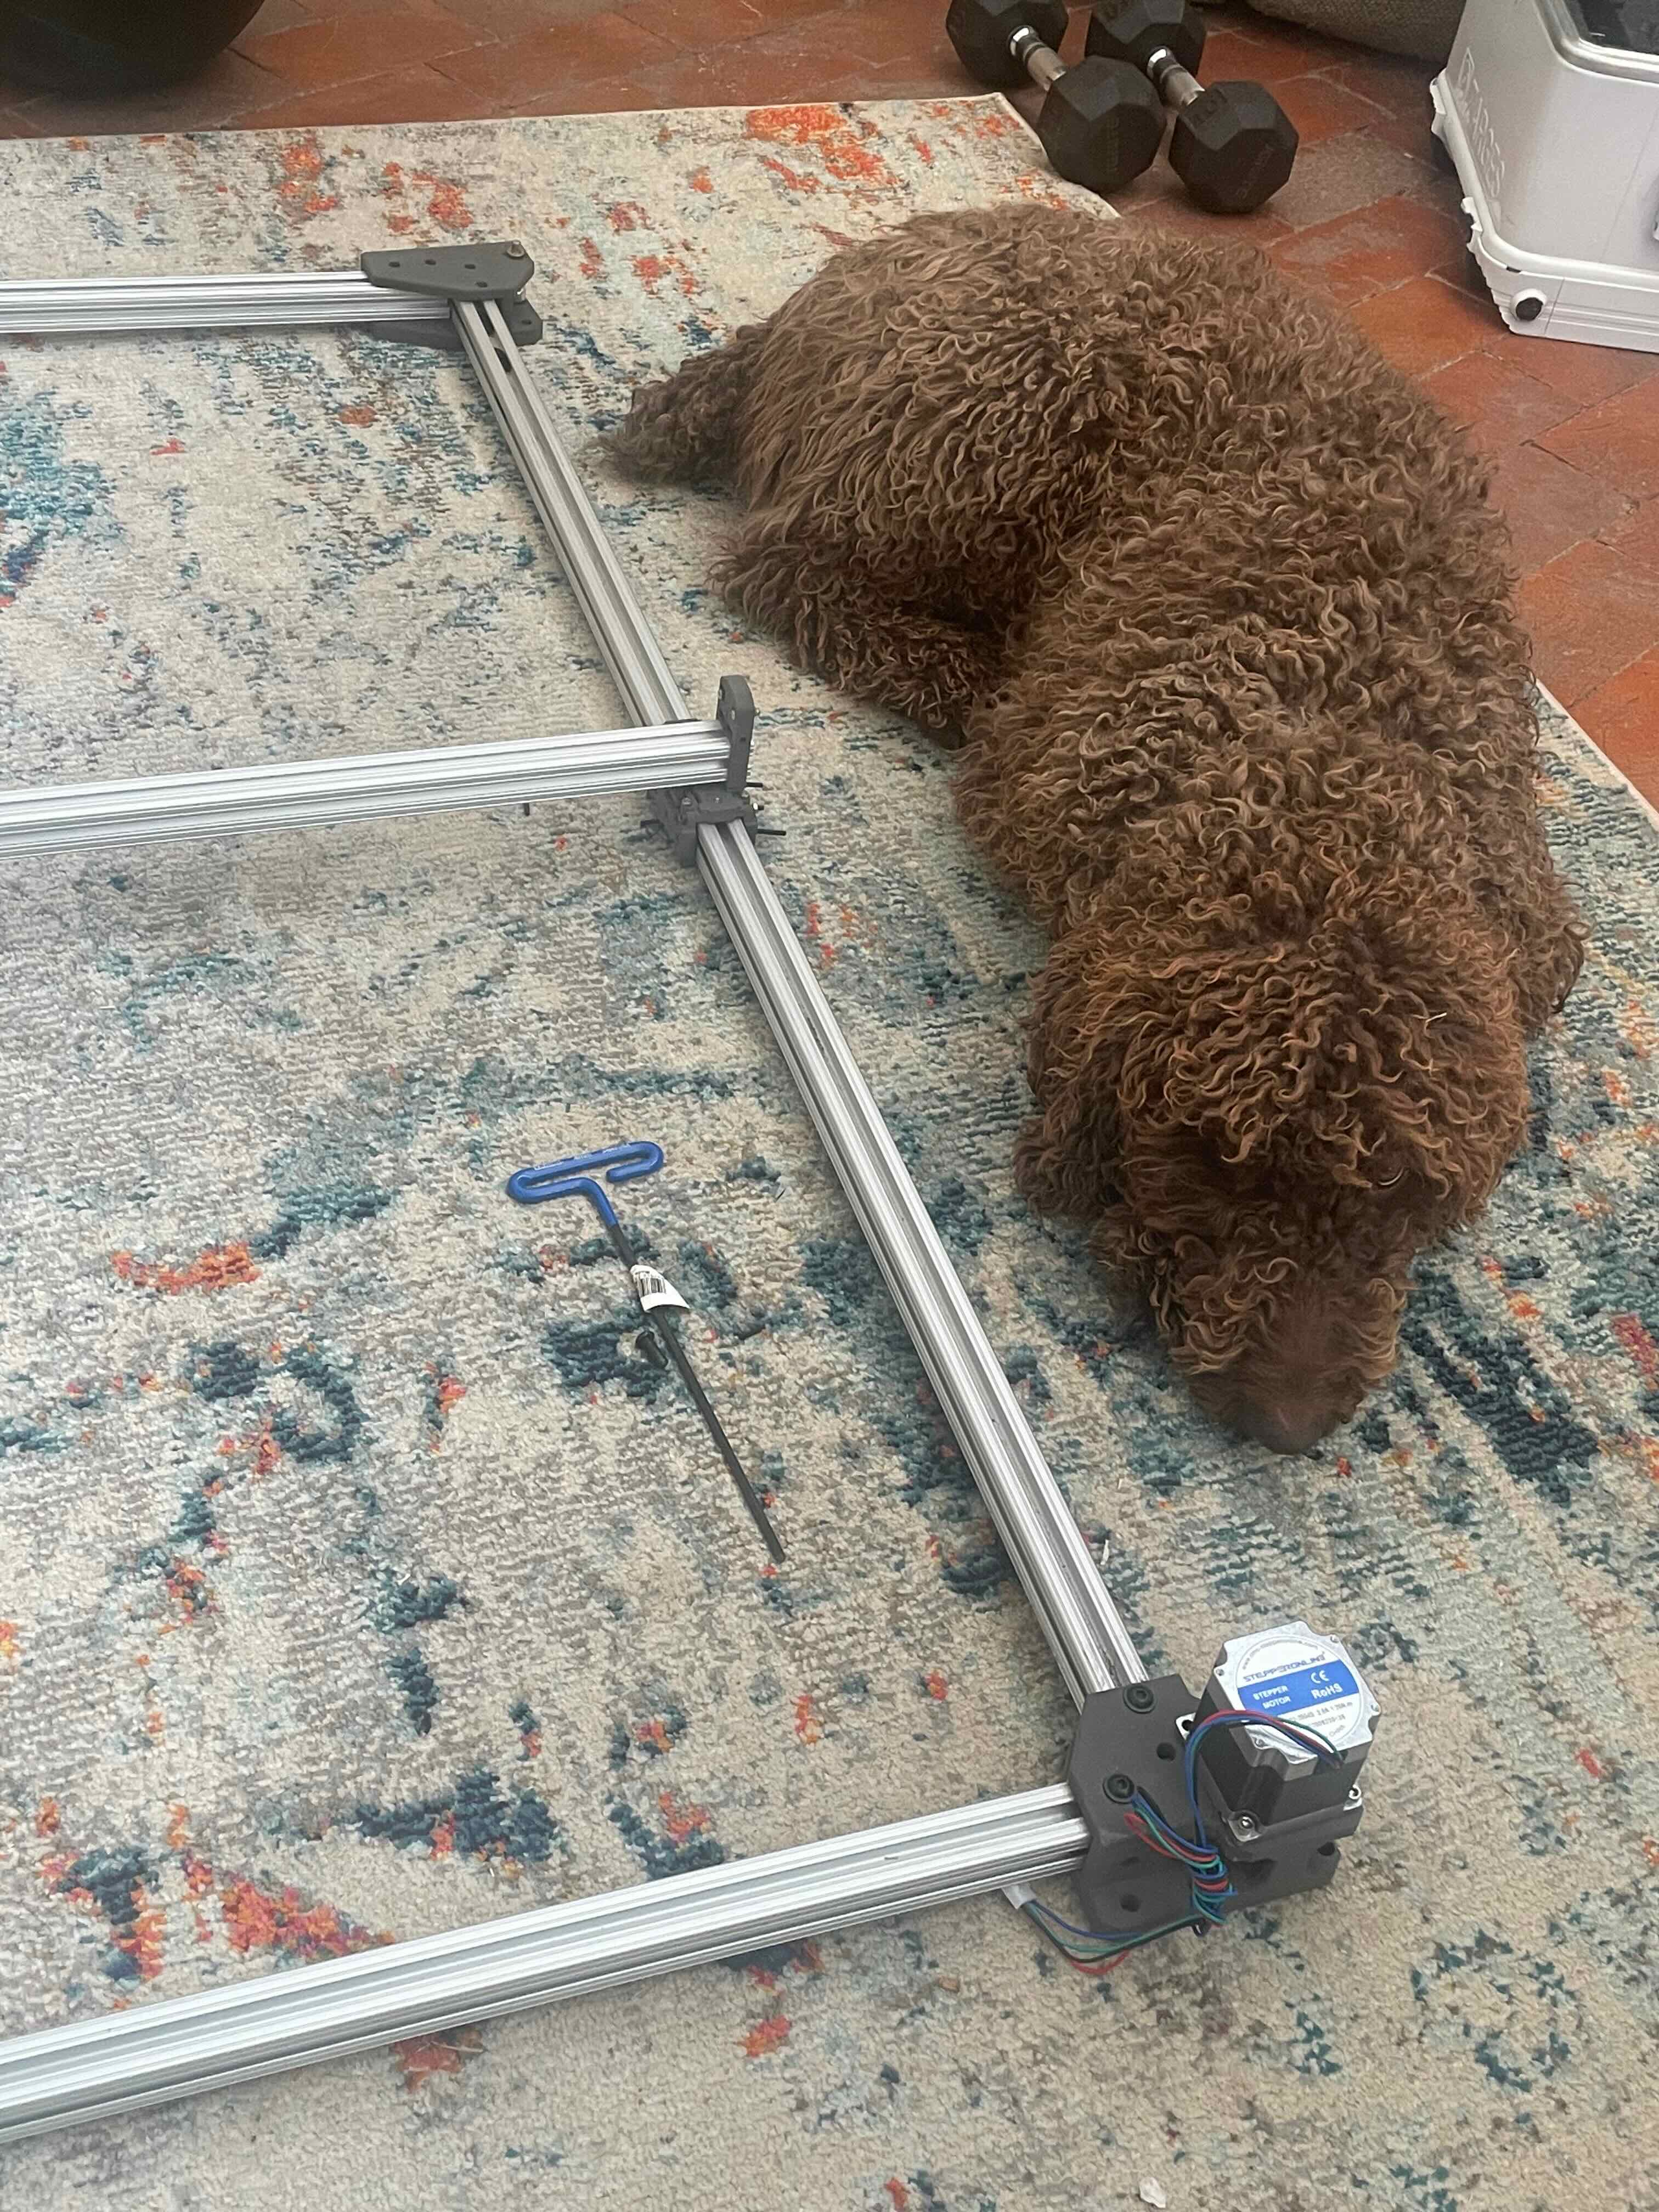
The end pieces to connect the frame are simple and were also printed on the Fuse 1. Glenora made a habit of laying down in the middle of the workbed whenever I tried to work on it.
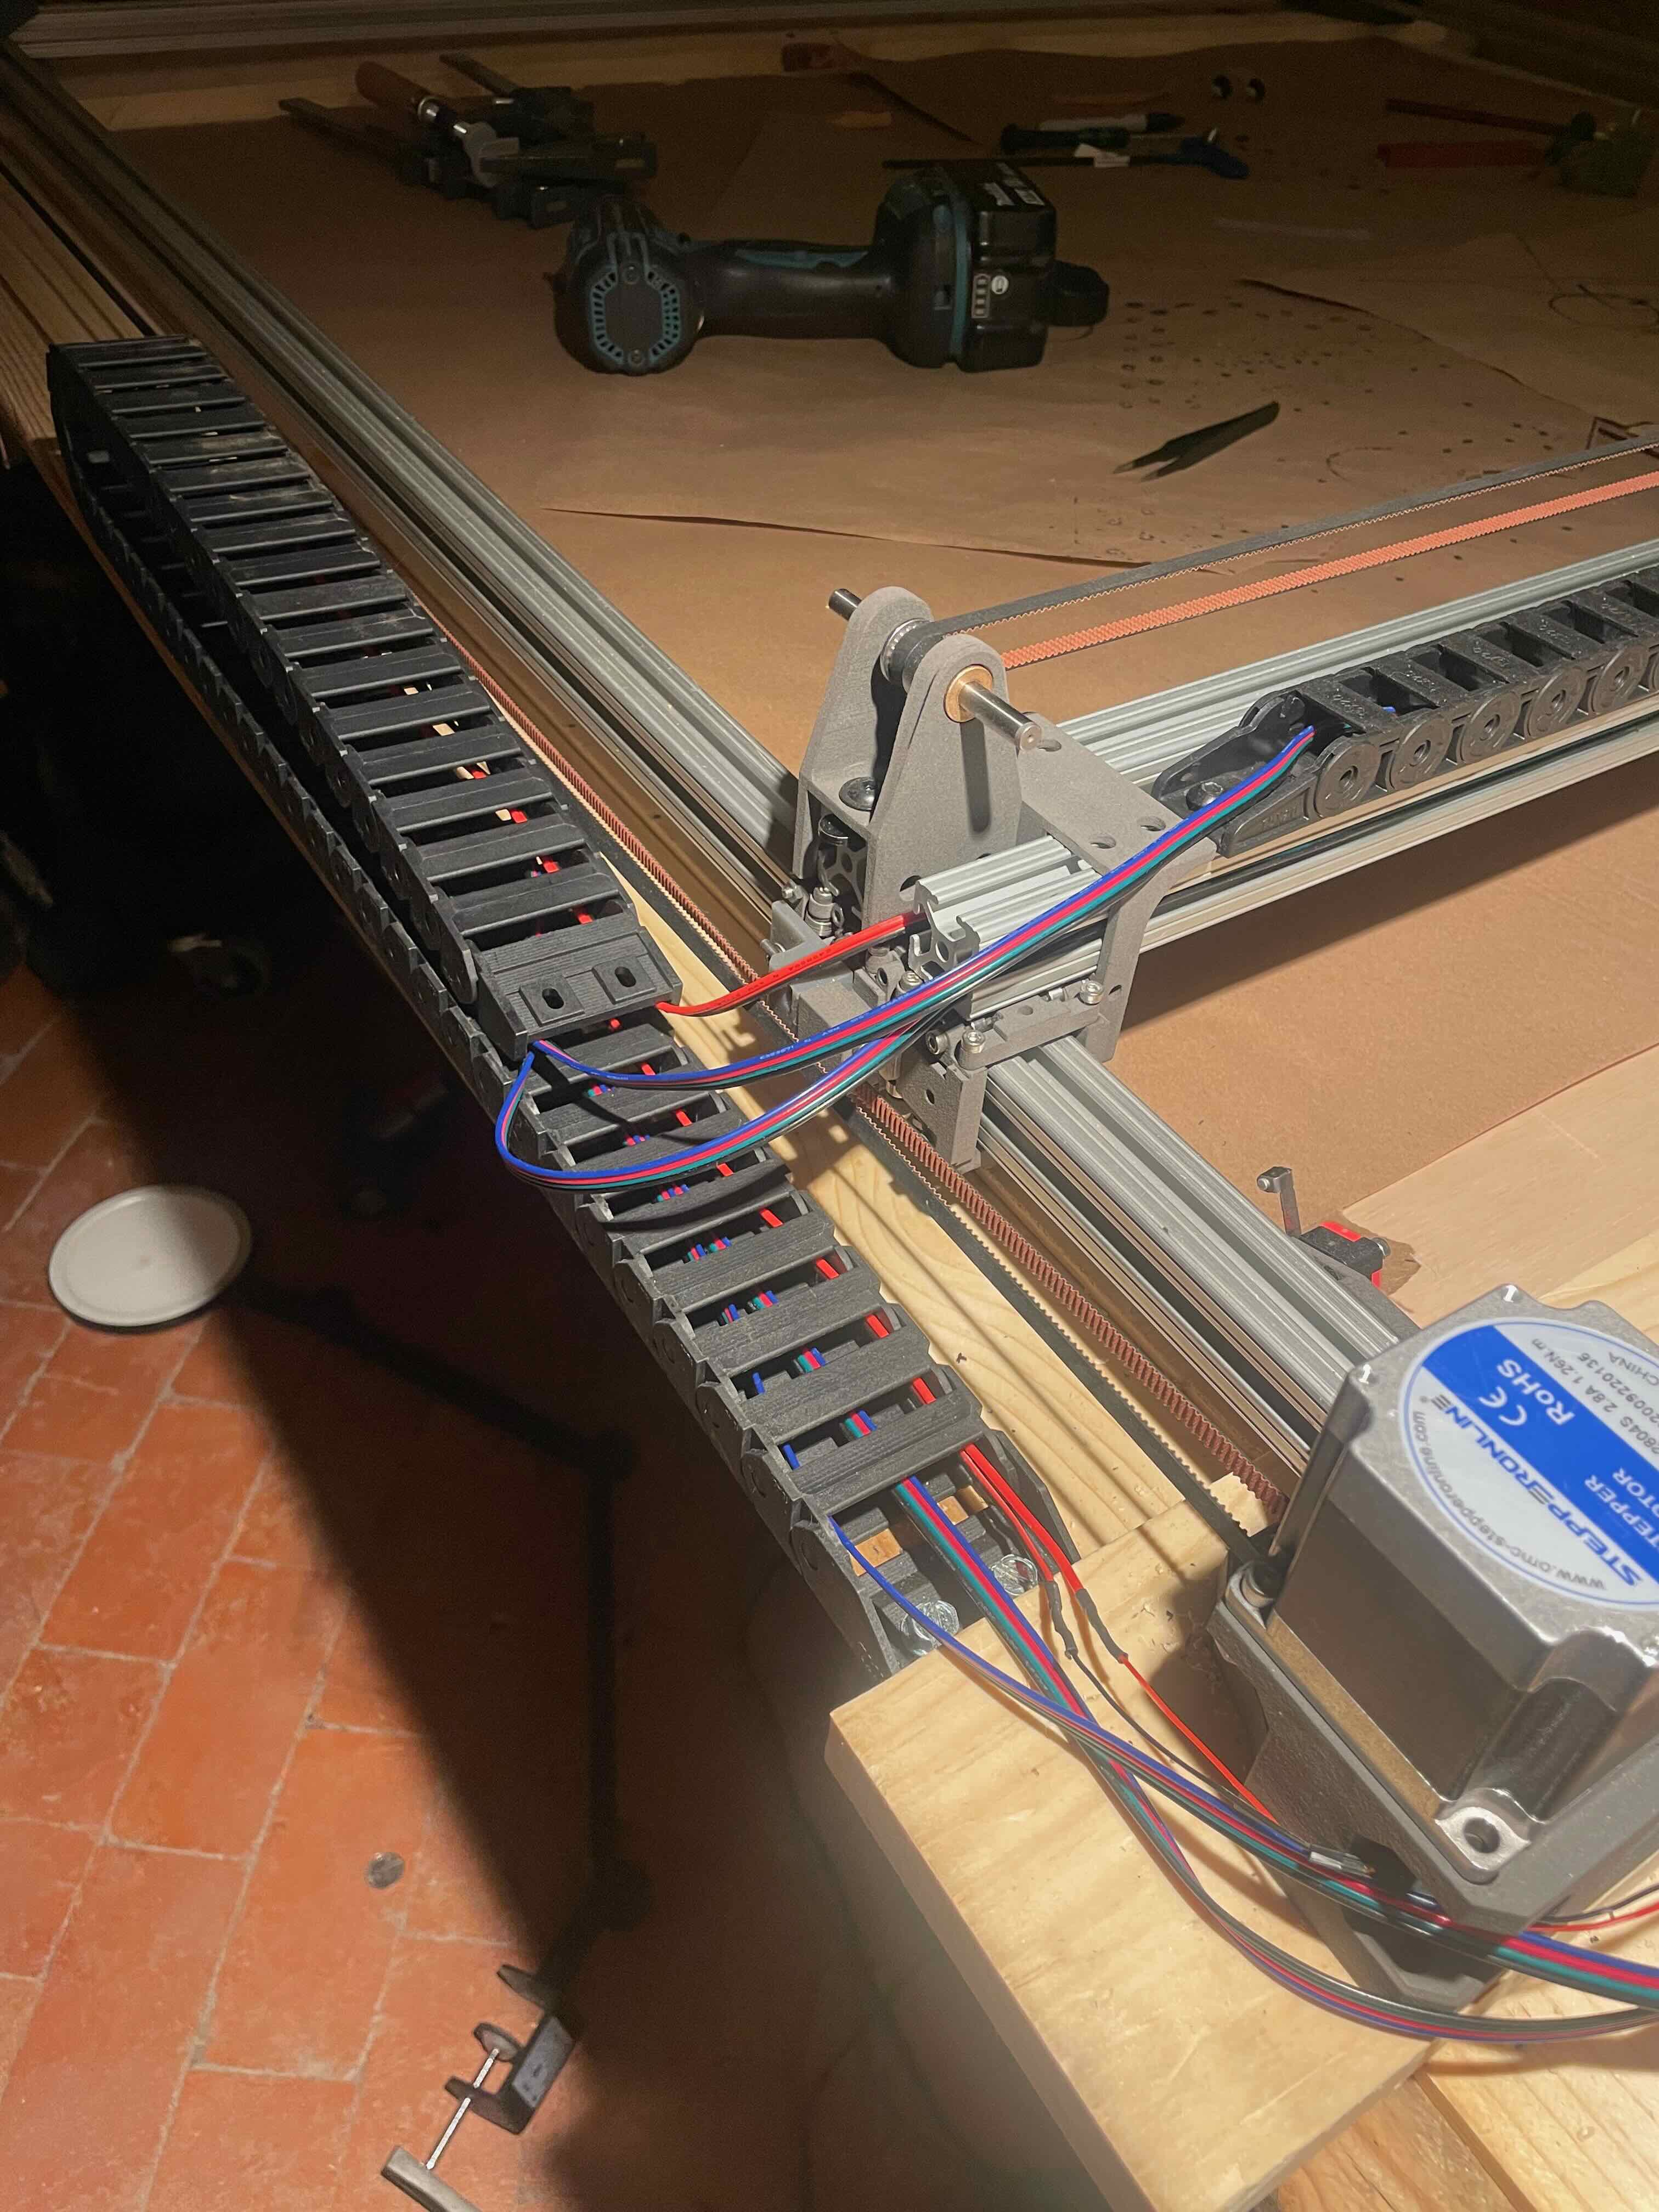
The Fuse 1 prints teeth quite nicely so was able to use a simple 3D printed tensioning mechanism without having to clamp.
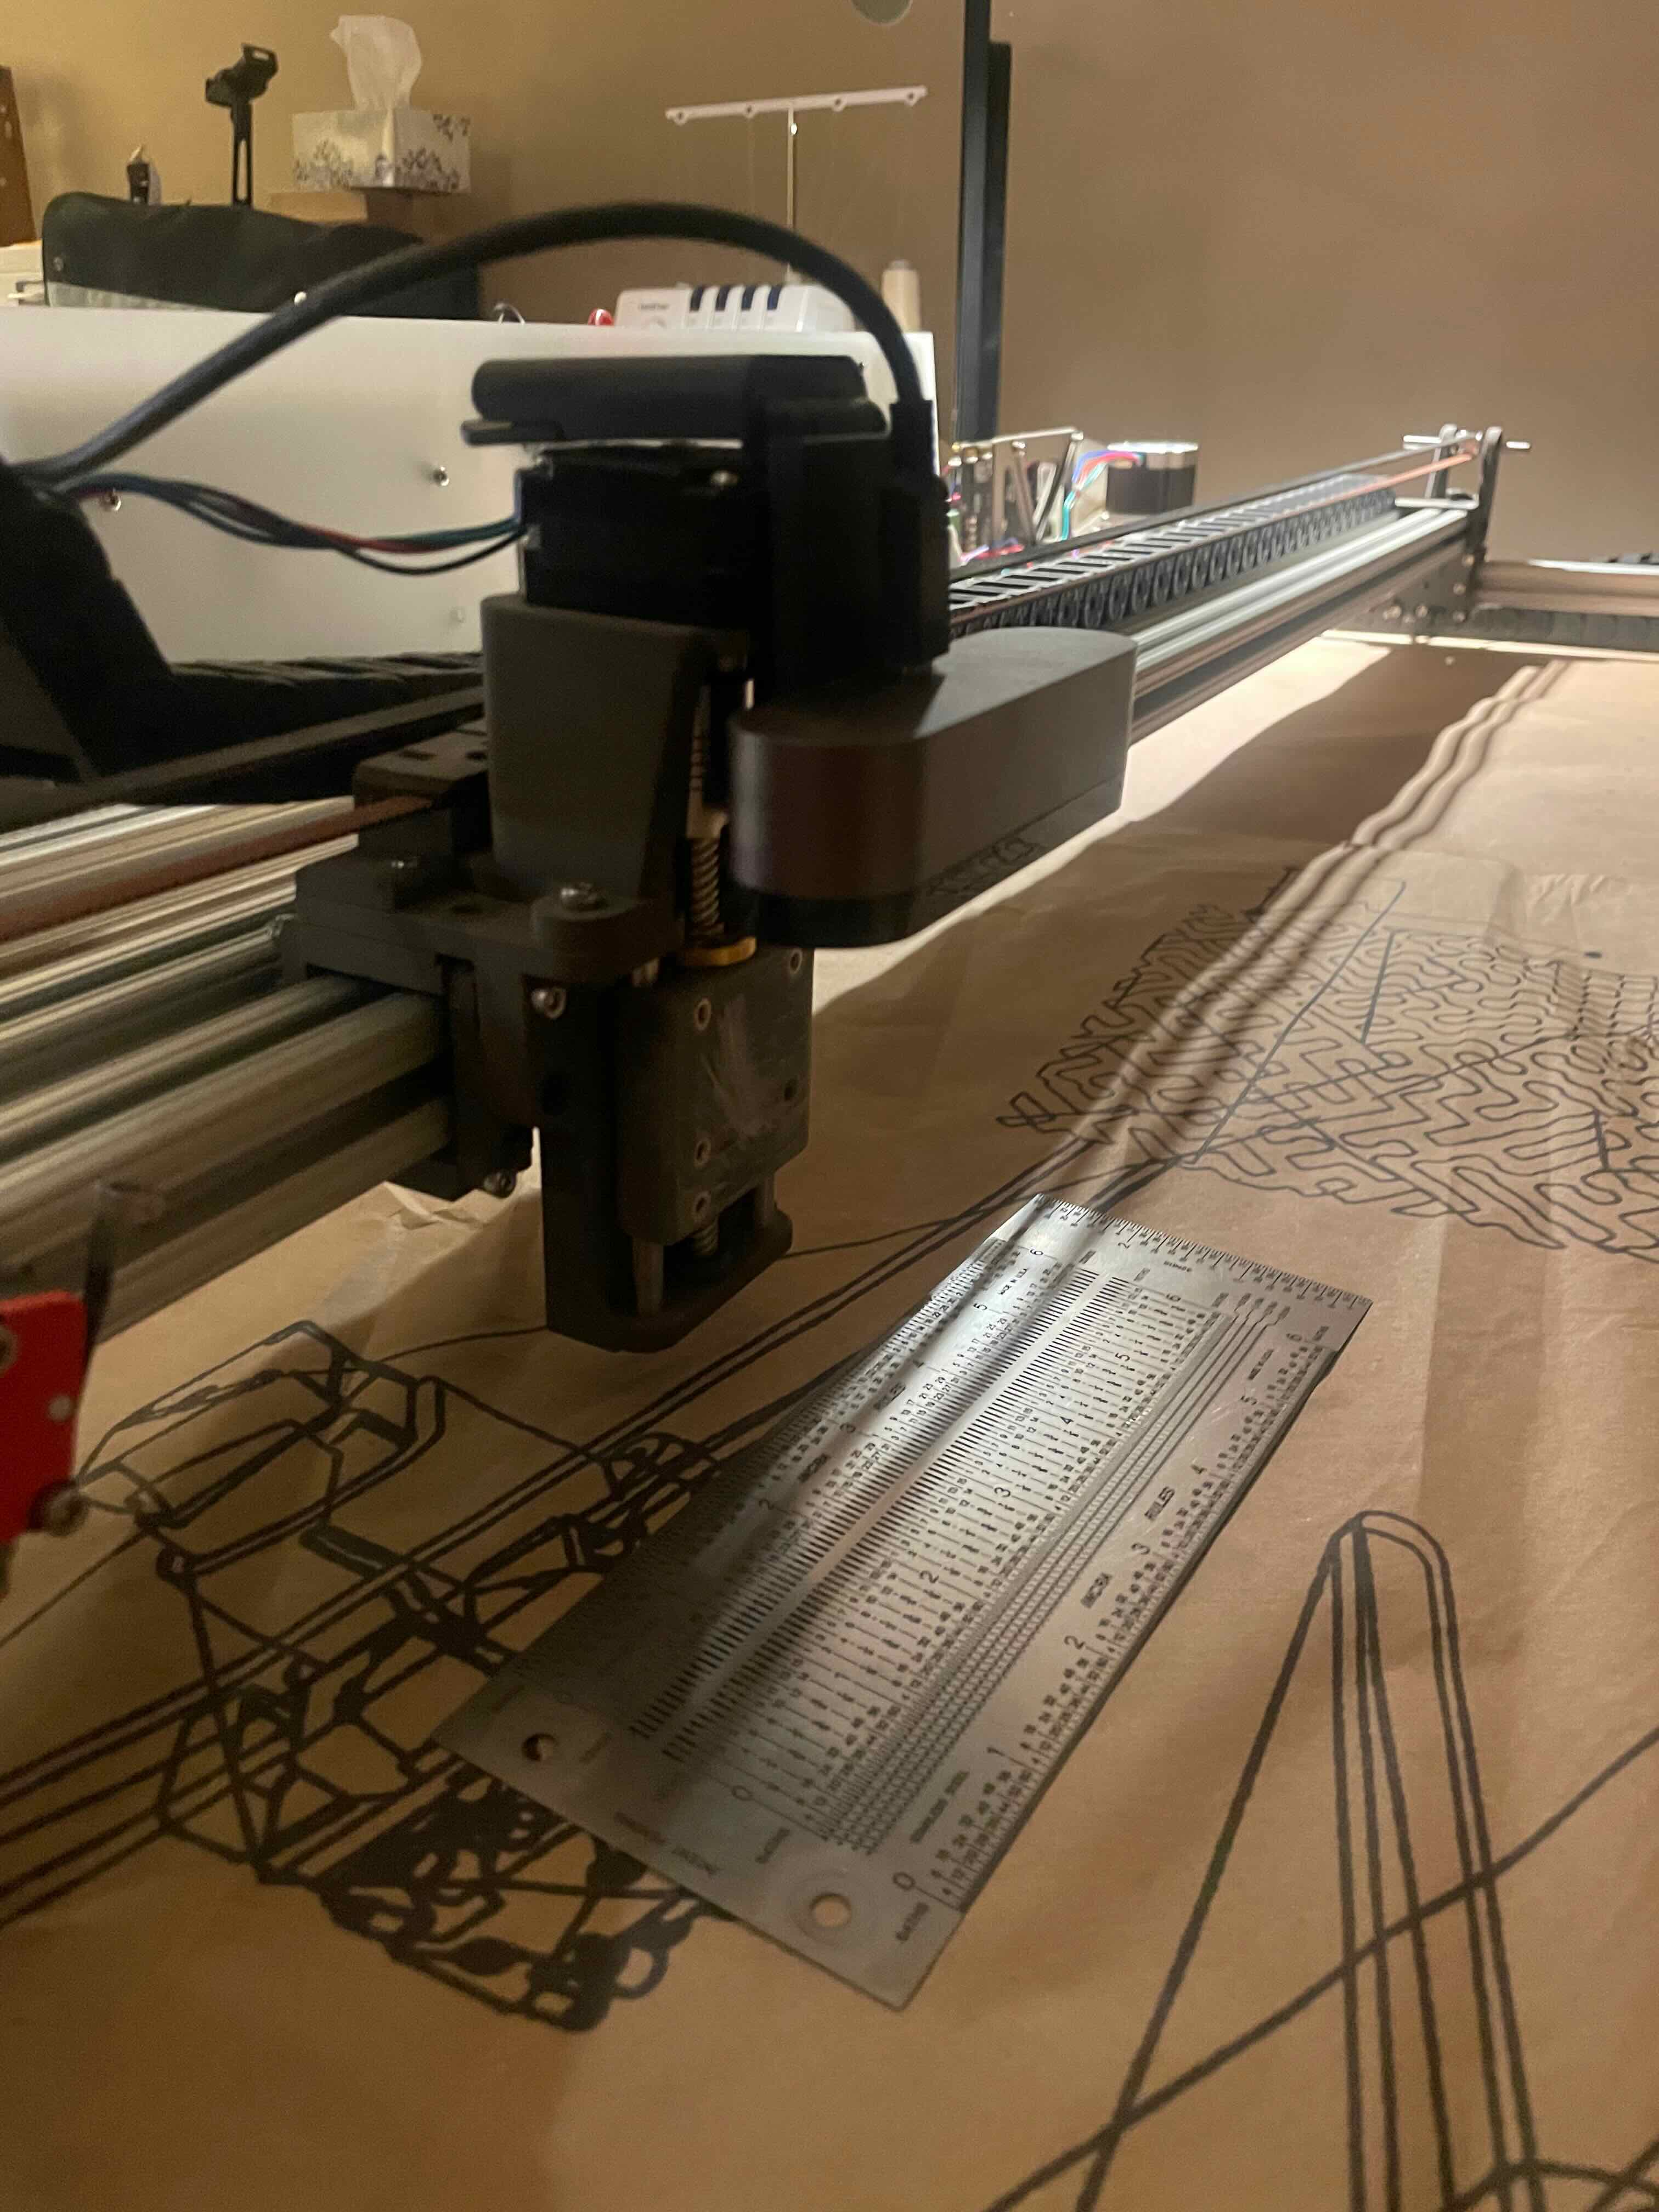
Tool head
I messed around on rhino a bunch and ended up with a goofy but funcitonal toolhead that uses a pancake stepper to actuate z. I want it to have changeable tools but have only made the sharpie/pen holder so far. See it in action “embossing” some “leather” for some assless chaps:
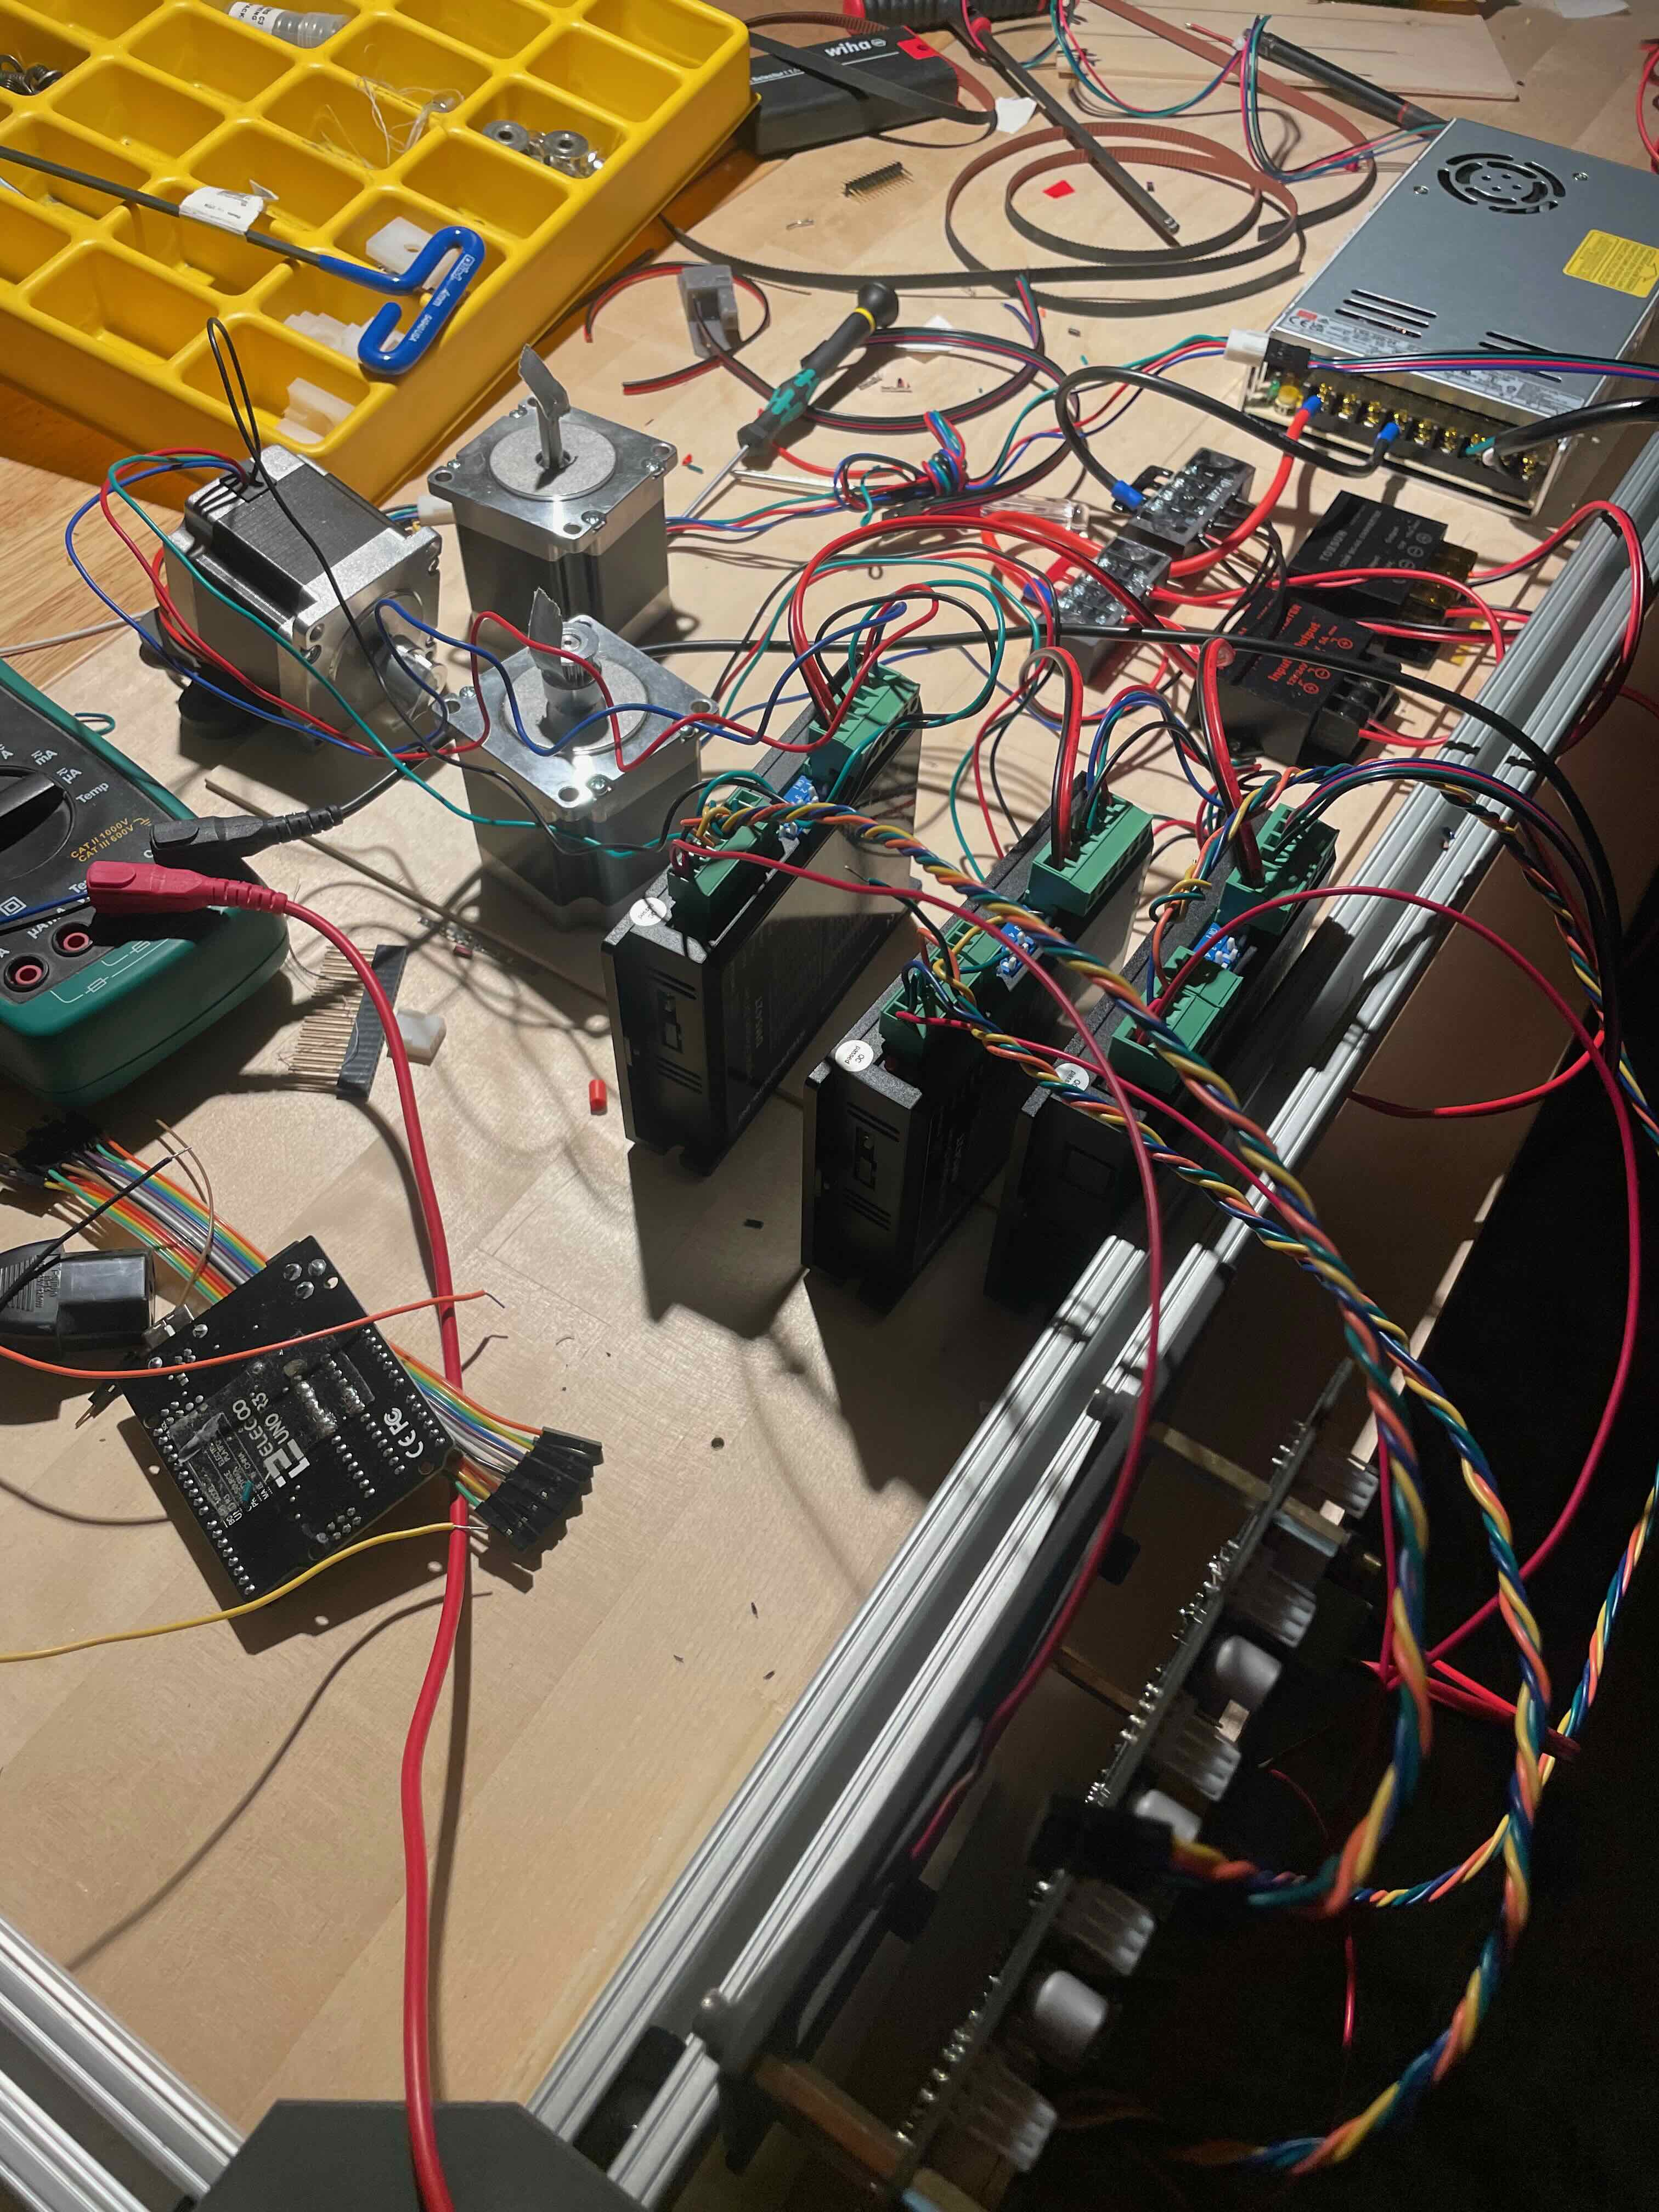
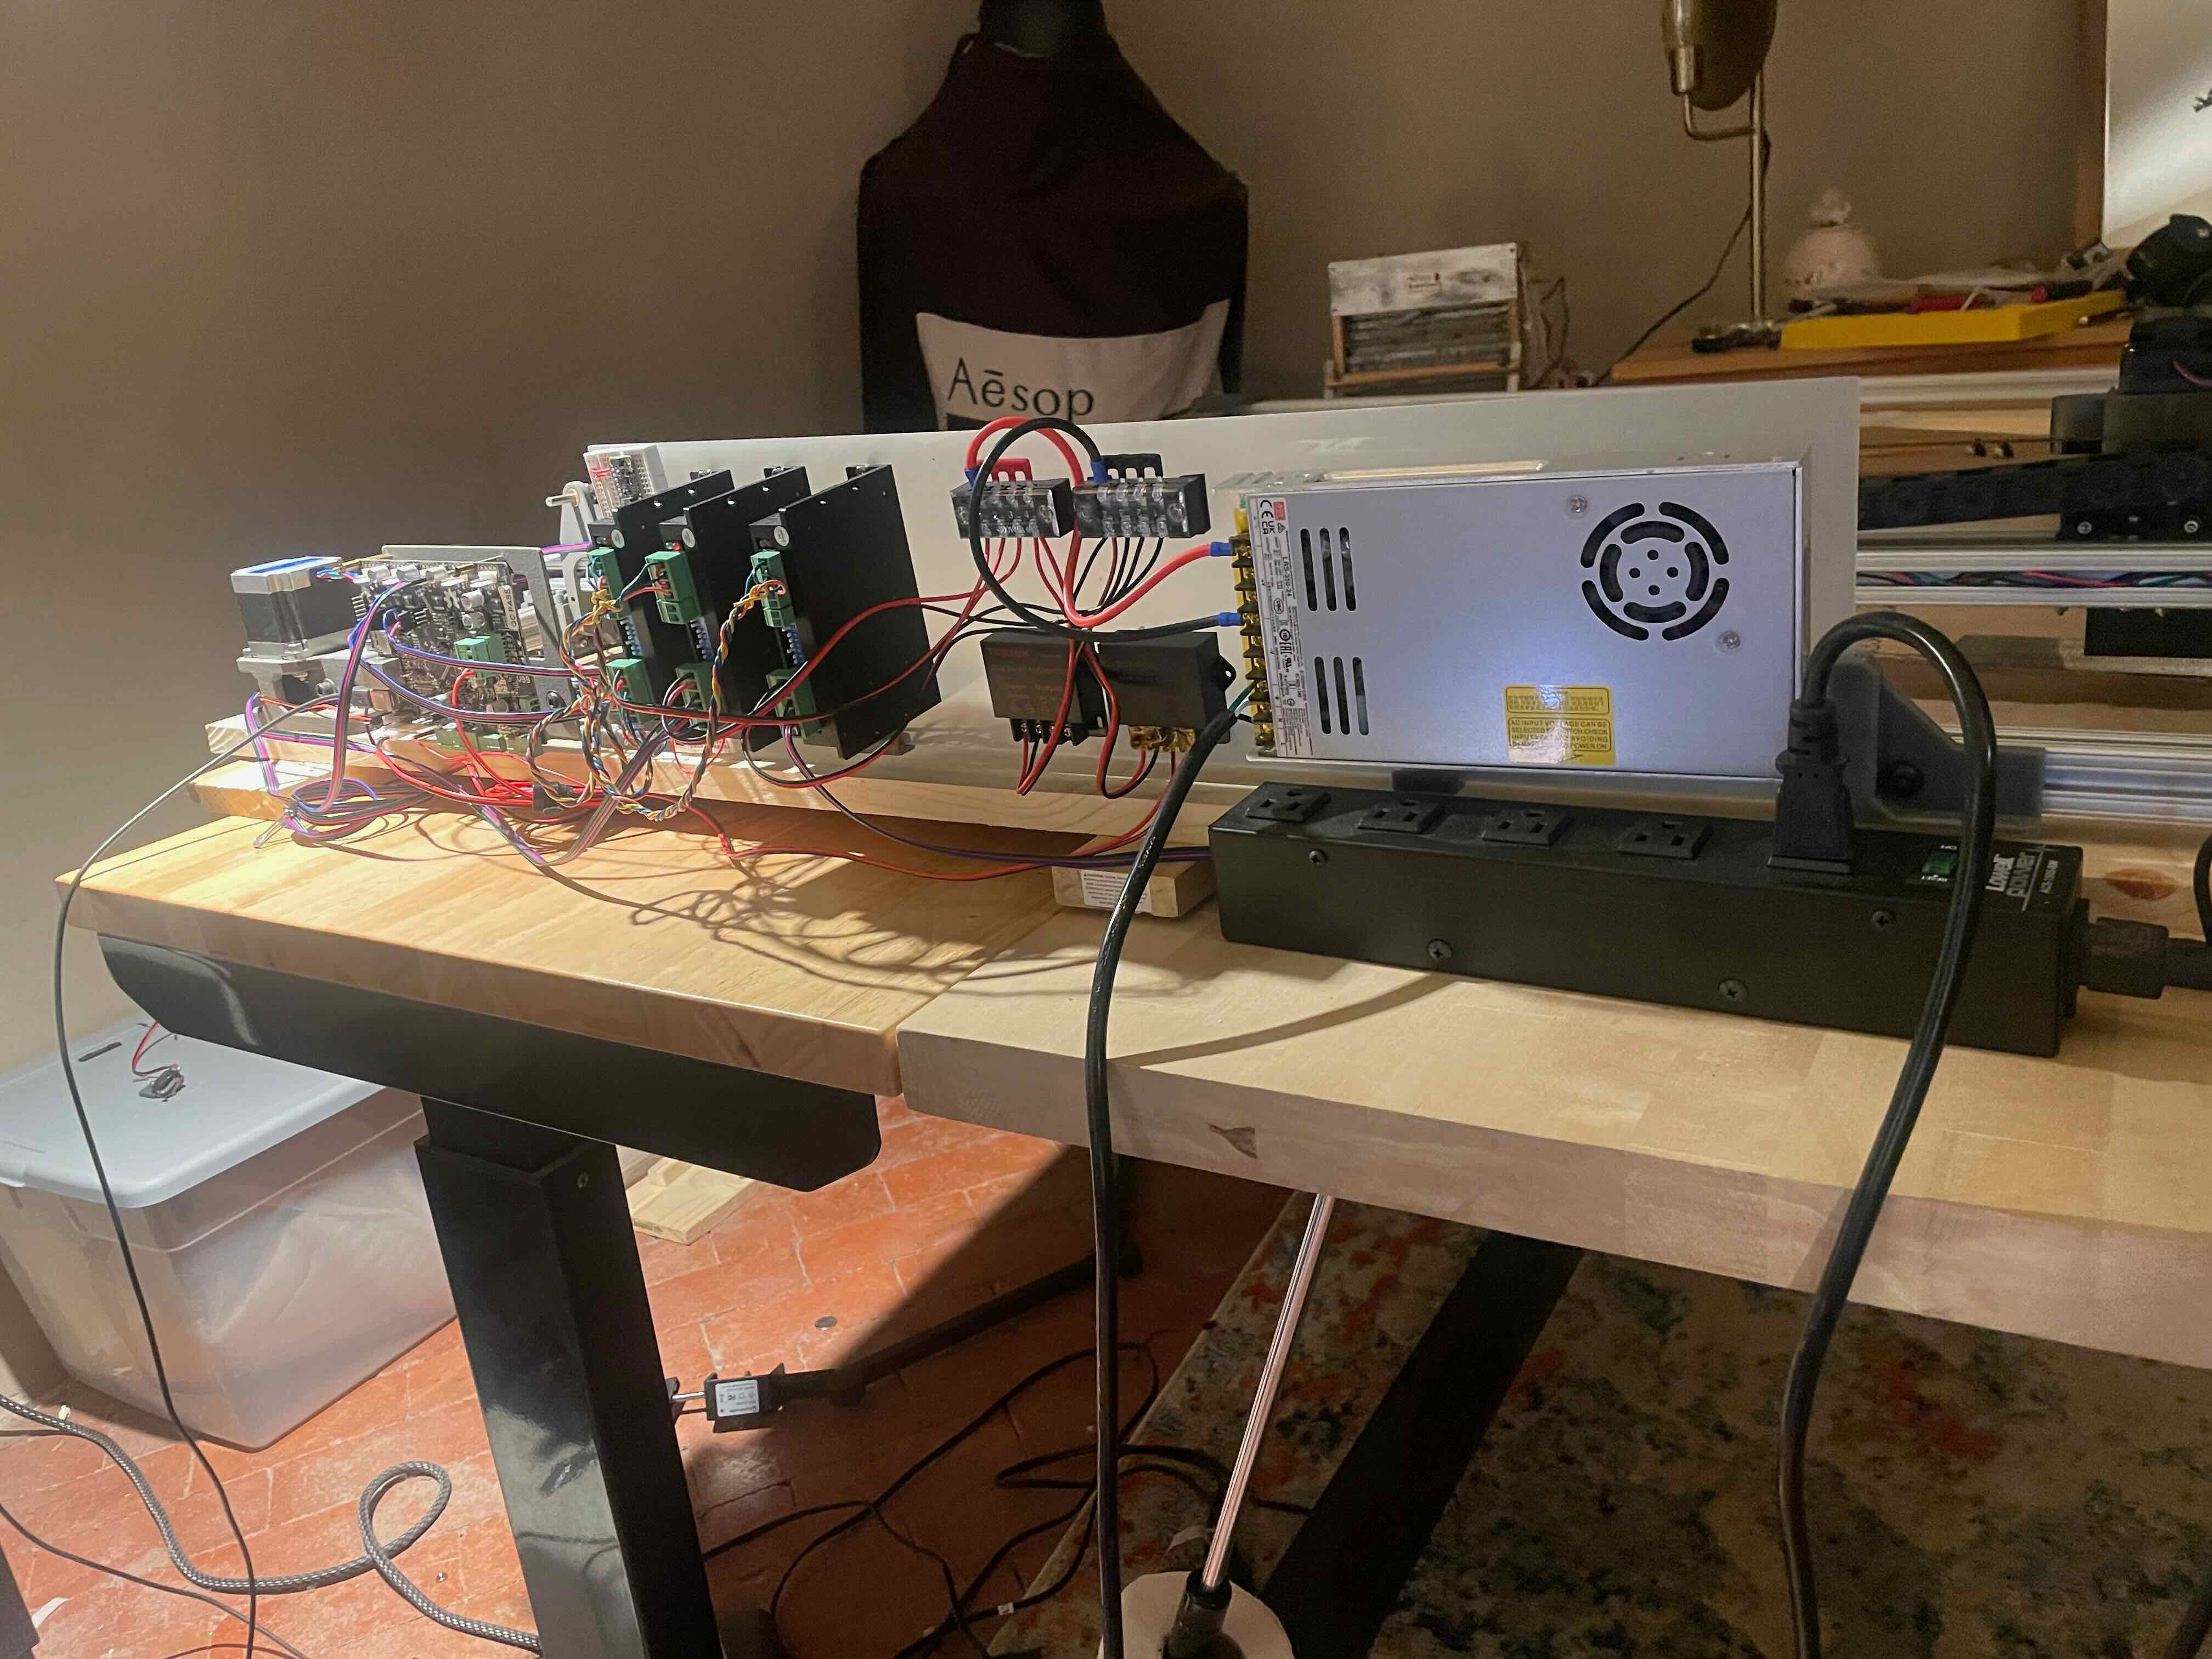
Electronics
24V DC power supply feeds the external stepper drivers (x and y).
12V powering the smoothieboard drivers (z).
5V for smoothieboard logic.
PC talks to smoothieboard (sends gcode) via usb serial.
Software
There are a lot of open source 2 and 2.5 axis CNC controllers out there. I started off with Laserweb. Adam Haile developed a GUI called plottercon, built on printcore, to do exactly this - take images on an x-y gantry at known positions.
I modified plottercon a little to suit my needs and got scanning, using standard cv2 image undistortion. I expected post processing and stitching to be quite easy, but am finding it less robust than expected. The patterns are quite sparse (e.g. one long curving line for the edge of a piece), so I added fiducials where I could. The paper is also somewhat translucent, so I tried drawing patterns on the underlayer to add features.
I tried a few off the shelf stitching solutions (Fiji, stitcher) but did not have robust results. So i copped out and decided it to do it semi-manually. The plan was to import all the images into an illustrator file and place them at their known positions. I figured that I would be tracing in Illustrator anyway, and could make the small adjustments needed. Scripting this was also harder than I thought, since Illustrator scripting uses Adobe ExtendScript, which turns out is not javascript but Adobe’s own language that is somewhat different.
The script I wrote places the undistorted images with a lowered alpha. After a few small rotations it is quite traceable, dxf-able and g-codeable, all to be sent back to the Plottre to trace on paper.
More documentation to come
image
image