weaving investigations
justin, 2020 - present, ongoingI’ve been poking around old images of looms and have been trying to eductate myself on their mechanisms and the nuances that make them enjoyable to work with.
So far I have built a few test pieces.
Weaving itself is quite slow, and I have built more looms than I have woven finished pieces... 😭️
v1: super quick rigid heddle loom
Built from scrap plywood, a few dowels, and a lasercut heddle.
This was a proof of concept, and I wove a tiny sampler and wrapped my head around the process.
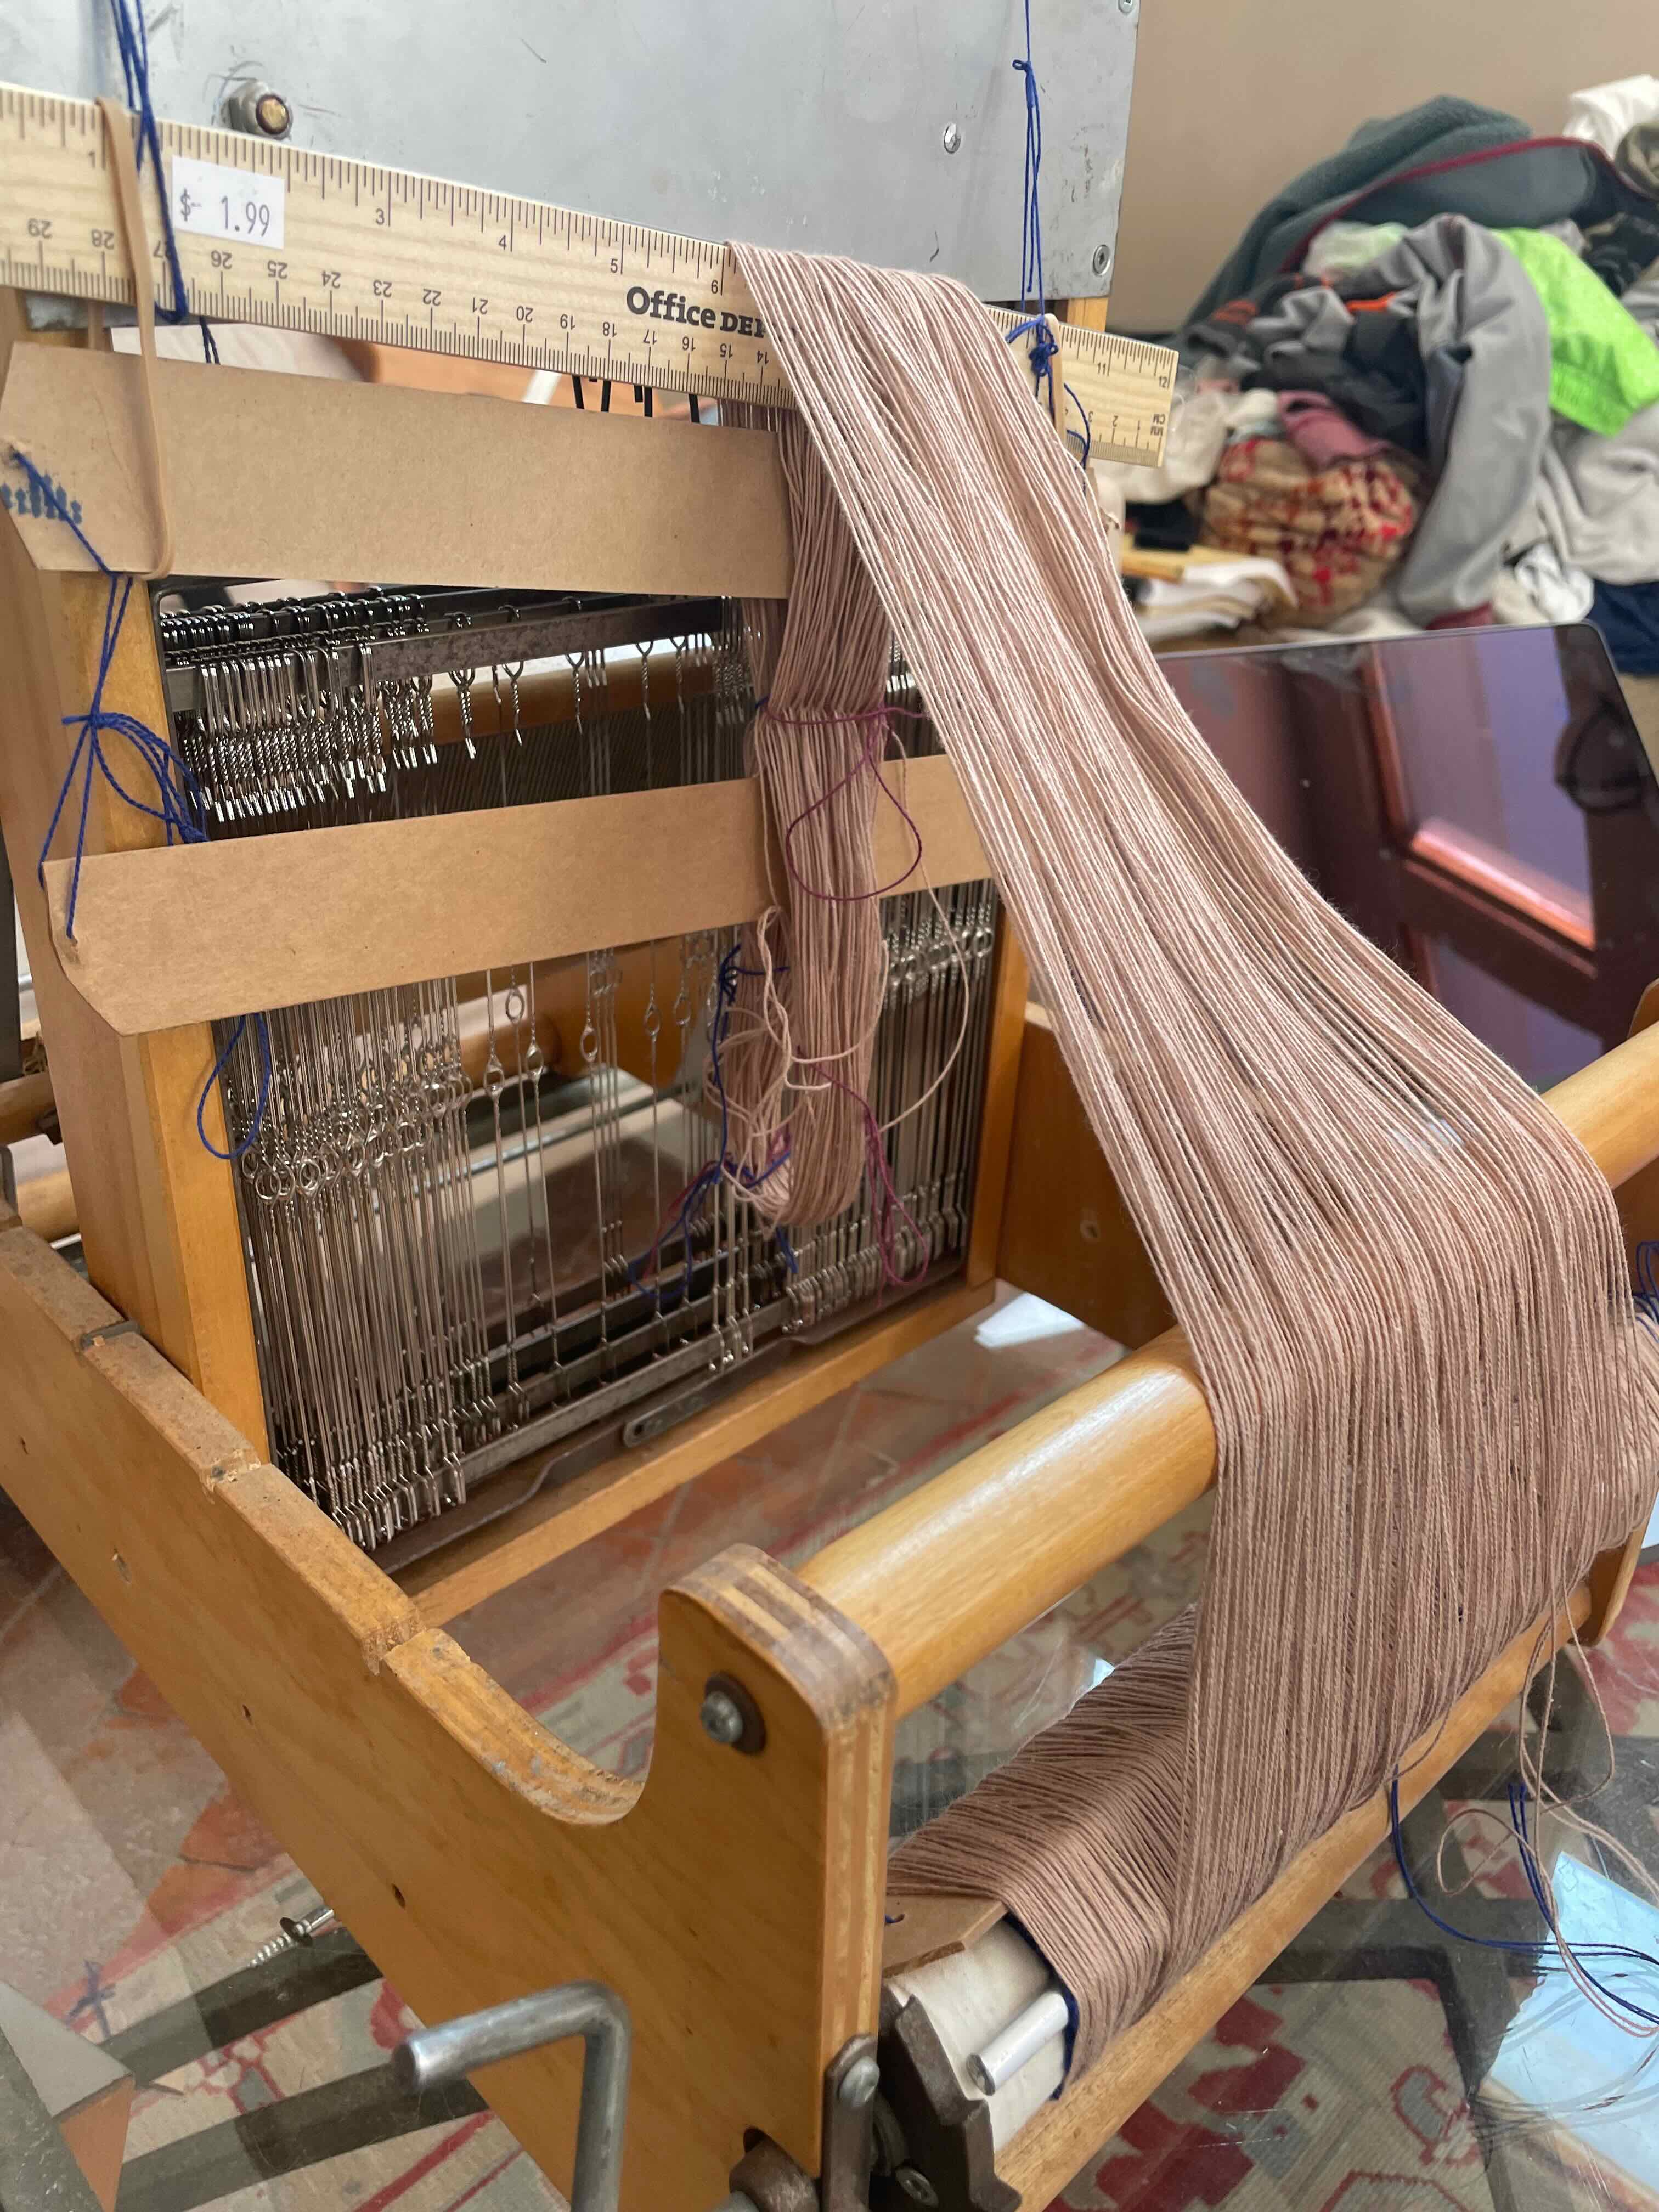
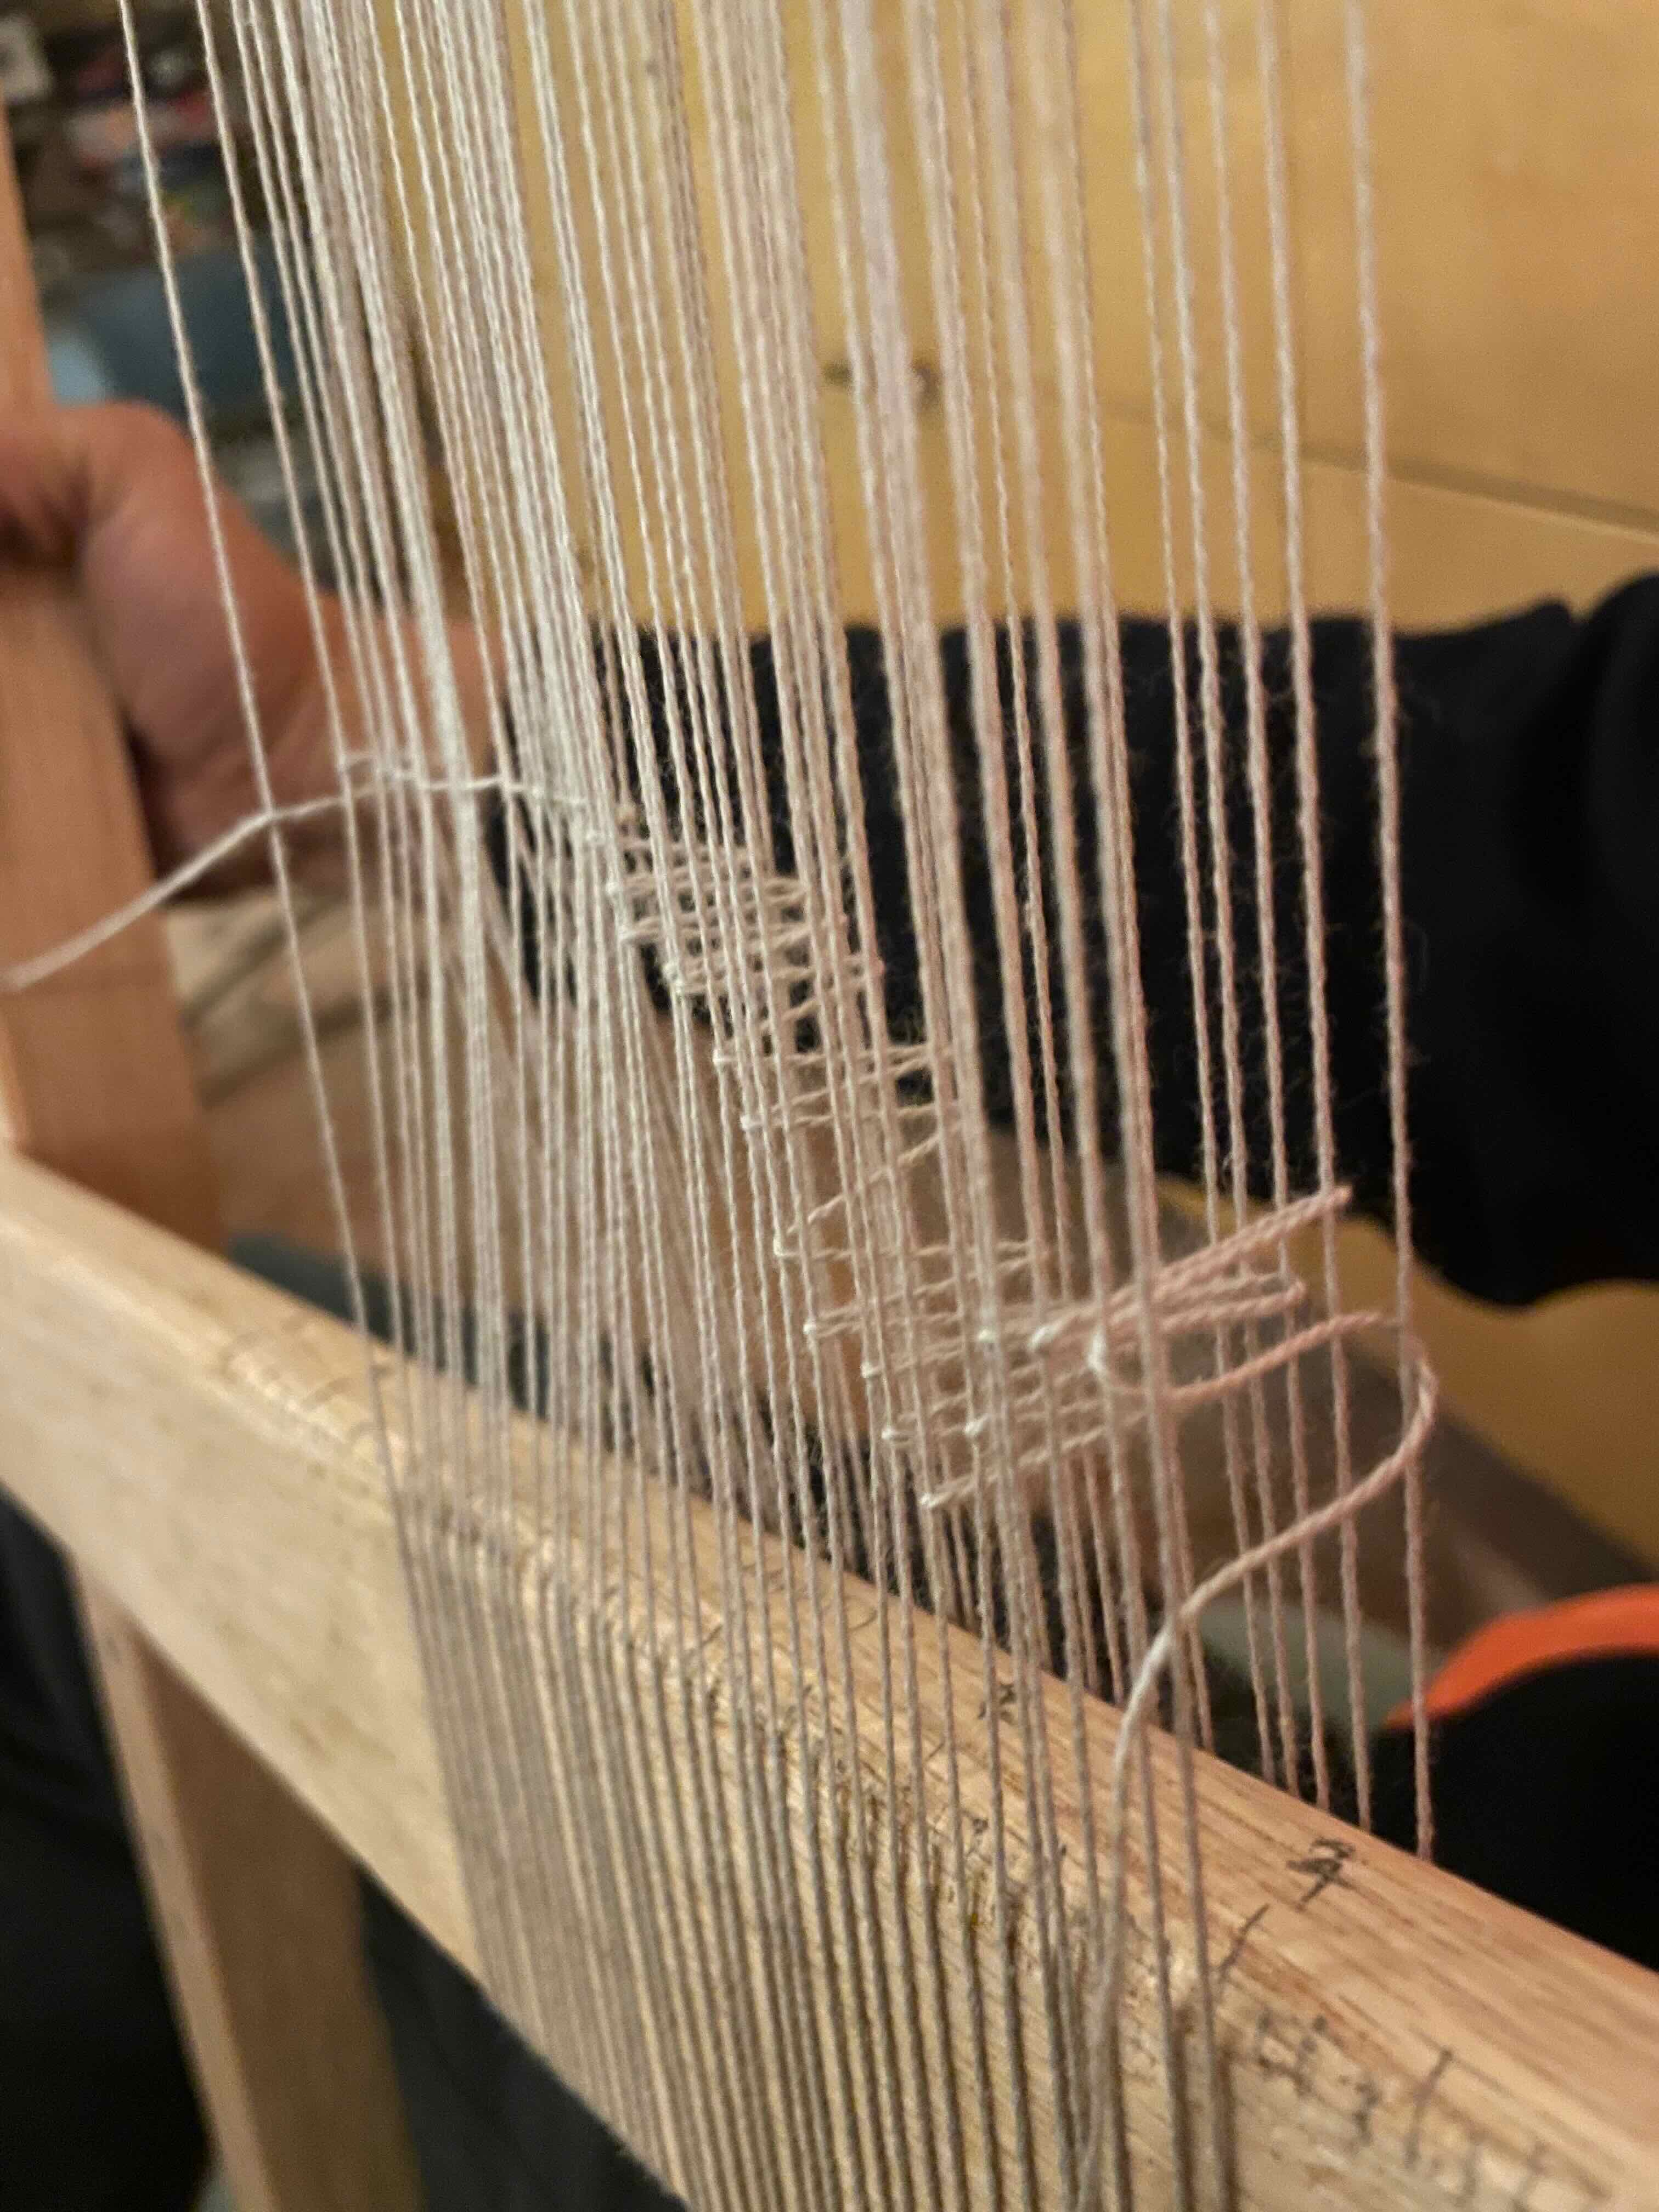
Having woven a 3”x3” sampler, I decided I needed to size up 10x and build 36” wide, 4 shaft loom, 20+ dpi for silk, without ever having seen a loom in real life.

v2: overly ambitious 36” 4 shaft loom
Pictures of the mechanisms weren’t that easy to find, so I made up a lot along the way, or reverse engineered from videos.
I did not have my own shop at the time and was using John’s woodshop, so I tried to make as much of this out of wood (pine s4s from big box store).
I dado-ed 4 slots to make make heddle guides, and made the heddle themselves out of rounded rectangular steel extrusion (horizontals) and lasercut baltic birch (vertical guide runners). I bought eyes from etsy (captain yarn) which fit on the extrusions.
While assembing these I realised that eyes have orientation and had to re-thread them a few times.
The shaft raising/lowering mechanism was made from some scrap PVC as rollers and a lasercut baltic birch structure, bolted onto the castle. I used found paracord to actuate each shaft; this turned out to be a bad material choice as the paracord would quickly elongate and not lift its shaft fully. The cords were fed from the centre to the edges to provide force on both sides, directly above the rails.
The winding rods are quite nice. I used a Form3 to make a ratcheting brake.
I bought a reed on ebay (24DPI I think). At first I tried to make my own using steel wire + lasercut frame and guides, but this proved too hard to get taut and also take too long to make it down the 36”. I managed to wind about 8” before giving up and going on ebay.
At this point I wanted to get weaving, so the reed whacker is quite underbuilt. It is not rigid enough and will eventually break the reed if not stabilised, but it was enough to get me weaving.
I then discovered that warping up also takes quite a long time, so I decided to start iwth a 6” sampler. I was able to weave a bunch of patterns successfully, but at this point I decided that it was too slow and I needed to automate it.
v3: motorised 4/8 shaft controller retrofit of a 12” Lelerc loom, pattern reading from rPi
Simple actuation of hand levers using servos and string. Controlled by a headless Pi and GUI interfaced via vnc.
I use a great iOS app called WeaveIt to draft designs. It makes it easy to plan tie-ups and handles multiple colours well to represent overshot patterns. The app outputs a fairly standard .WIF (weaving information file).
A set of python scripts on the Pi parses the WIF file, and passes the information to a controller GUI. The GUI allows the user to navigate through the weft pattern, row by row (or jump to row). The shafts will be lowered/raised according to the pattern.
Threading the shuttle is still manual, but this saves a lot of time - you don’t need to let go of the shuttles, you don’t make mistakes by lowering/raising the wrong shaft, and you don’t have to get lost trying to find your place in a pattern sheet.
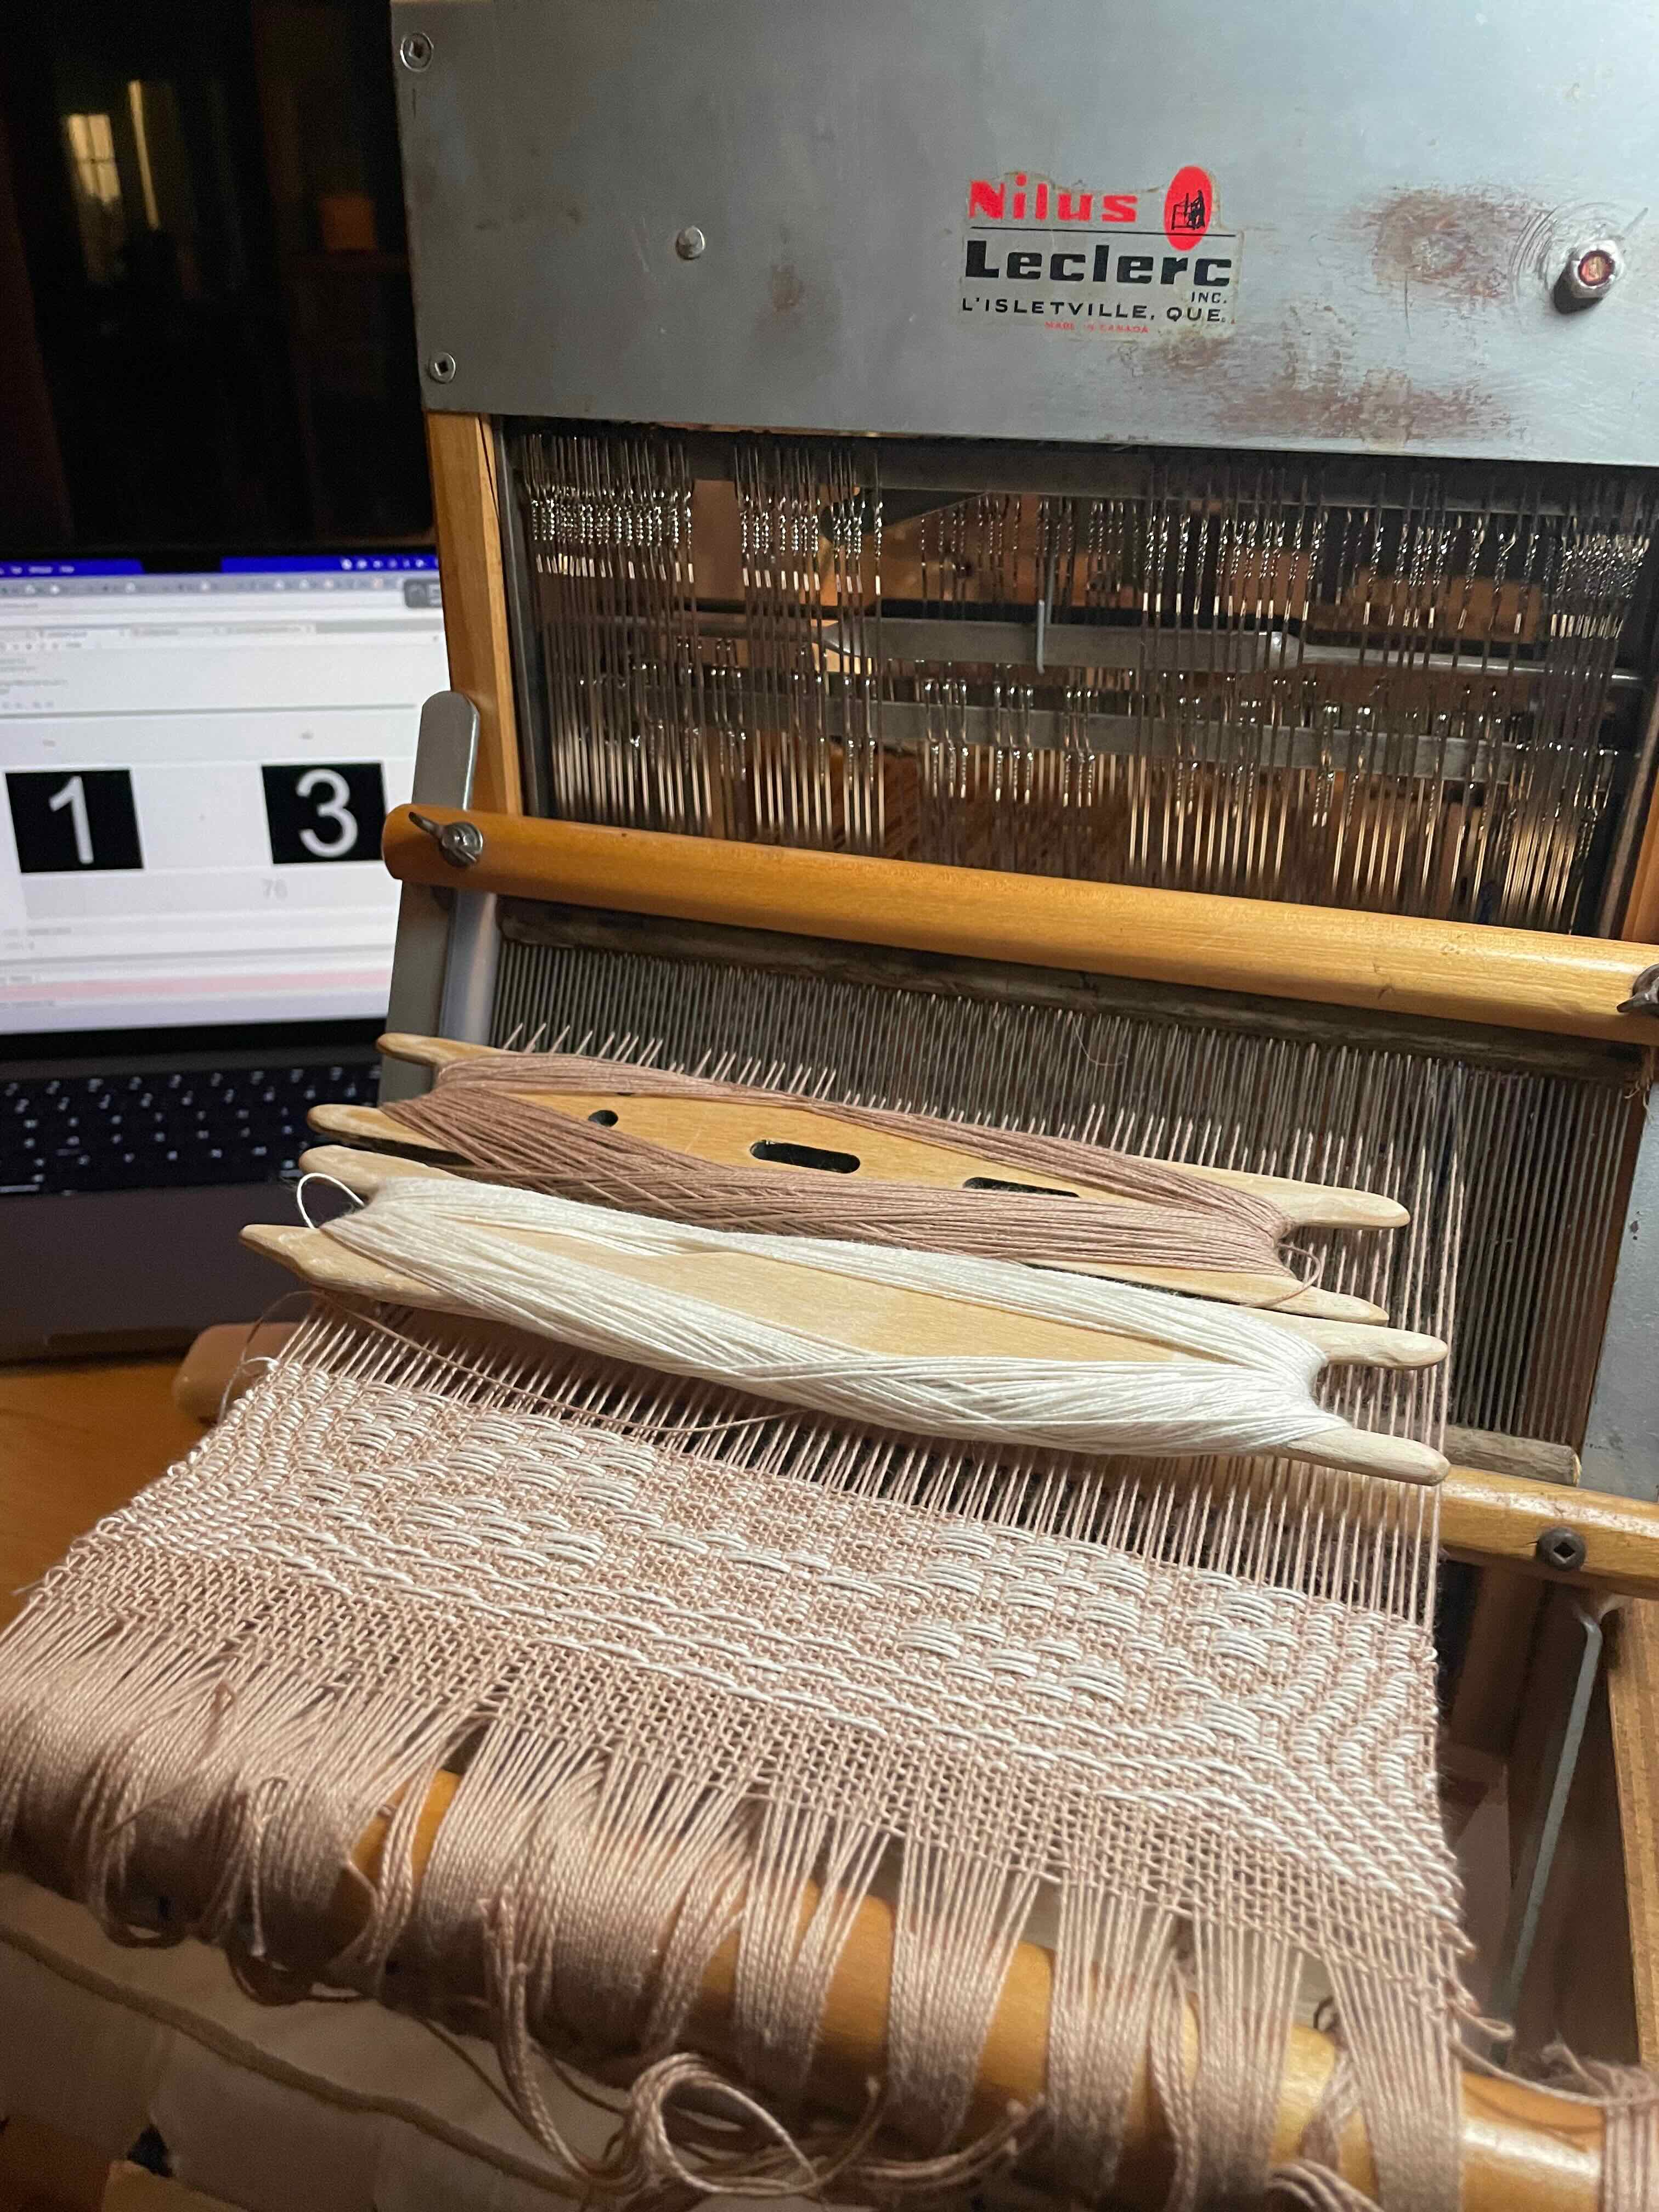

The first things I wove on this were some overshot squares.
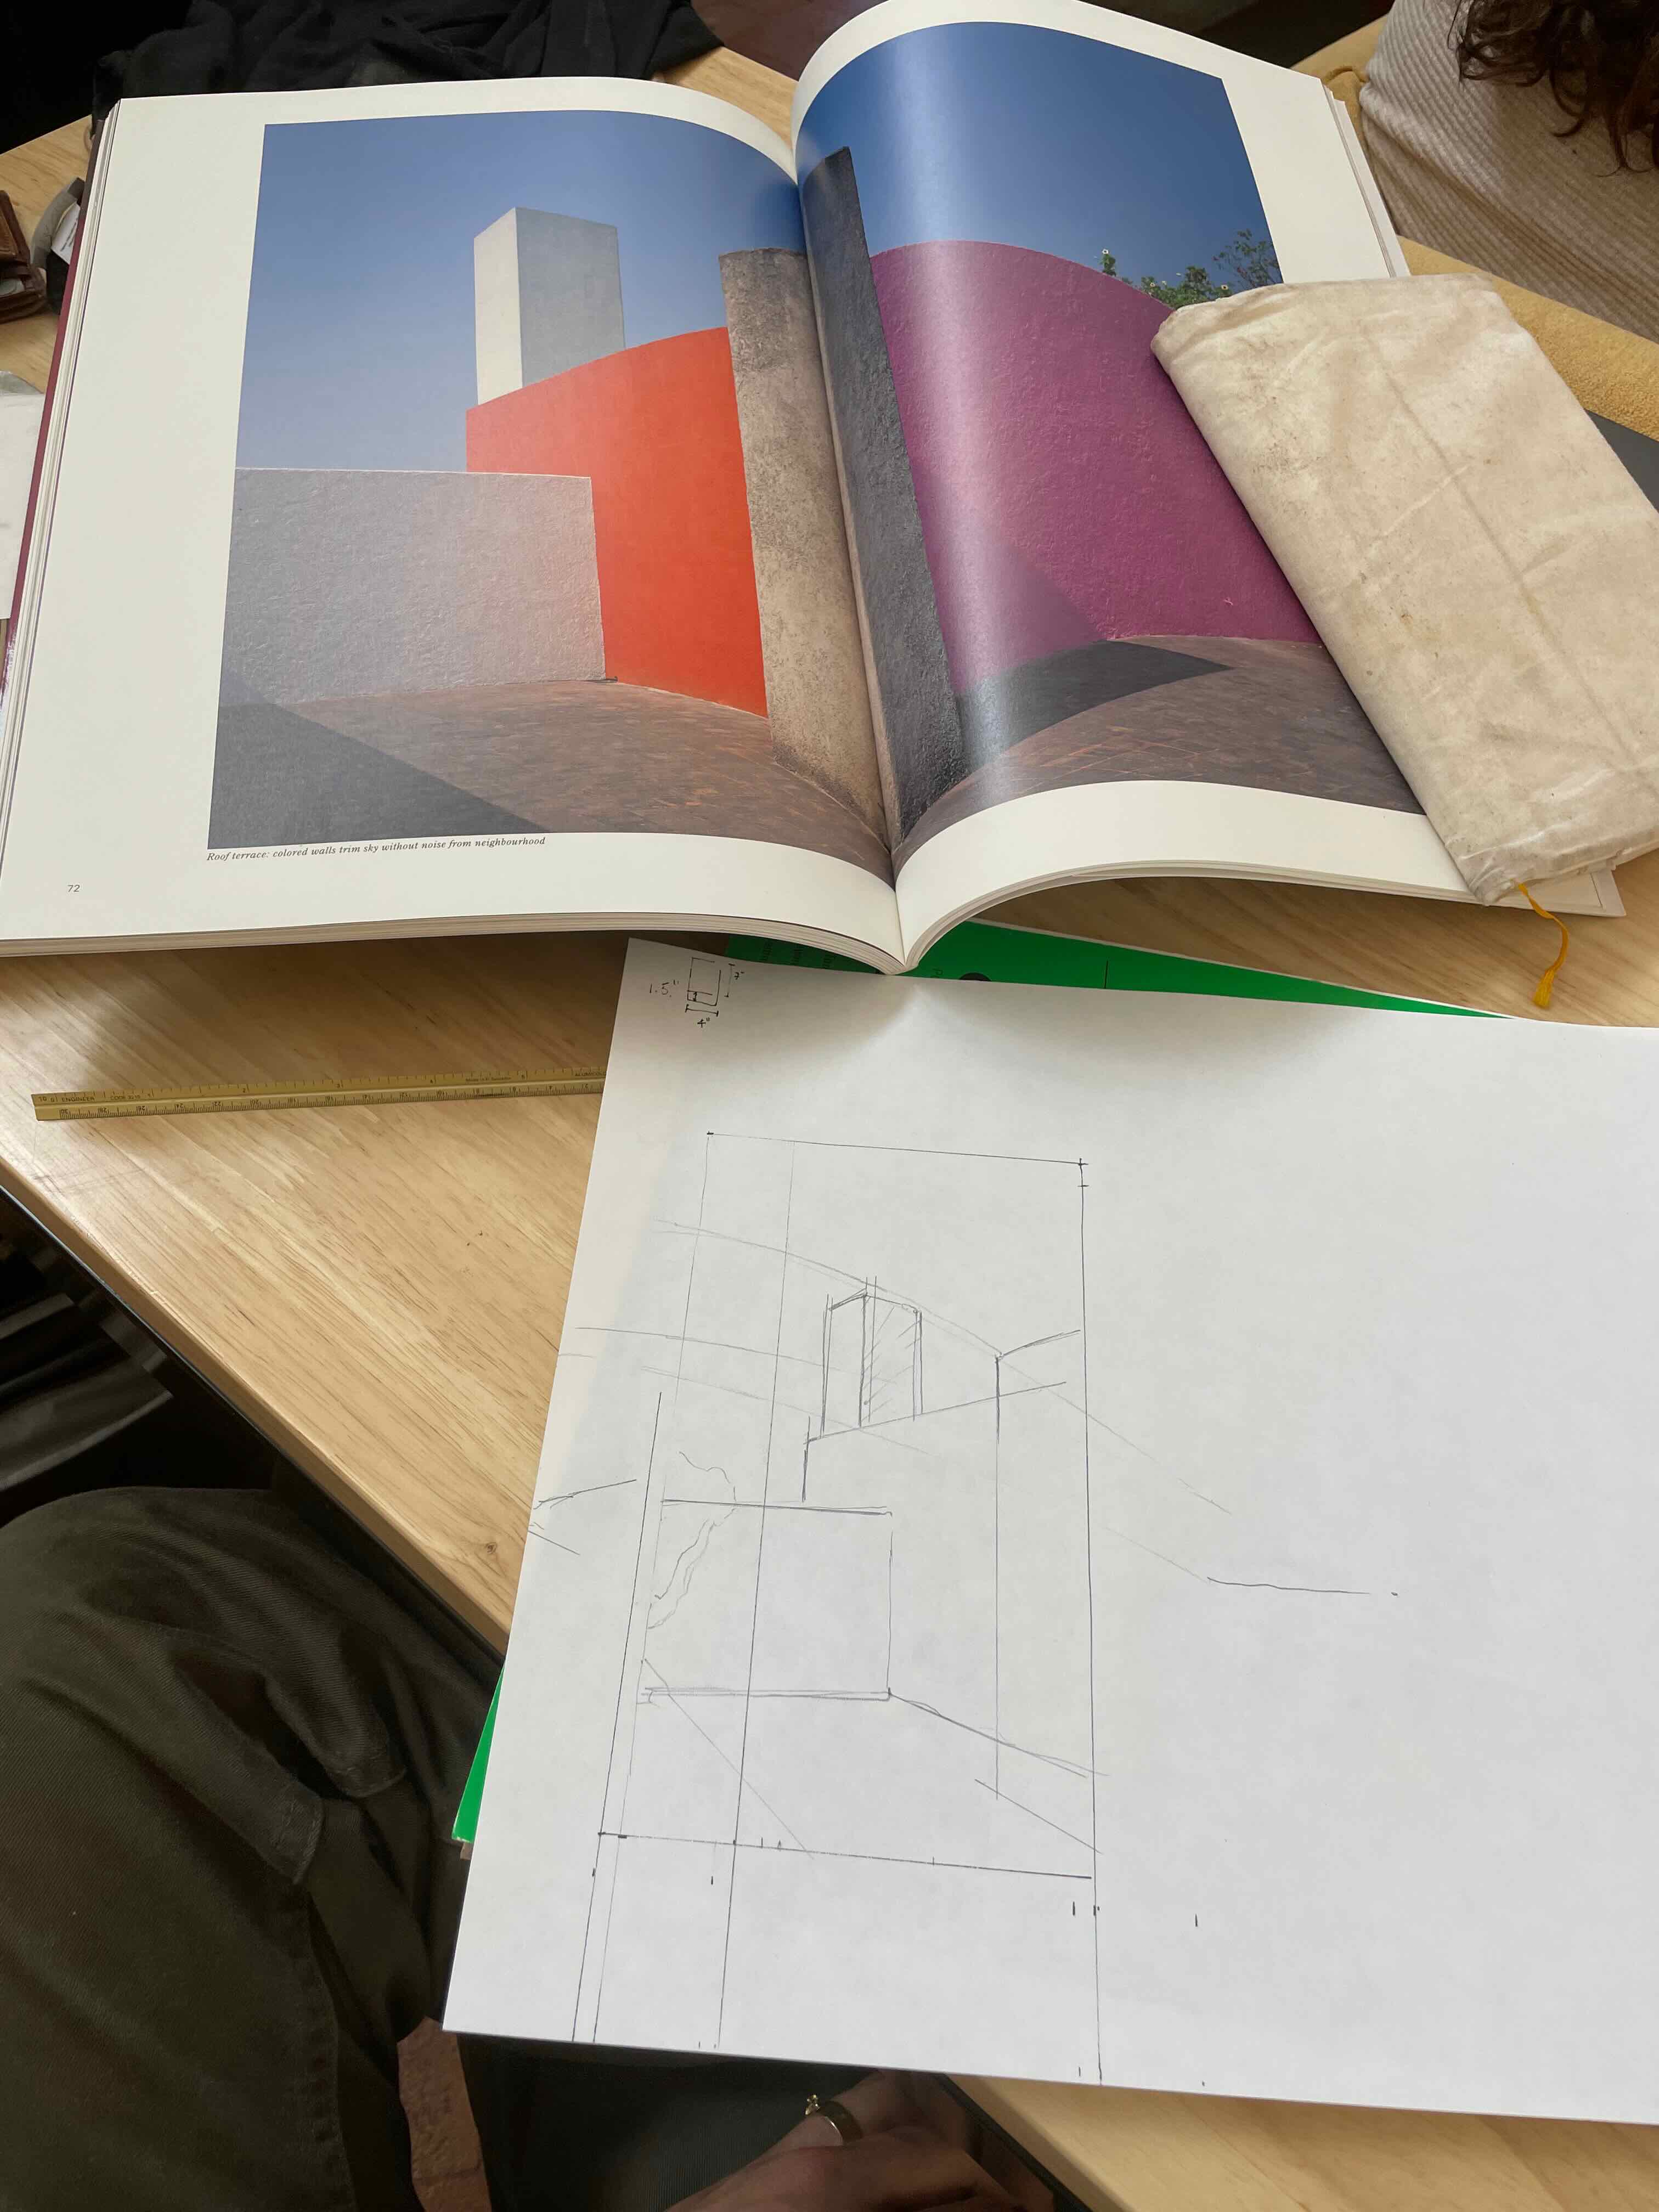
v4: upright tapestry loom
I thought it would be nice to weave a book cover or stationery case or knitting pouch for Tash, and wanted it to be pictorial. We have an amazing photography book of a house of Luis Barragan, and had the idea to weave tapestries of these photos. They are quite geometric, have bright colours, and feel scale-less.
I built a nice frame out of some red oak. I was feeling inserty so lined the side supports with 10-32 brass inserts, theoretically making it adjustable for different length tapestries. I used threaded rod on the top and bottom to make a DPI (dents per inch) reference and yarn spacer.
Warping was a little awkward at first, but I added a rod through the middle, and with the help of some chairs was able to spin the entire loom and warp quite quickly.
I also needed some shuttles, so I turned some.
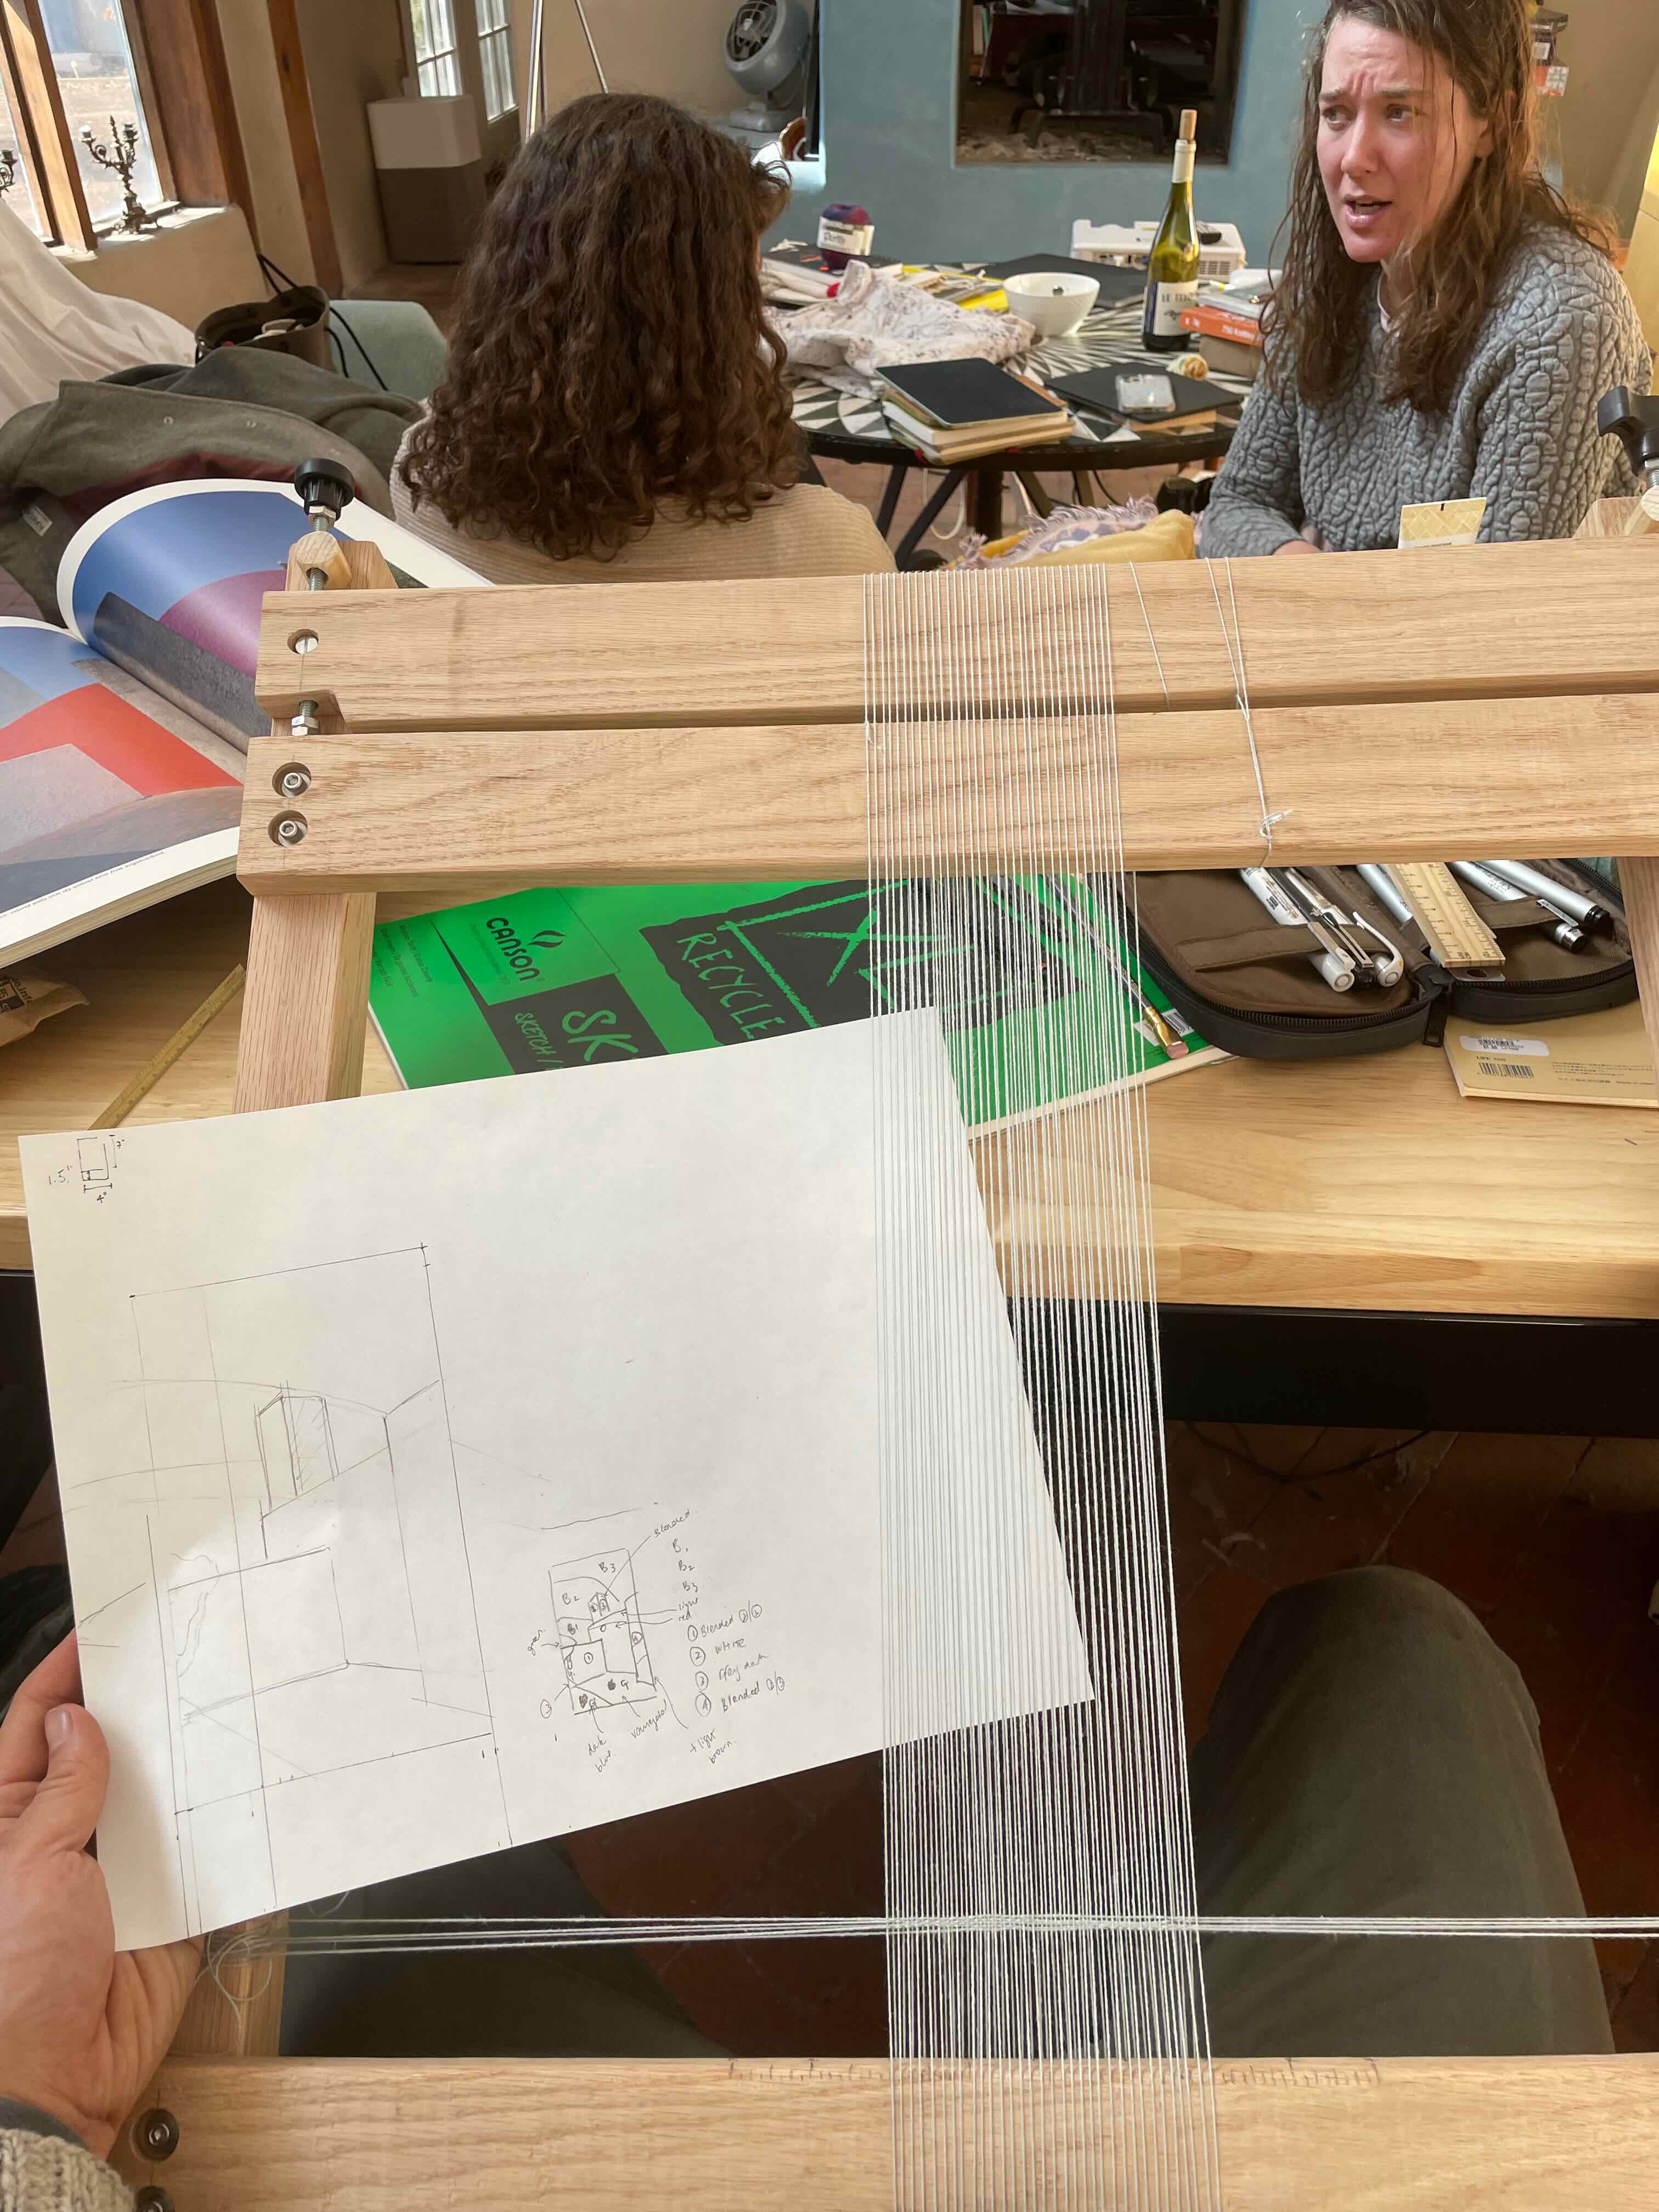
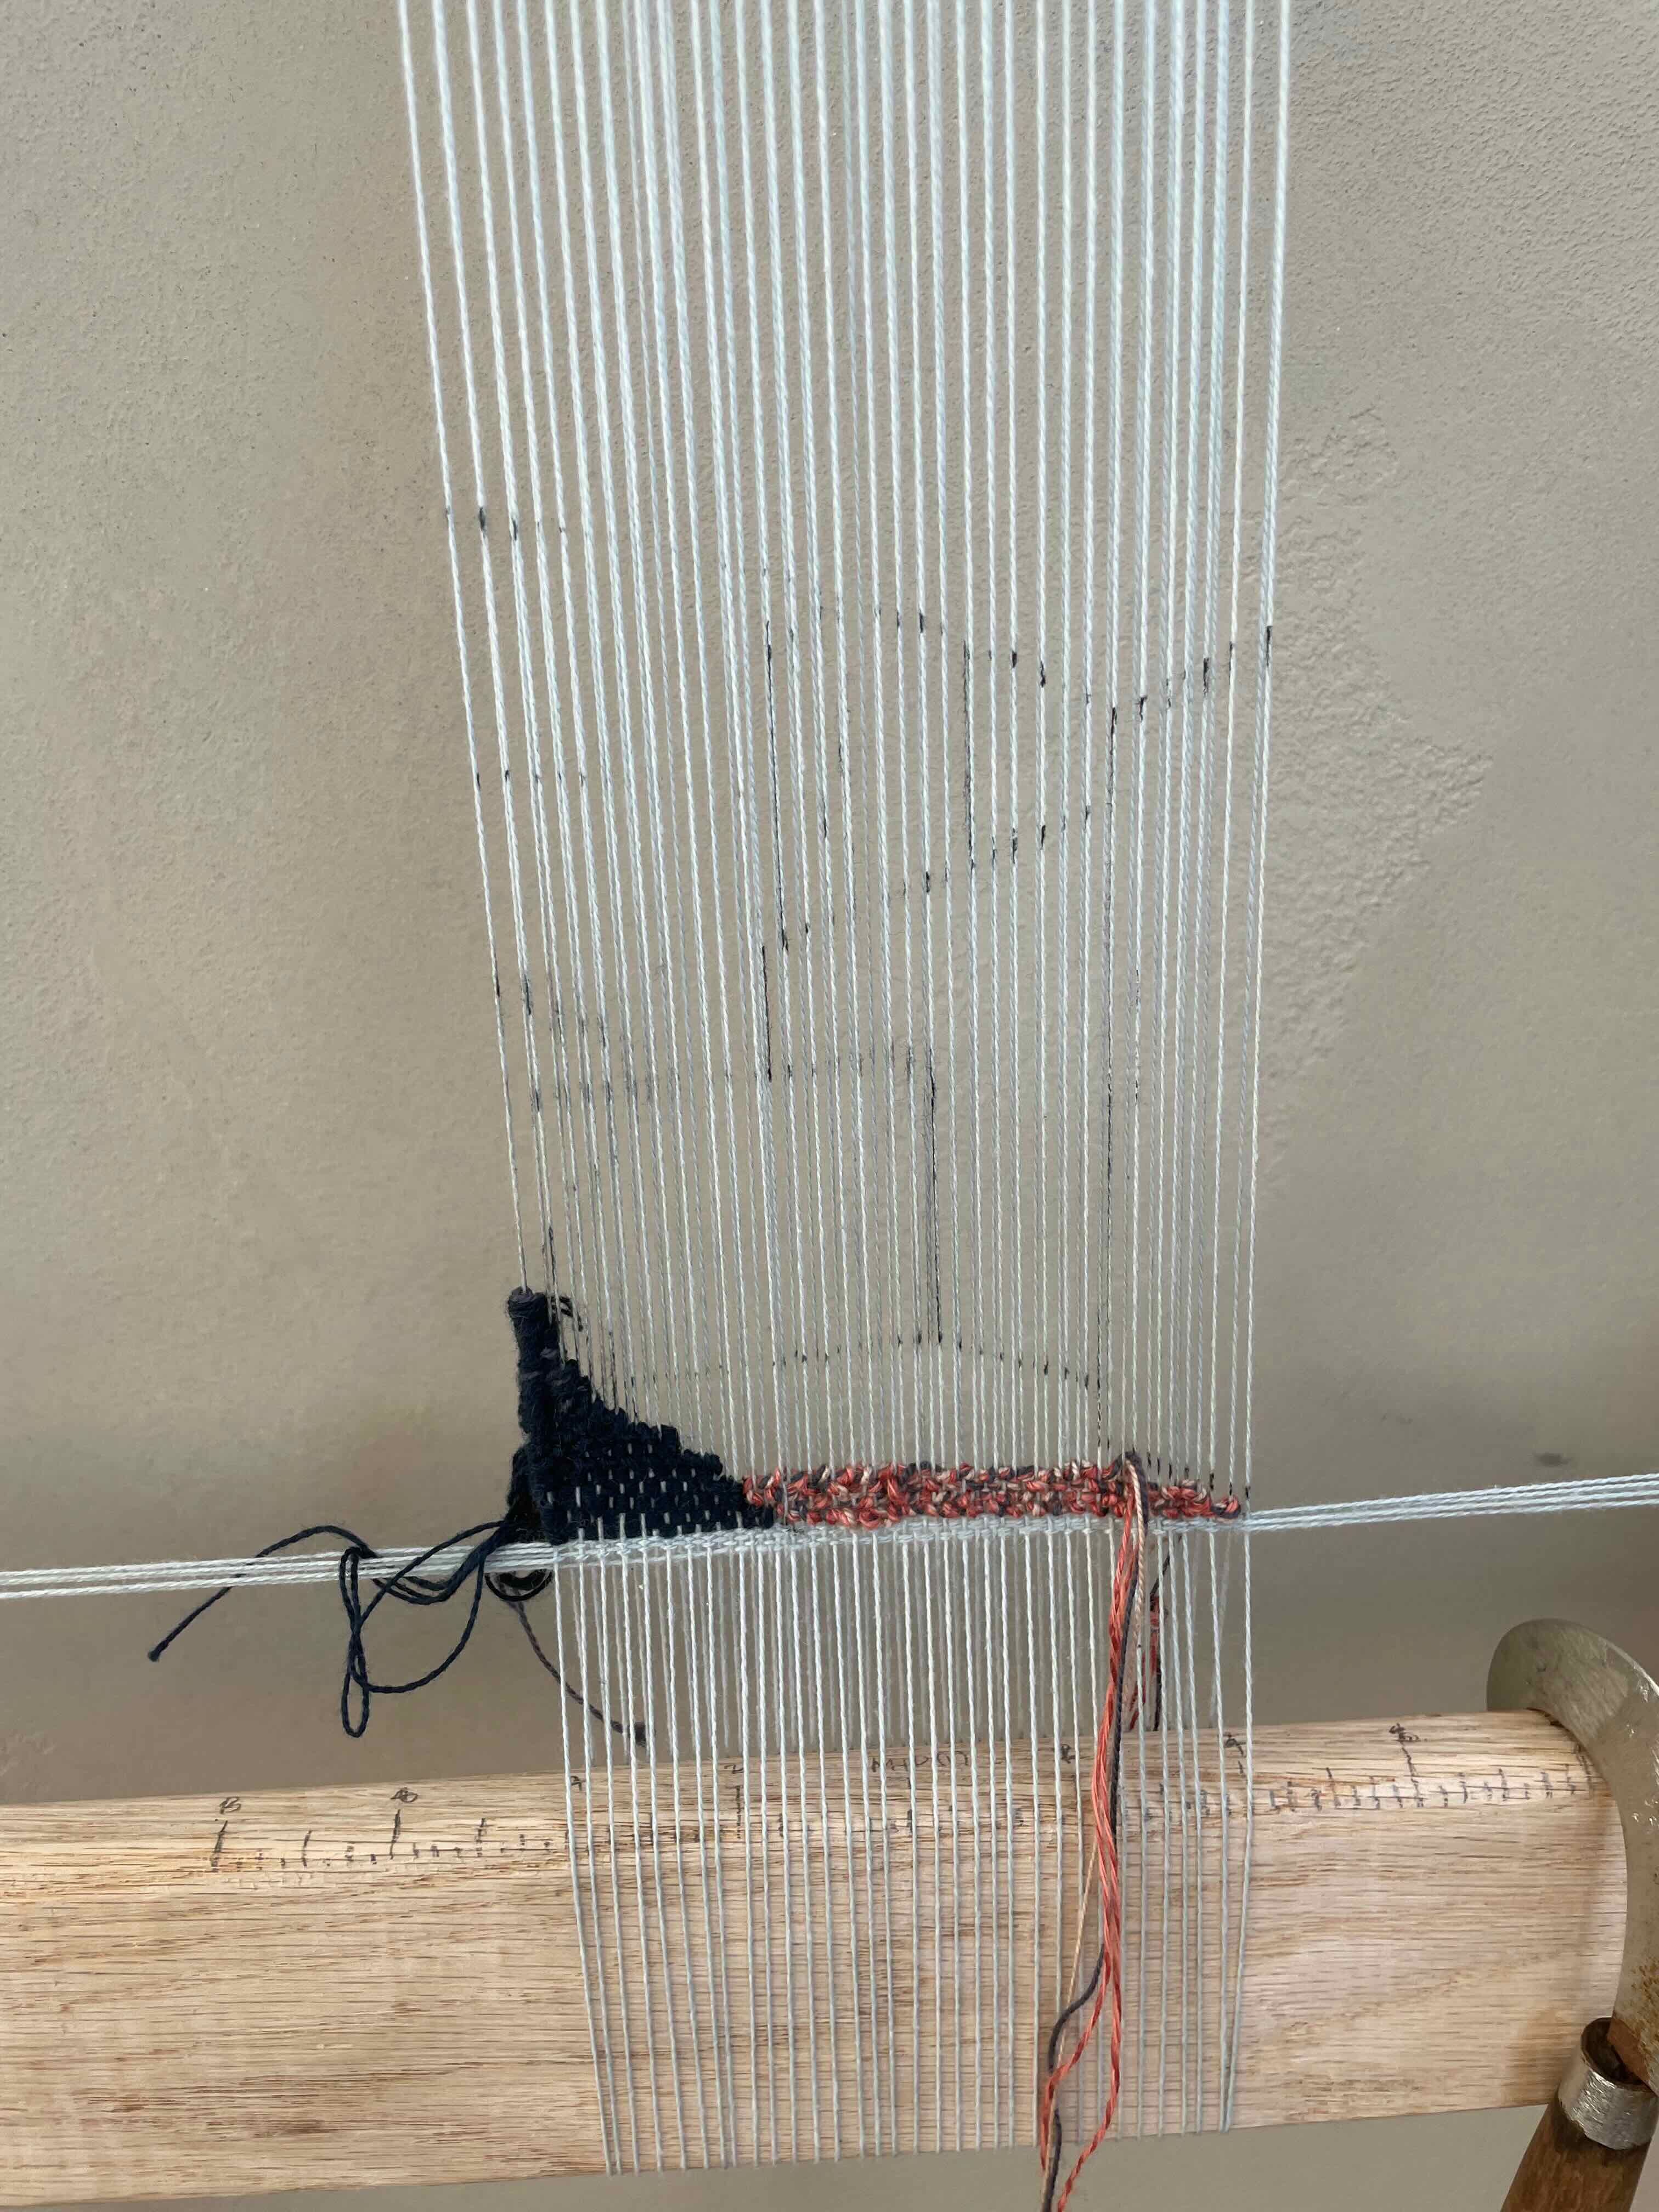


Actually weaving on the loom was slow going. Tensioning the warps evenly was difficult especially in the middle of the warps vs the edges. Currently it is still 1/8th of the way through and has sat against the wall for a year +.
In the works:
Rebuild of the 36” 4/8/16 shaft loom with motorised shaft control and pattern reading
Simple jacquard (or at least dobby) loom.
Addition of 4 more shafts to motorised Lelerc loom. Physical GUI to remove the need for a vnc gui.