
aesop
justin, halloween 2022
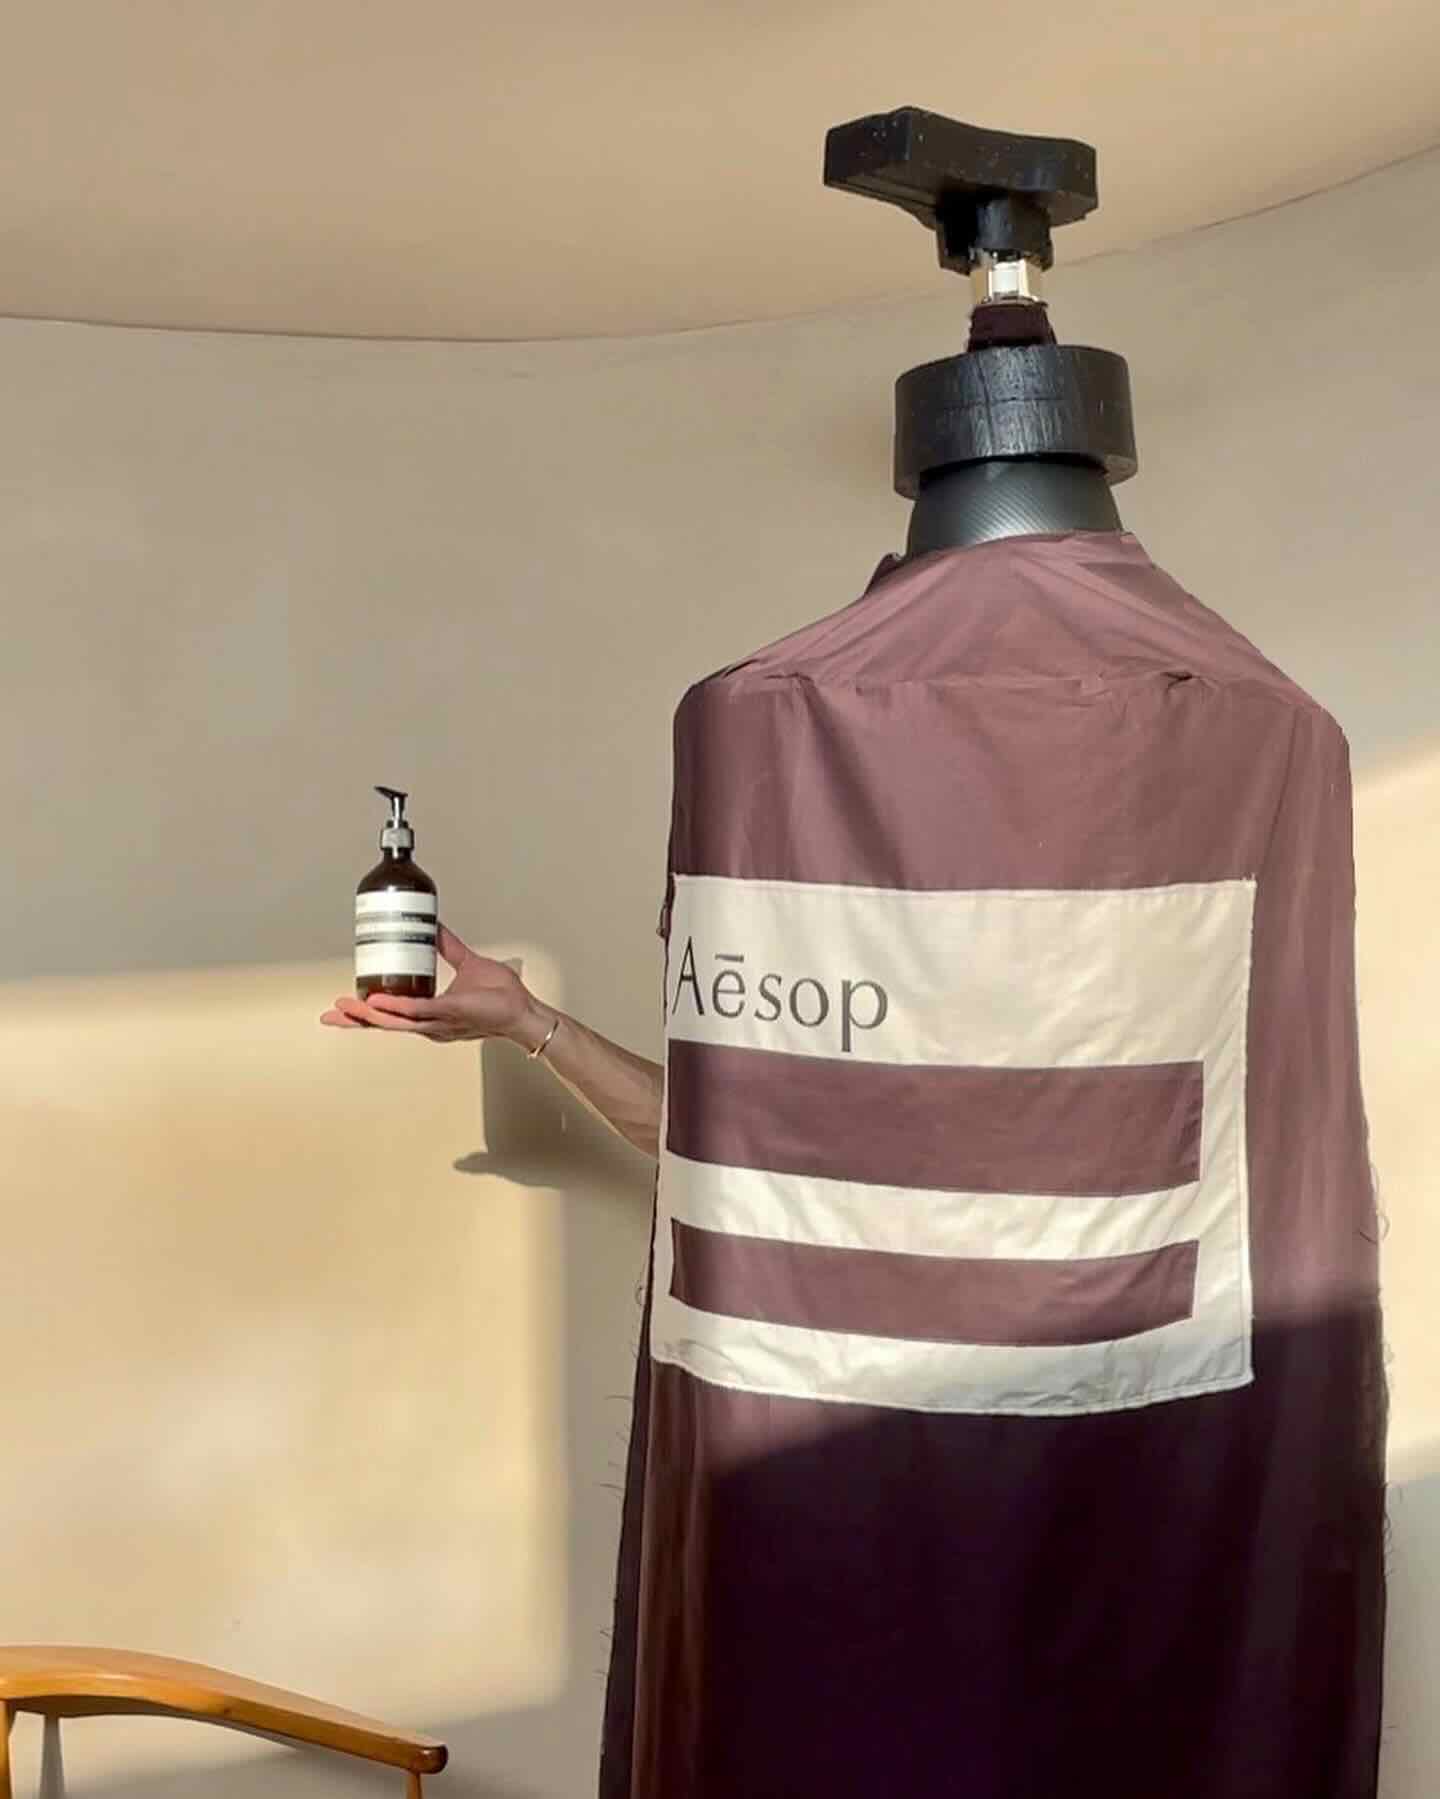
A few days before halloween, our friend Jordan messaged me about a halloween party while I was in the bathroom. I had no costume ideas at that point, but I scanned the room and inspiration struck 🧴️
I like massive, unweildy costumes, and ideally they are interactive.
The afternoon before halloween, and without much planning, I went to Joann’s with a $40 budget and bought:
- 2 cans of silly string
- 5 yards of ‘mocha’ cotton fabric @ $3.99 a yard
- 1 yard of ‘latte’ cotton fabric @ $3.99 a yard
- 2 plant wreath frames
- black acrylic paint
I already had:
- a safety helmet
- polystyrene
- scrap wood
- iron-on vinyl
- nitinol wire
- springs and bamboo skewers

Foam cutting a top
I needed to construct a cylindrical form that represented the bottle’s plunger base. I used spare polystyrene but had to hack together a hot wire cutter. Scrap wood, nitinol wire, bolts, DC bench power supply with current control:

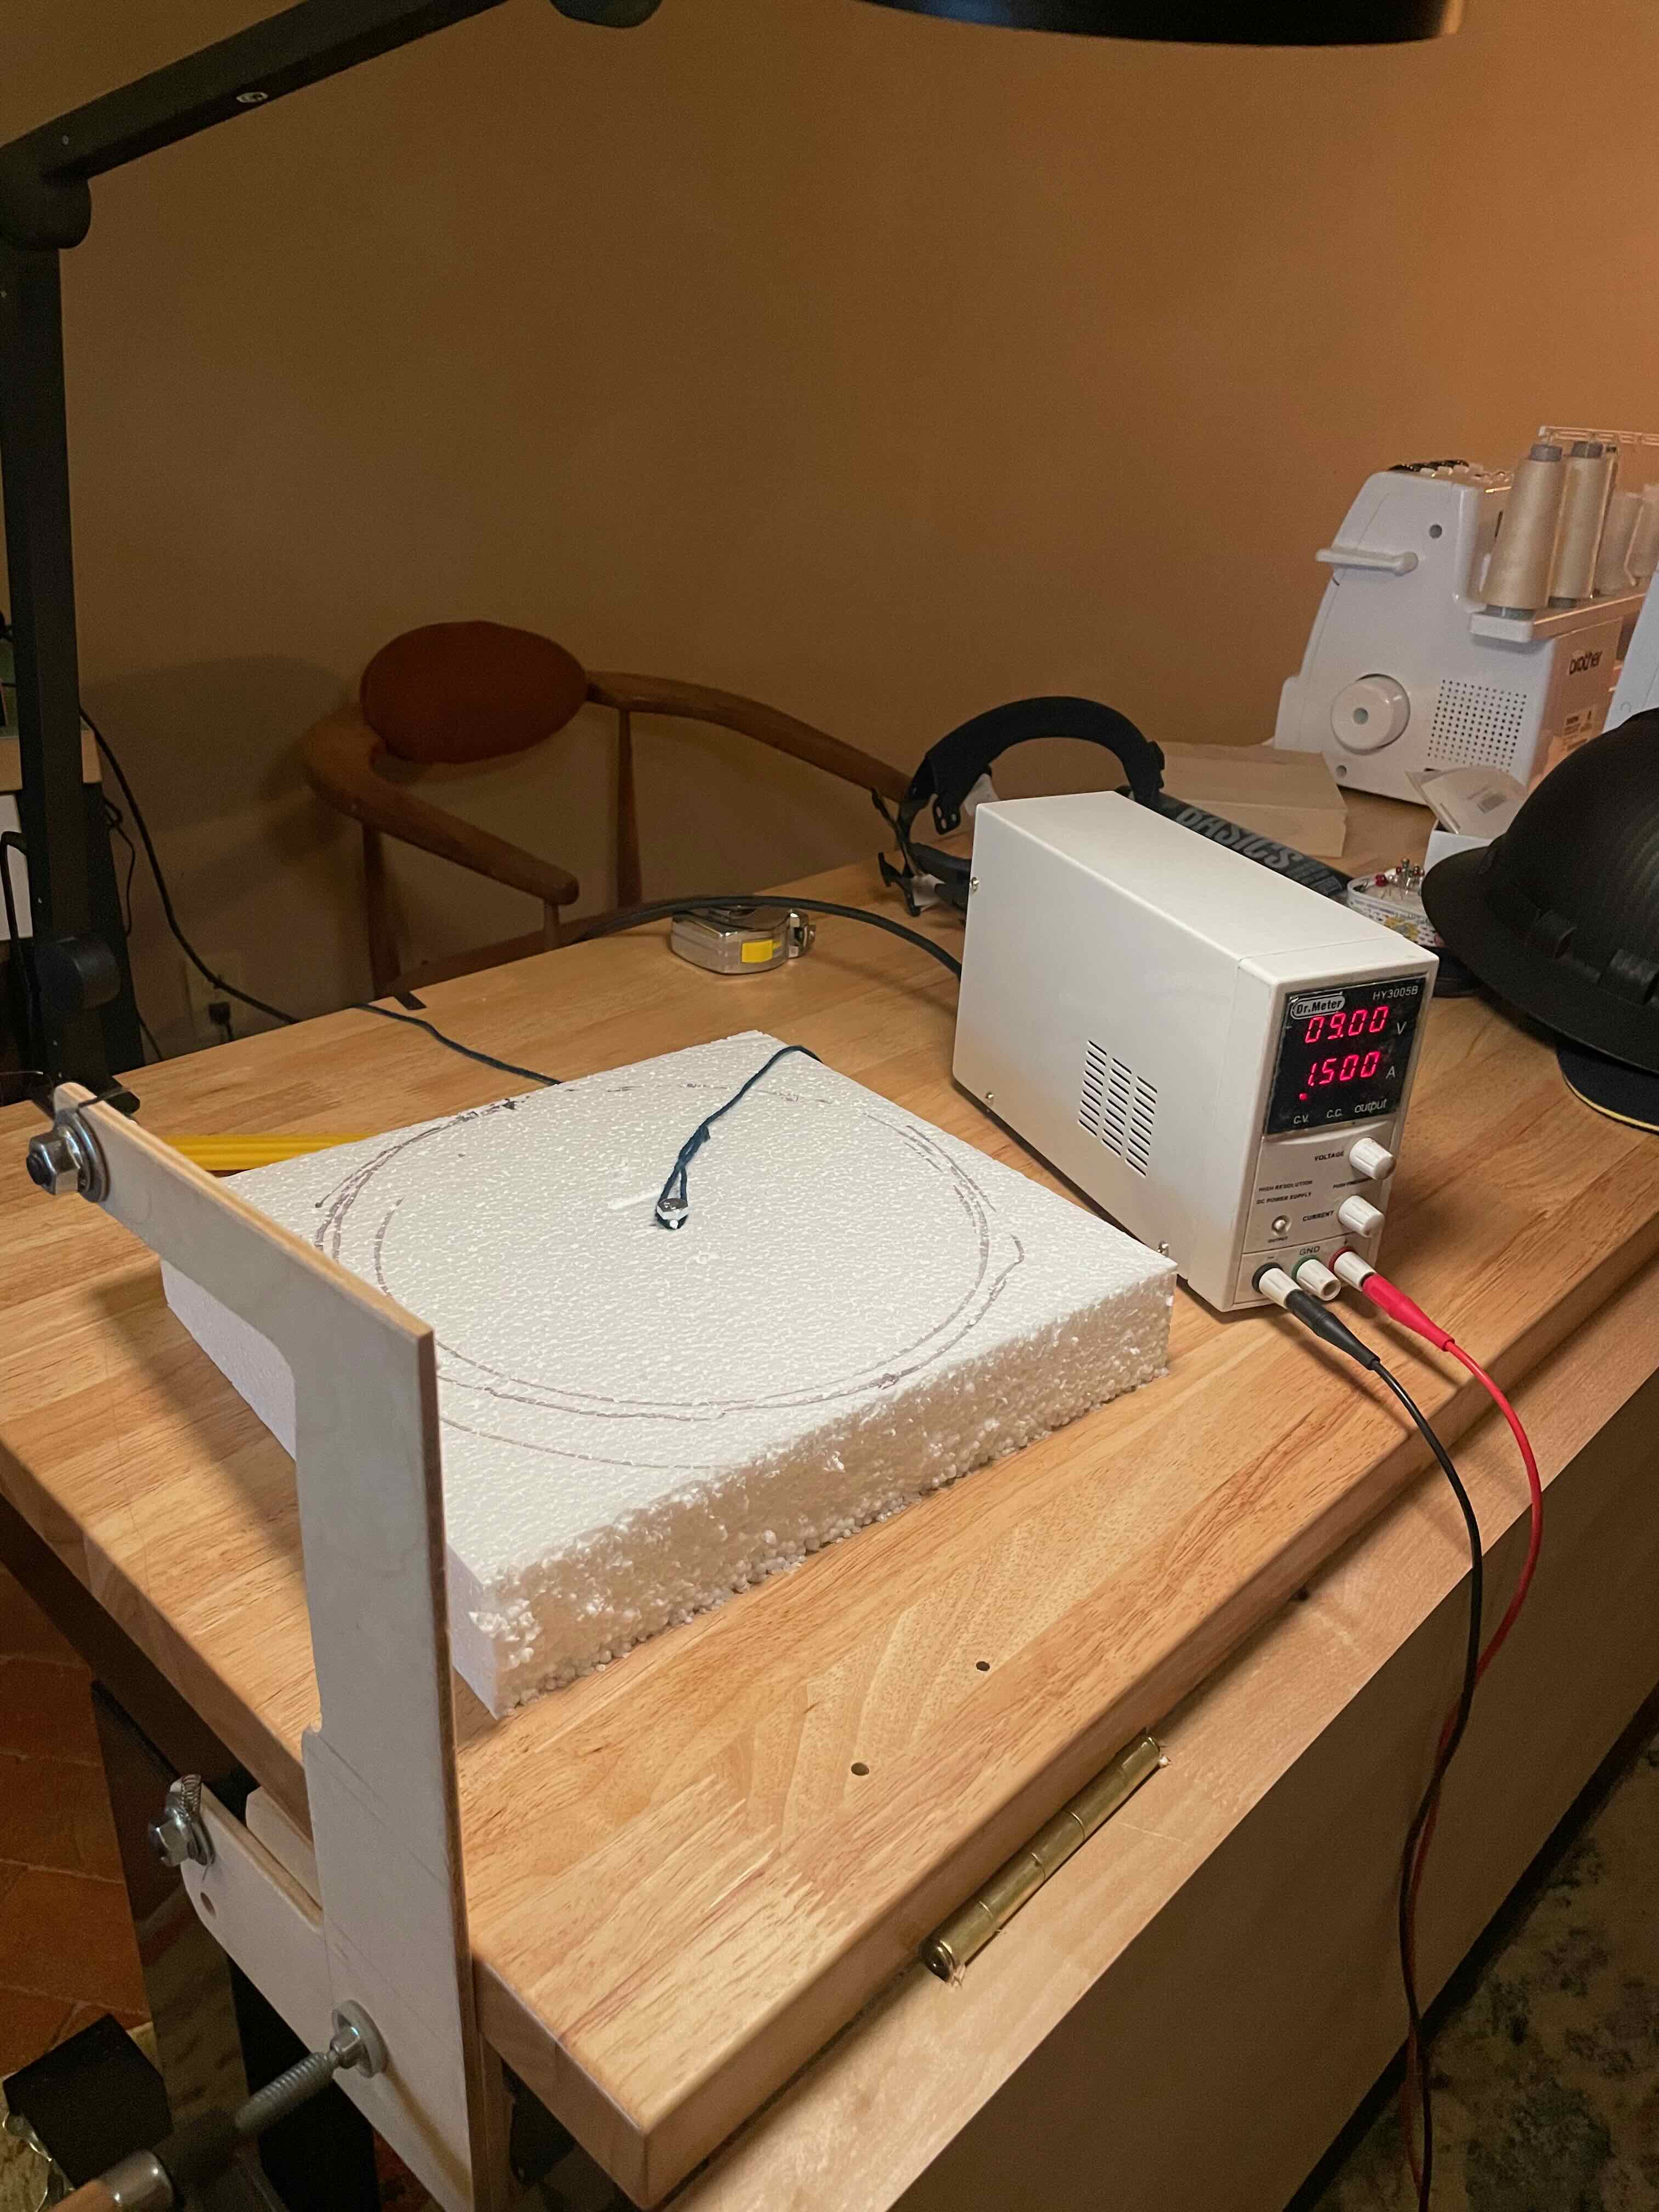
I was able to use this to ‘turn’ some nice cylindrical pieces.
I attached a stack of these to the top of a safety helmet, which would form the housing for the squirty mechanism.
Squirty Mechanism
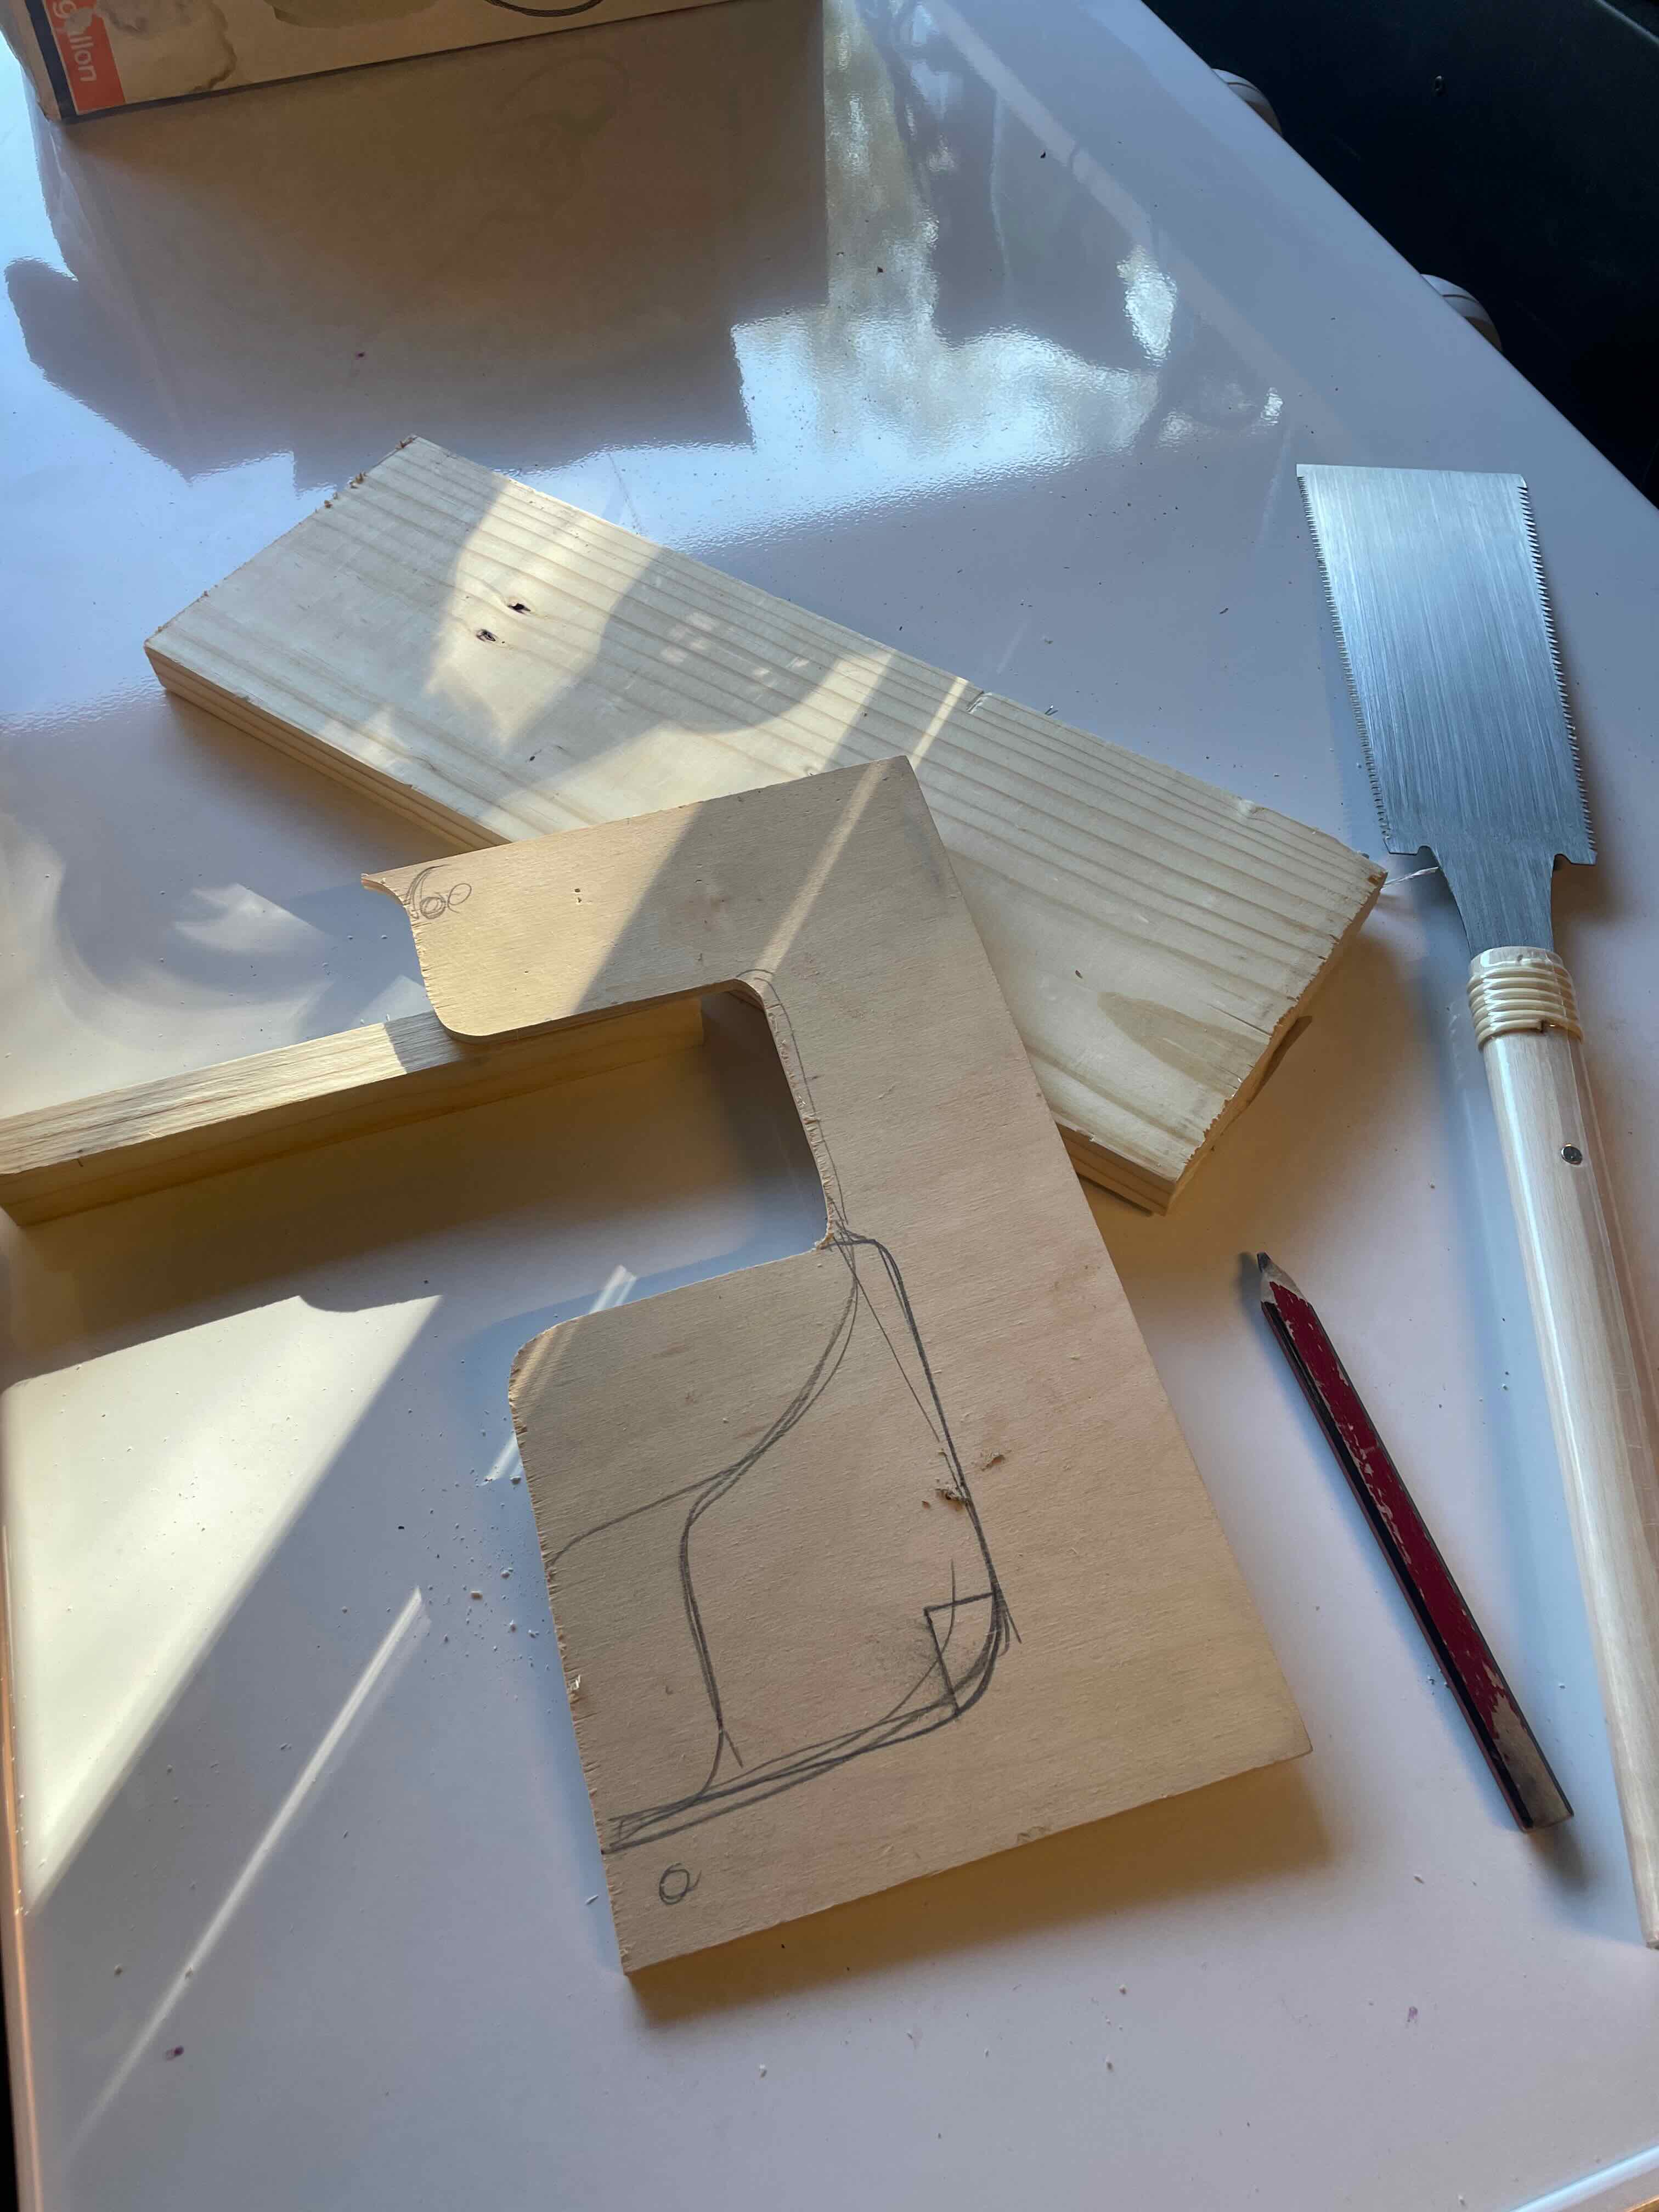
I needed a linear motion constraint to house the silly string and press its nozzle. It had to be lightweight, and quite small - there wasn’t much room on the helmet. I also wanted it to be spring loaded (so the plunger would not get ‘stuck’ in the down position, and for there to be some travel before it actuated the nozzle. I thought this would make pressing the plunger feel more realistic (greater force at the end of the stroke).
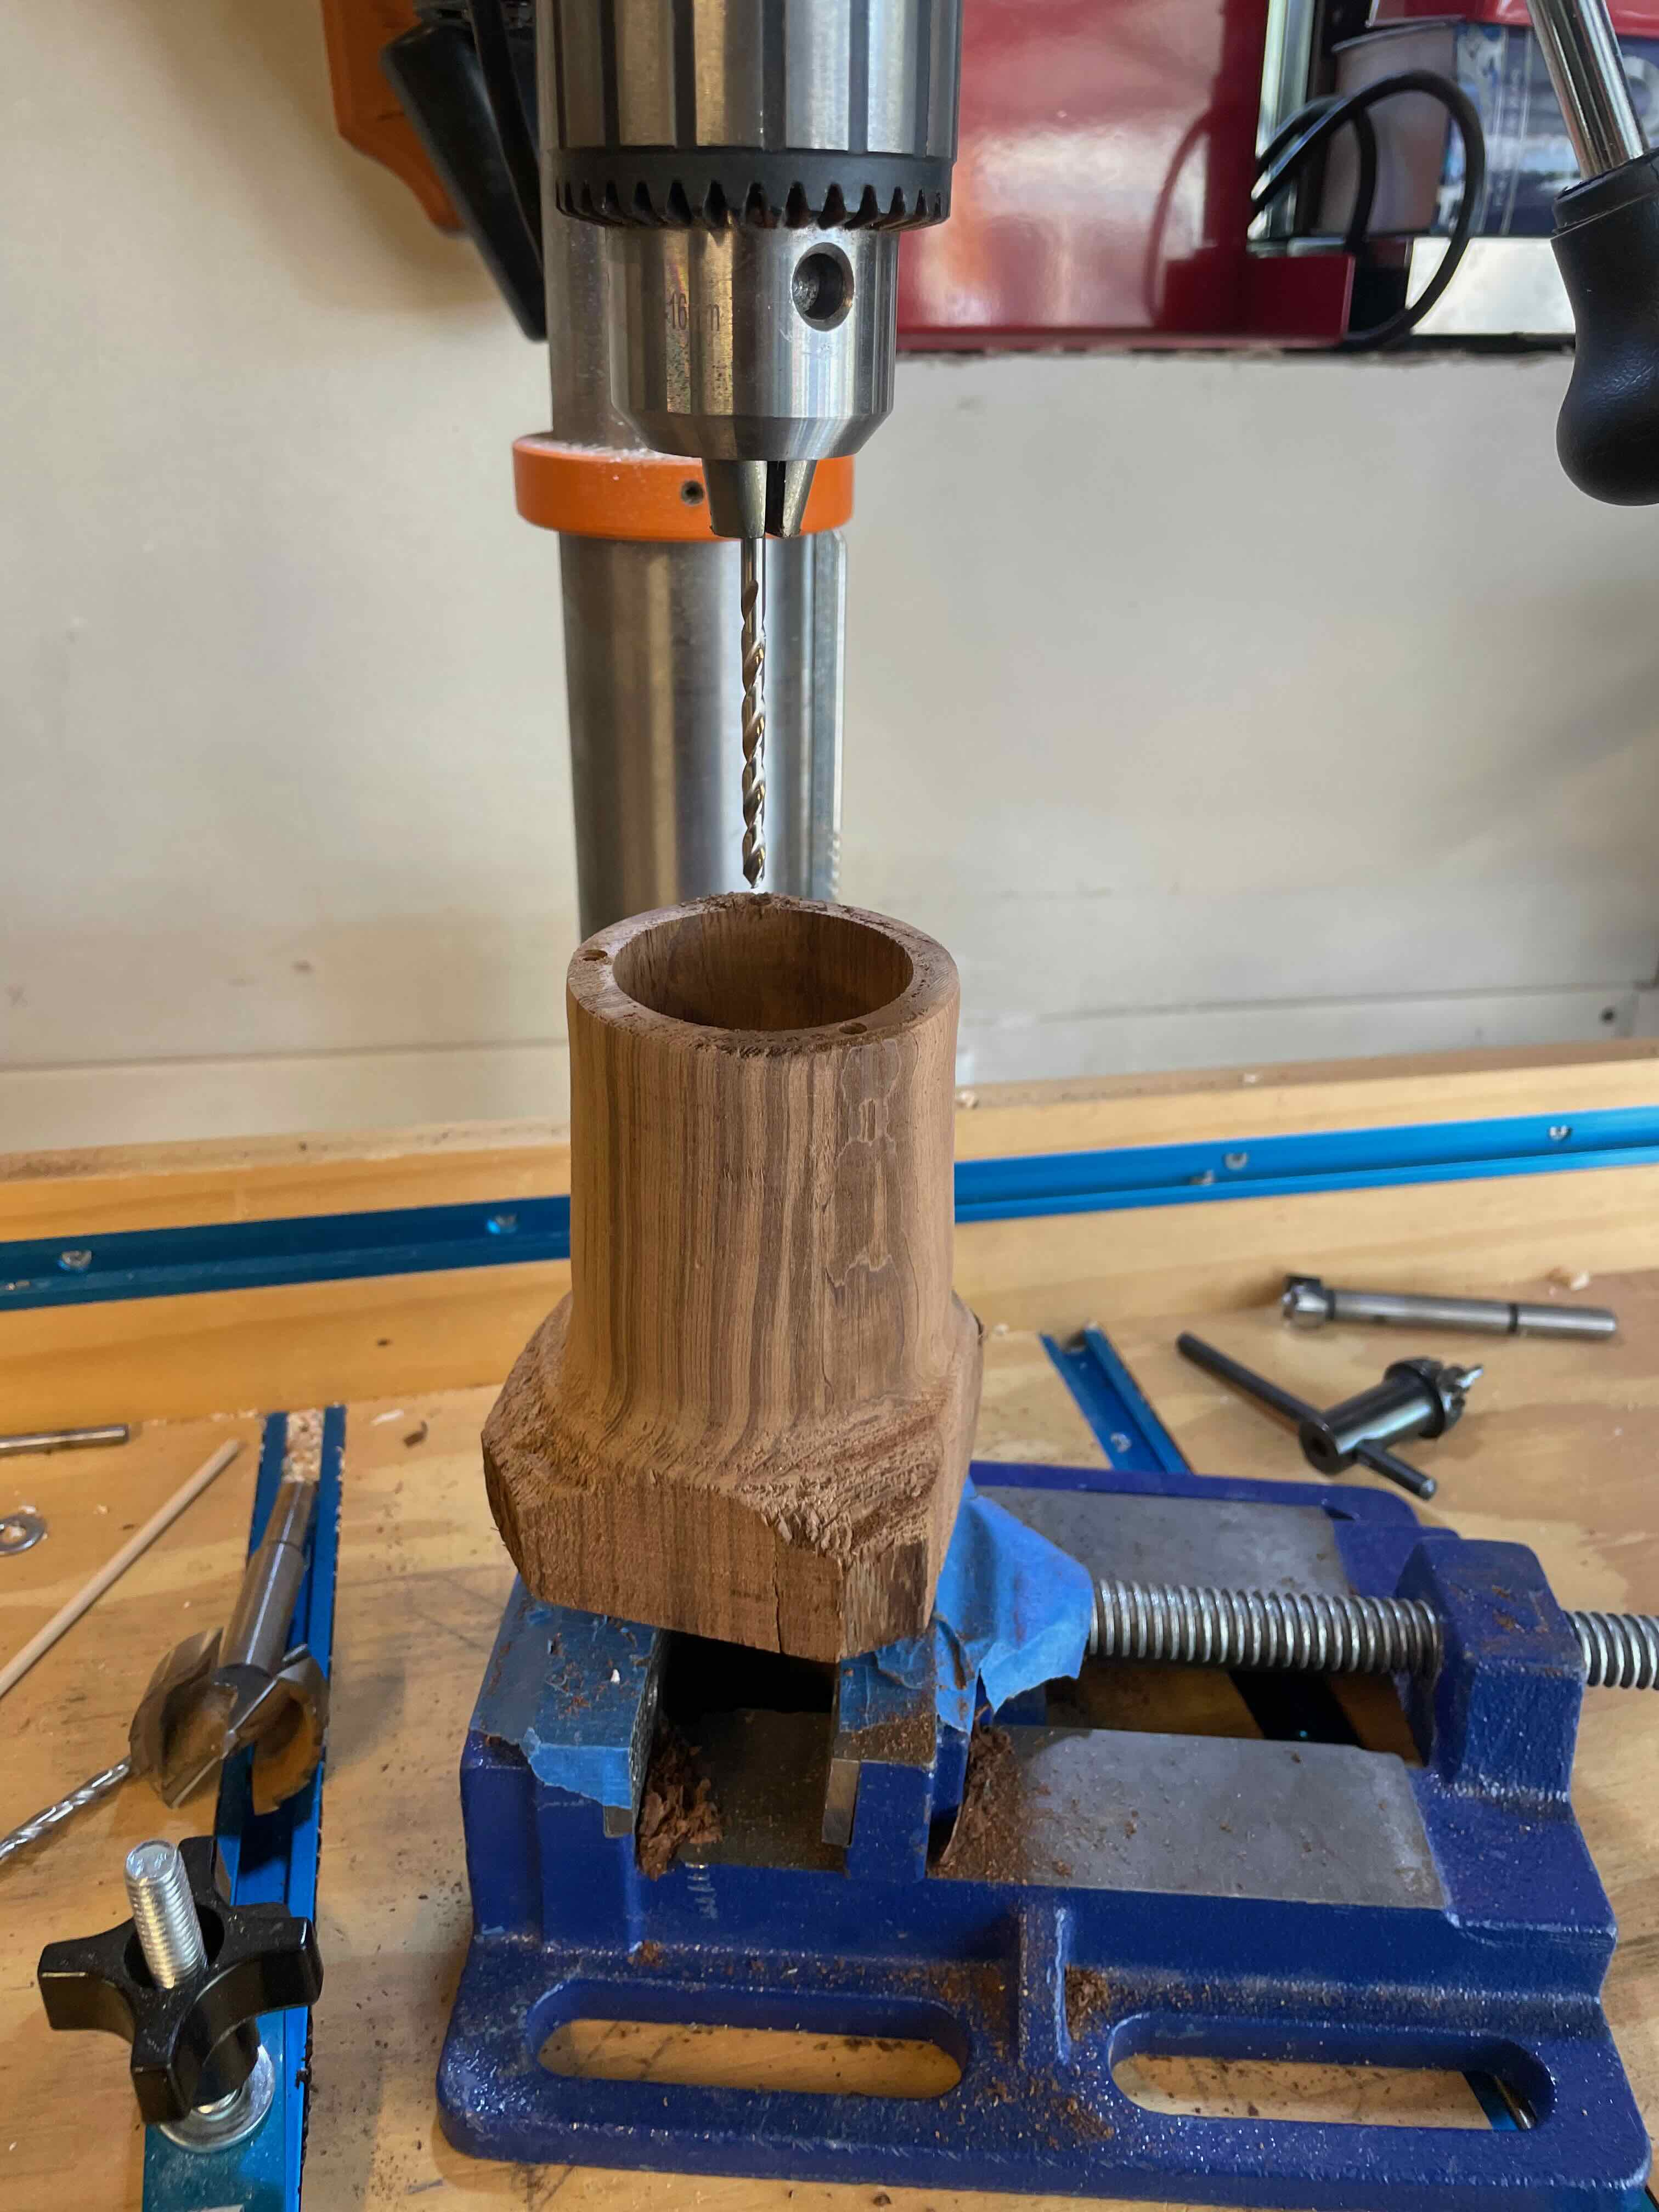
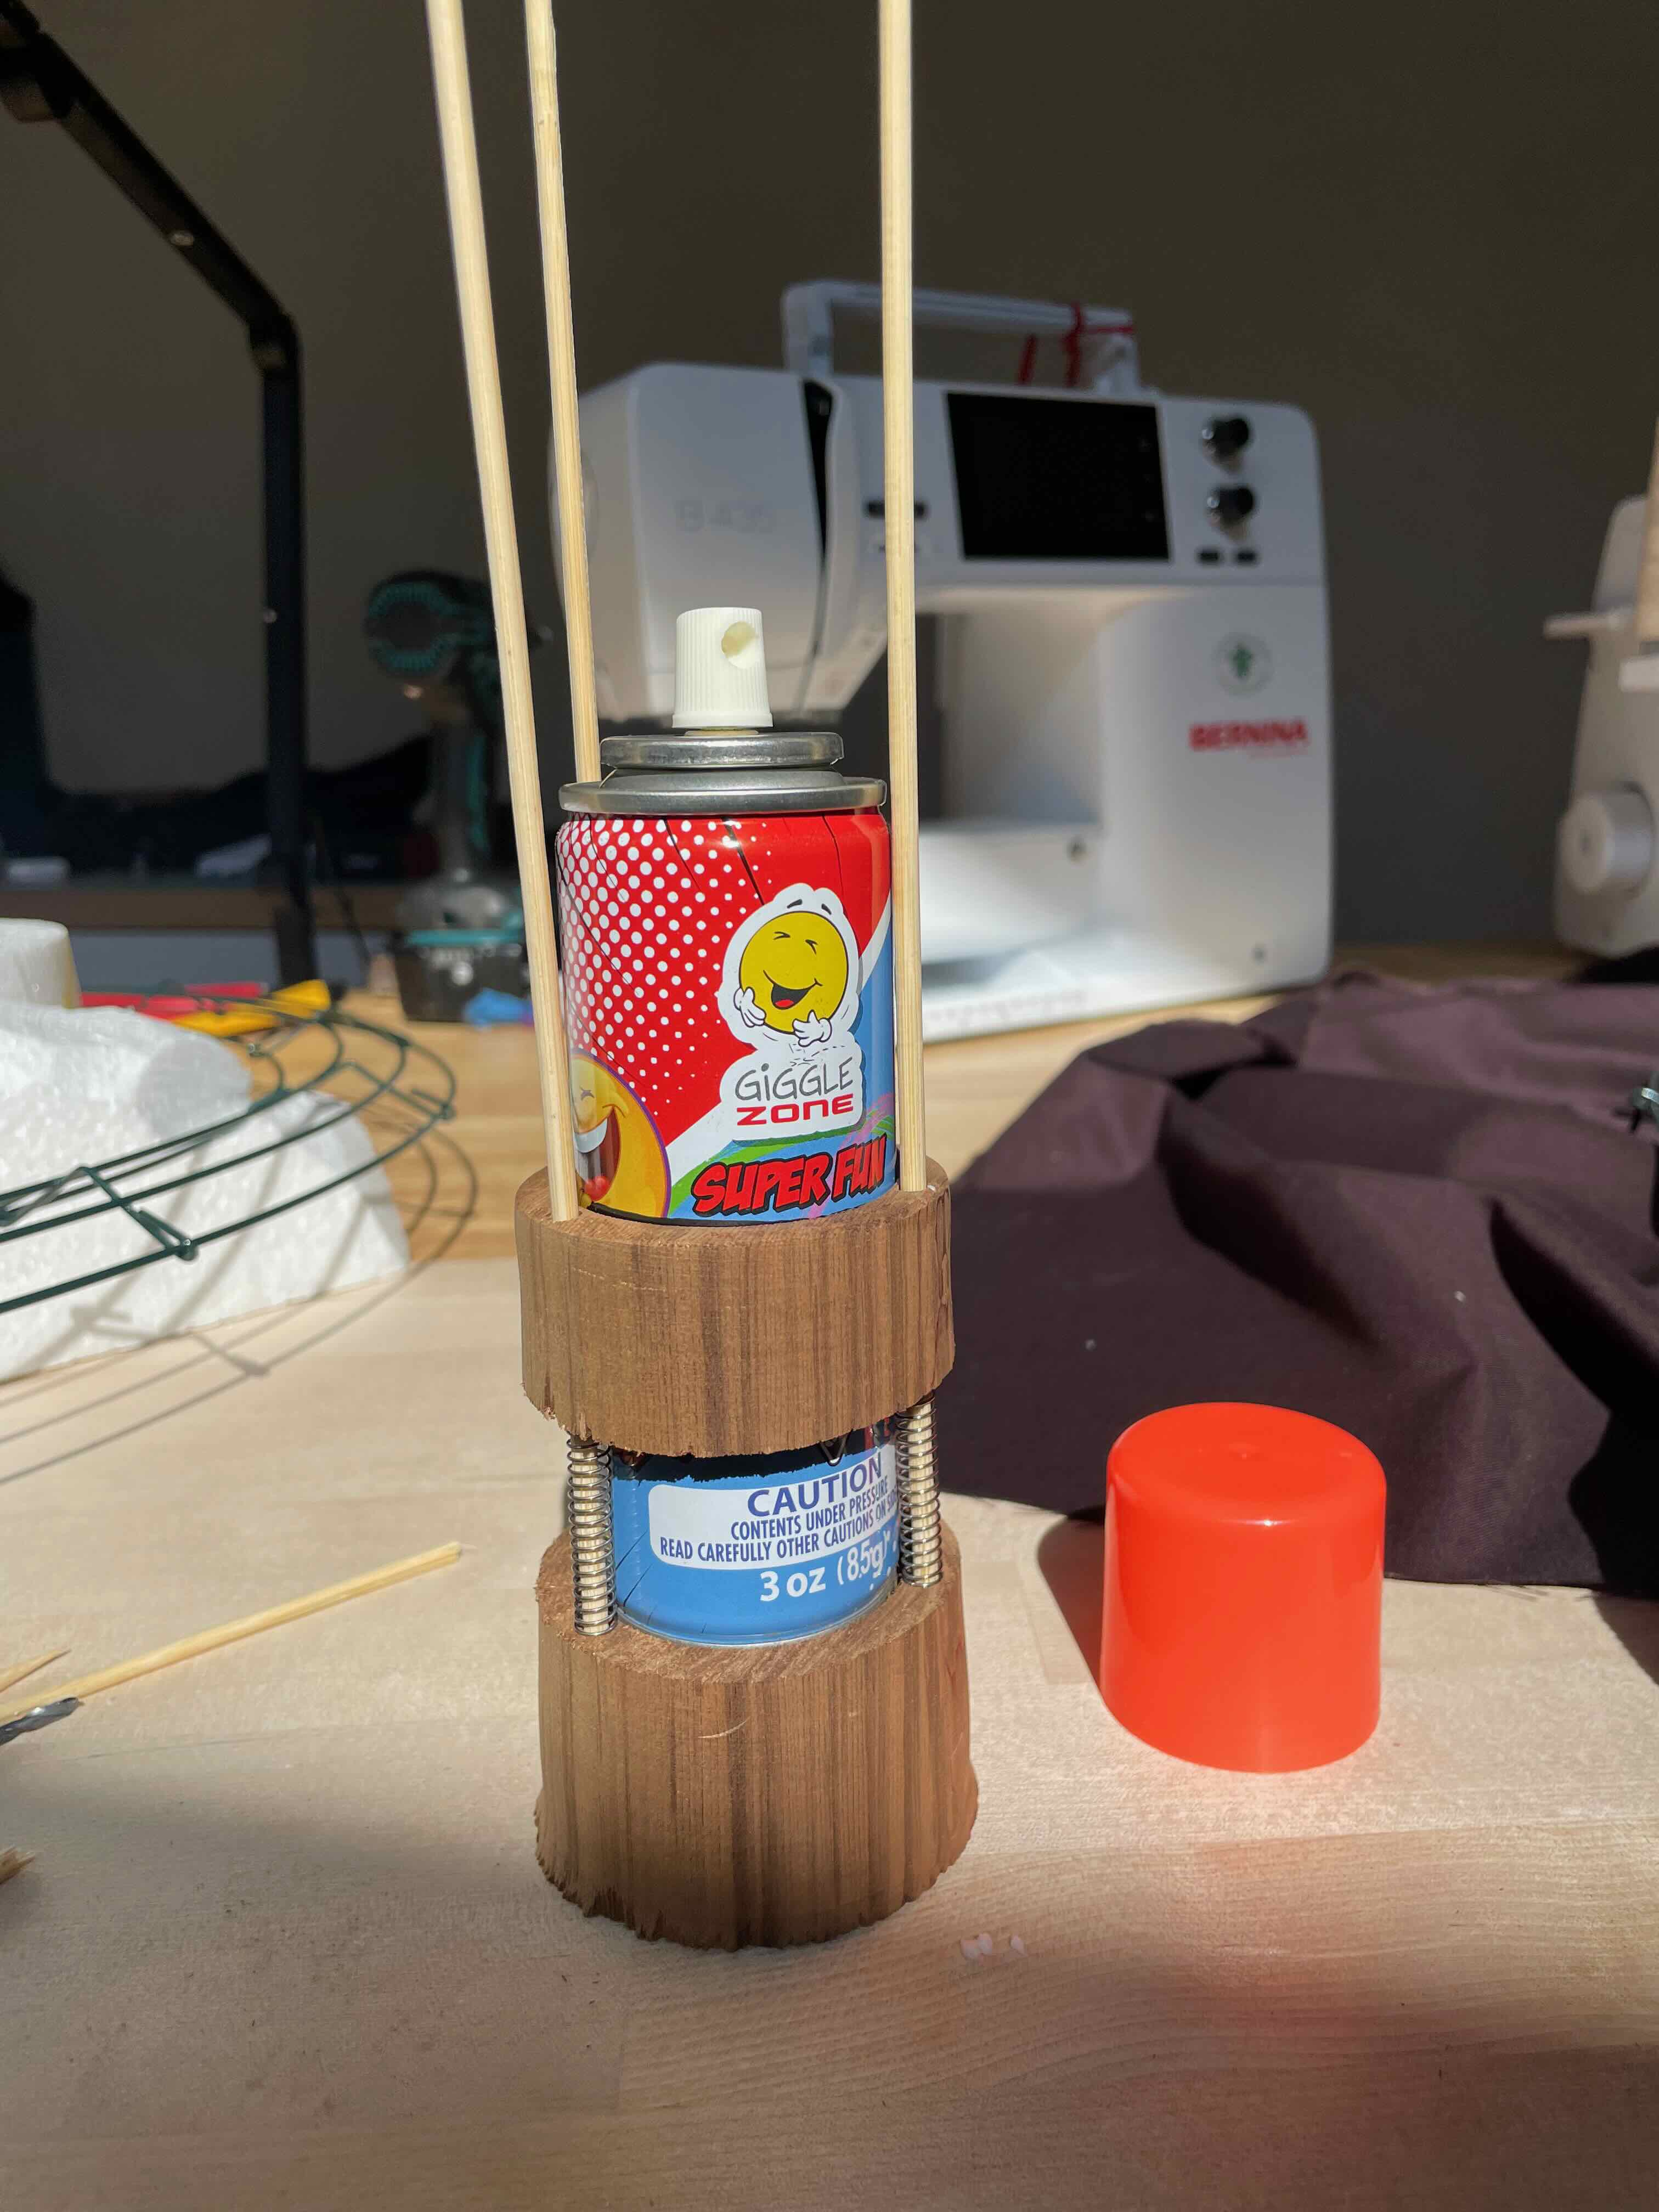
Initially I looked around for some PVC with matching OD/ID, but couldn’t find any. So I decided i had to turn some. I used some scrap persimmon wood and roughly turned it to make a sleeve. The wood allowed me to ‘embed’ linear rails - I used bamboo cooking skewers. They have a nice <0.25” diameter which played well with some compression springs I had. I pre-drilled the rail guides before splitting the sleeve.
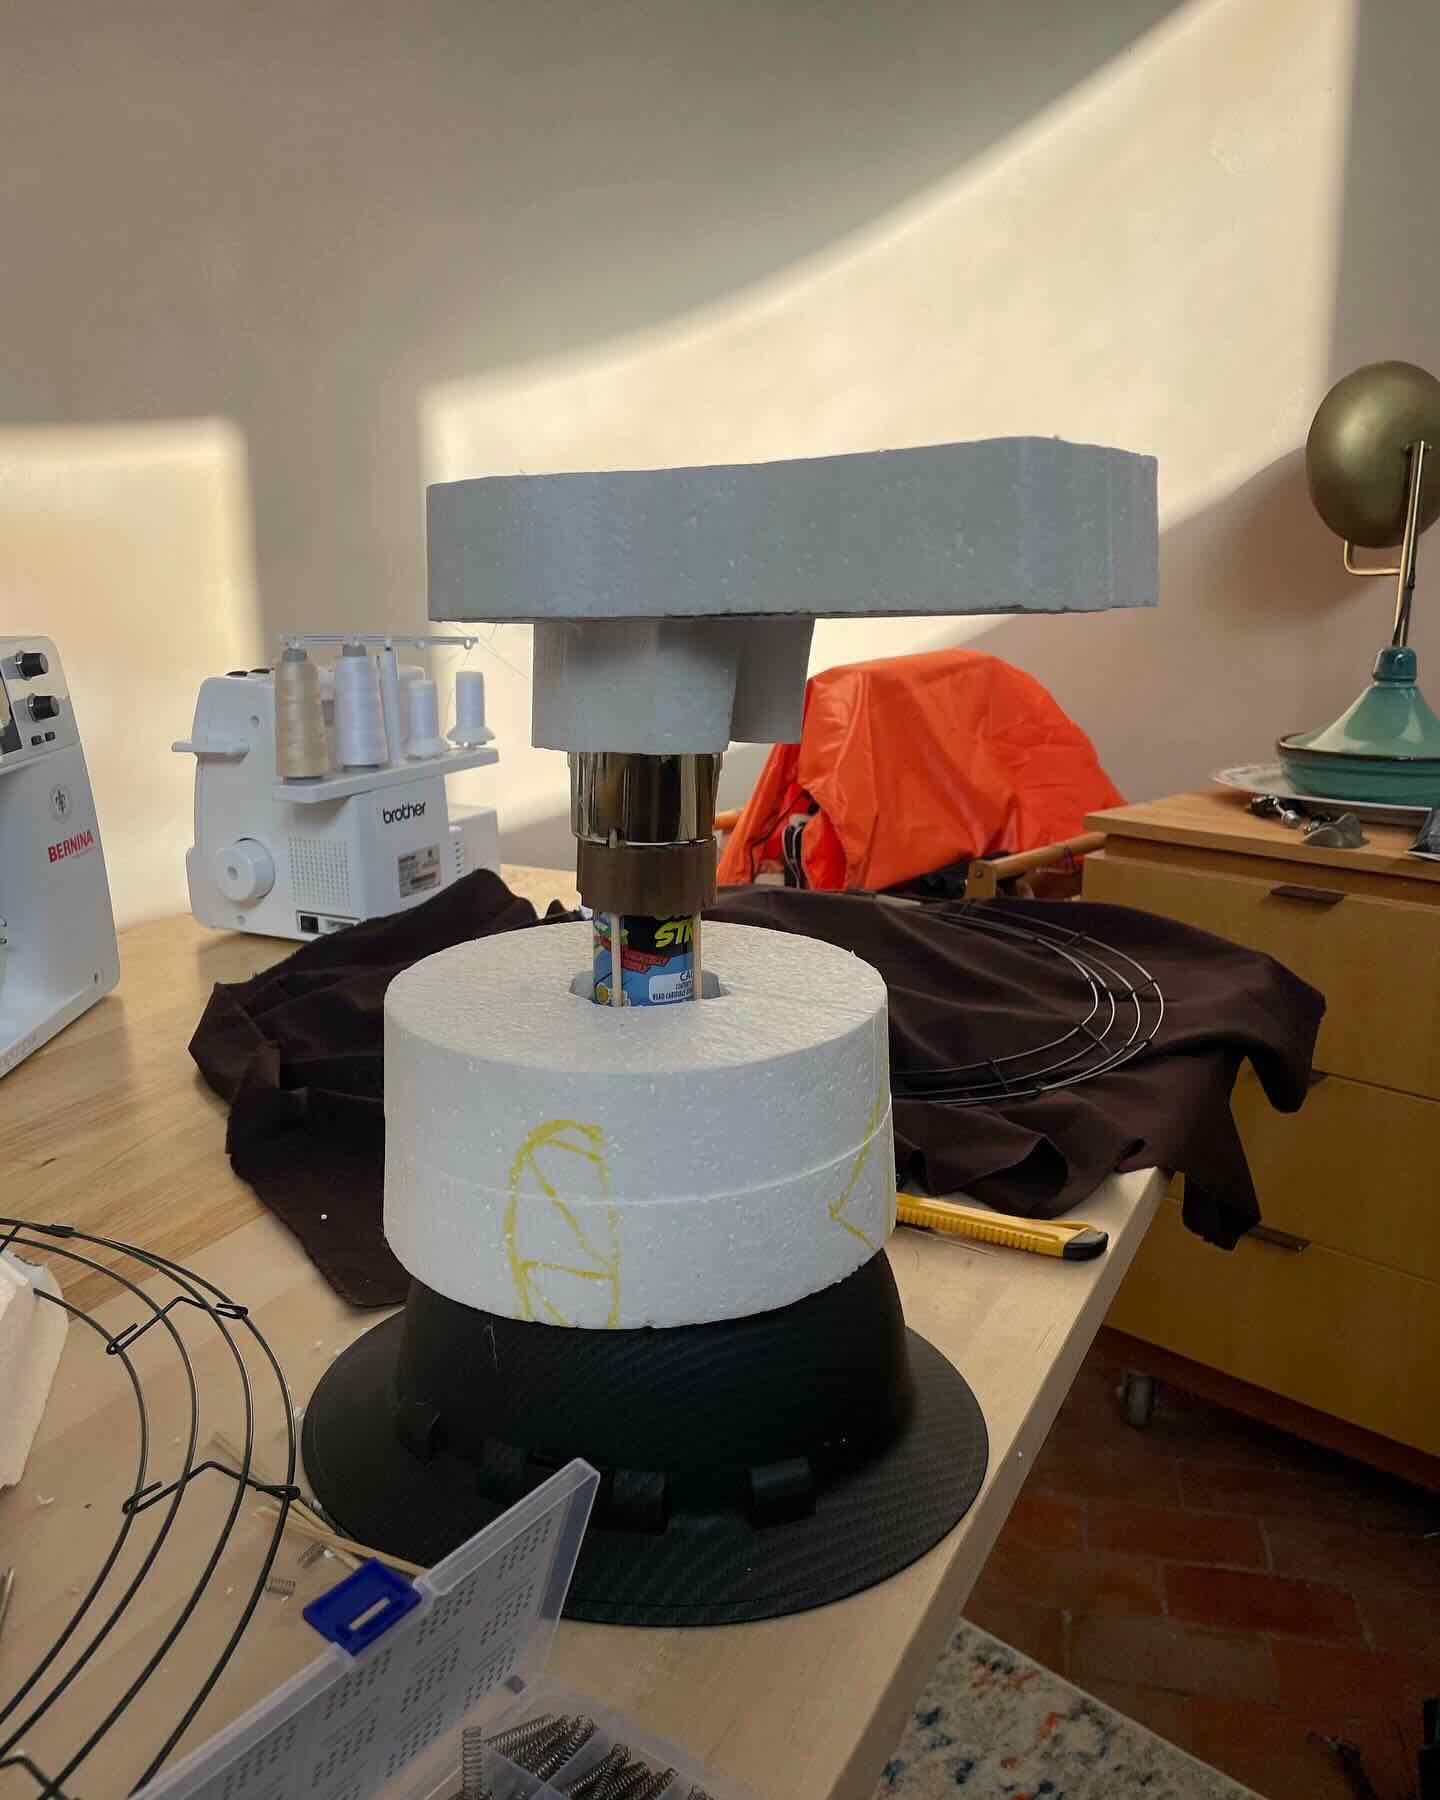
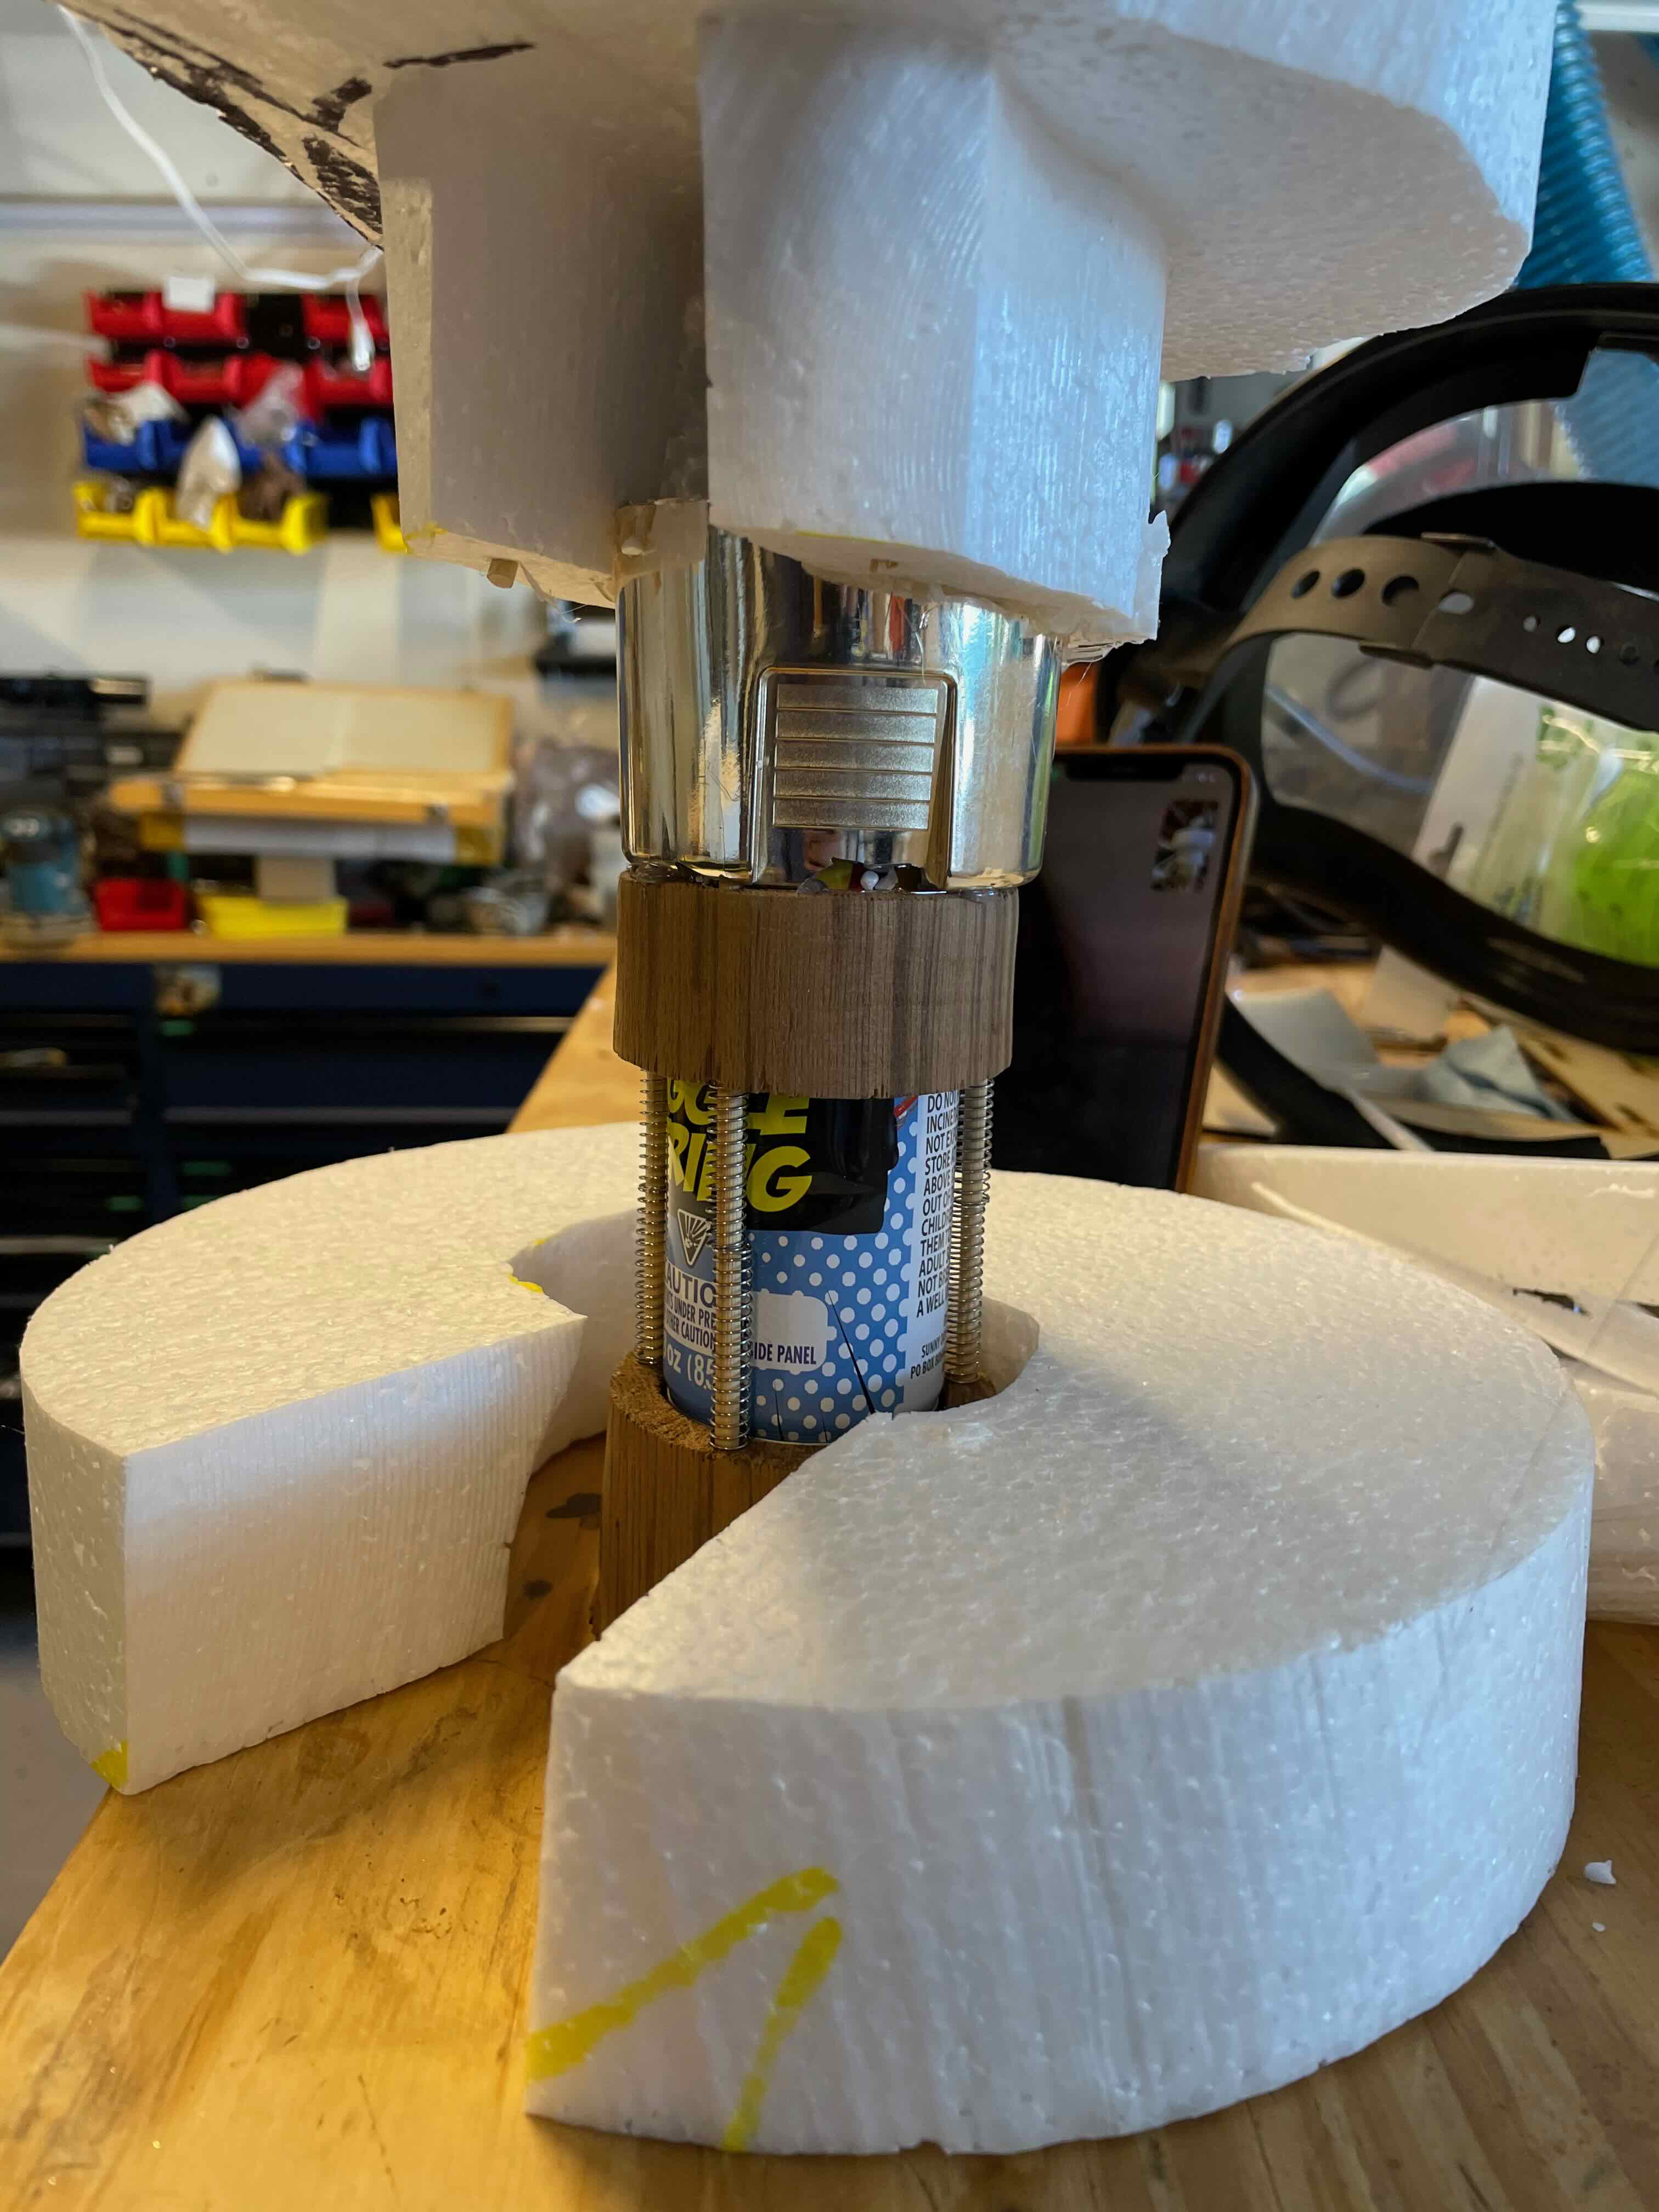
I closed it all up in some cosmetic foam, tested it while chatting to Tash in the UK, and gave it a coat of acrylic paint.
Sewing and structure
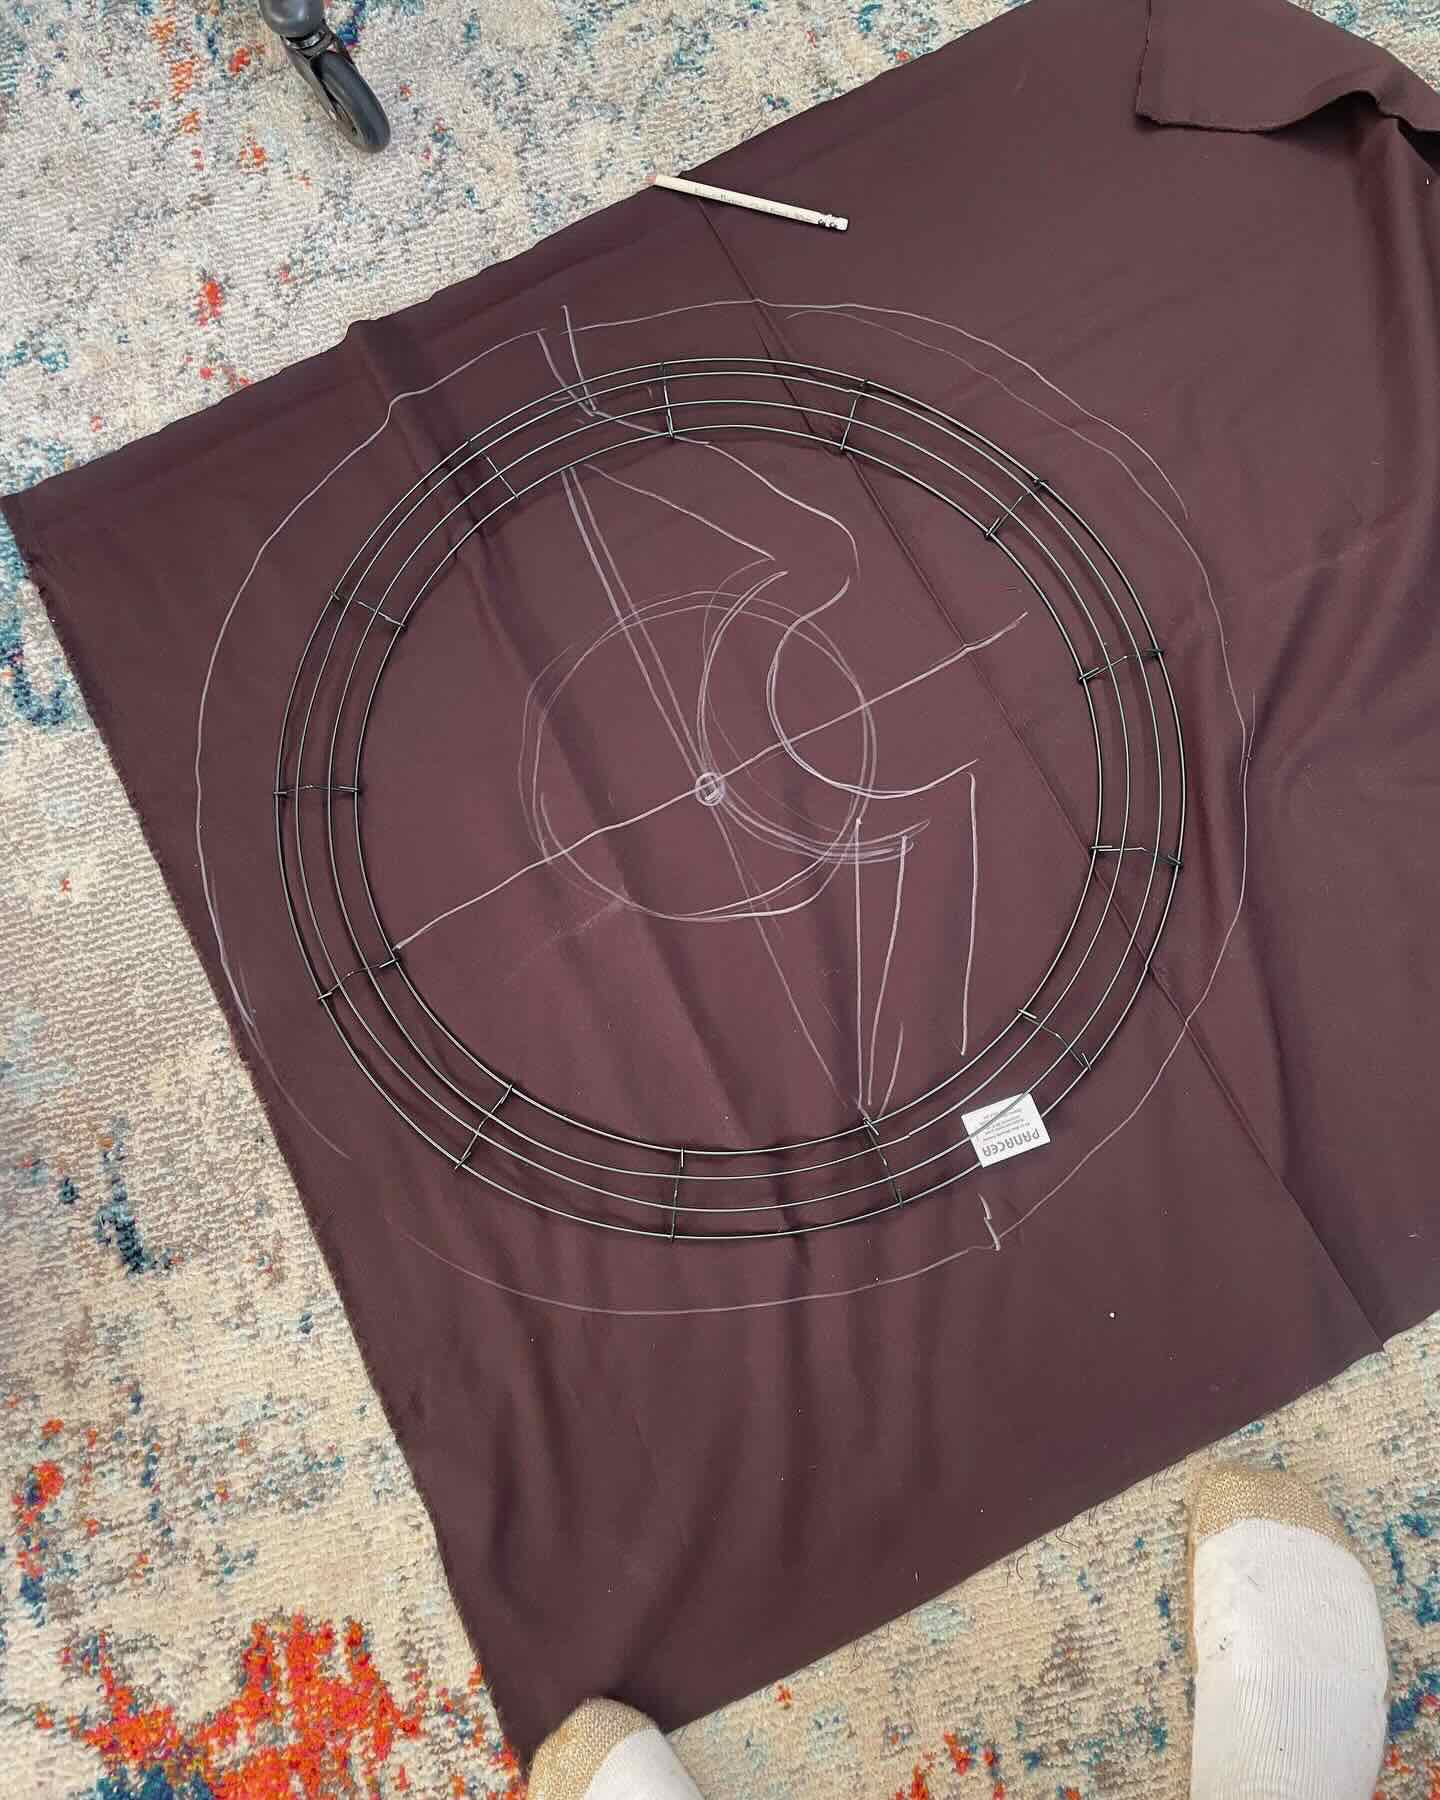
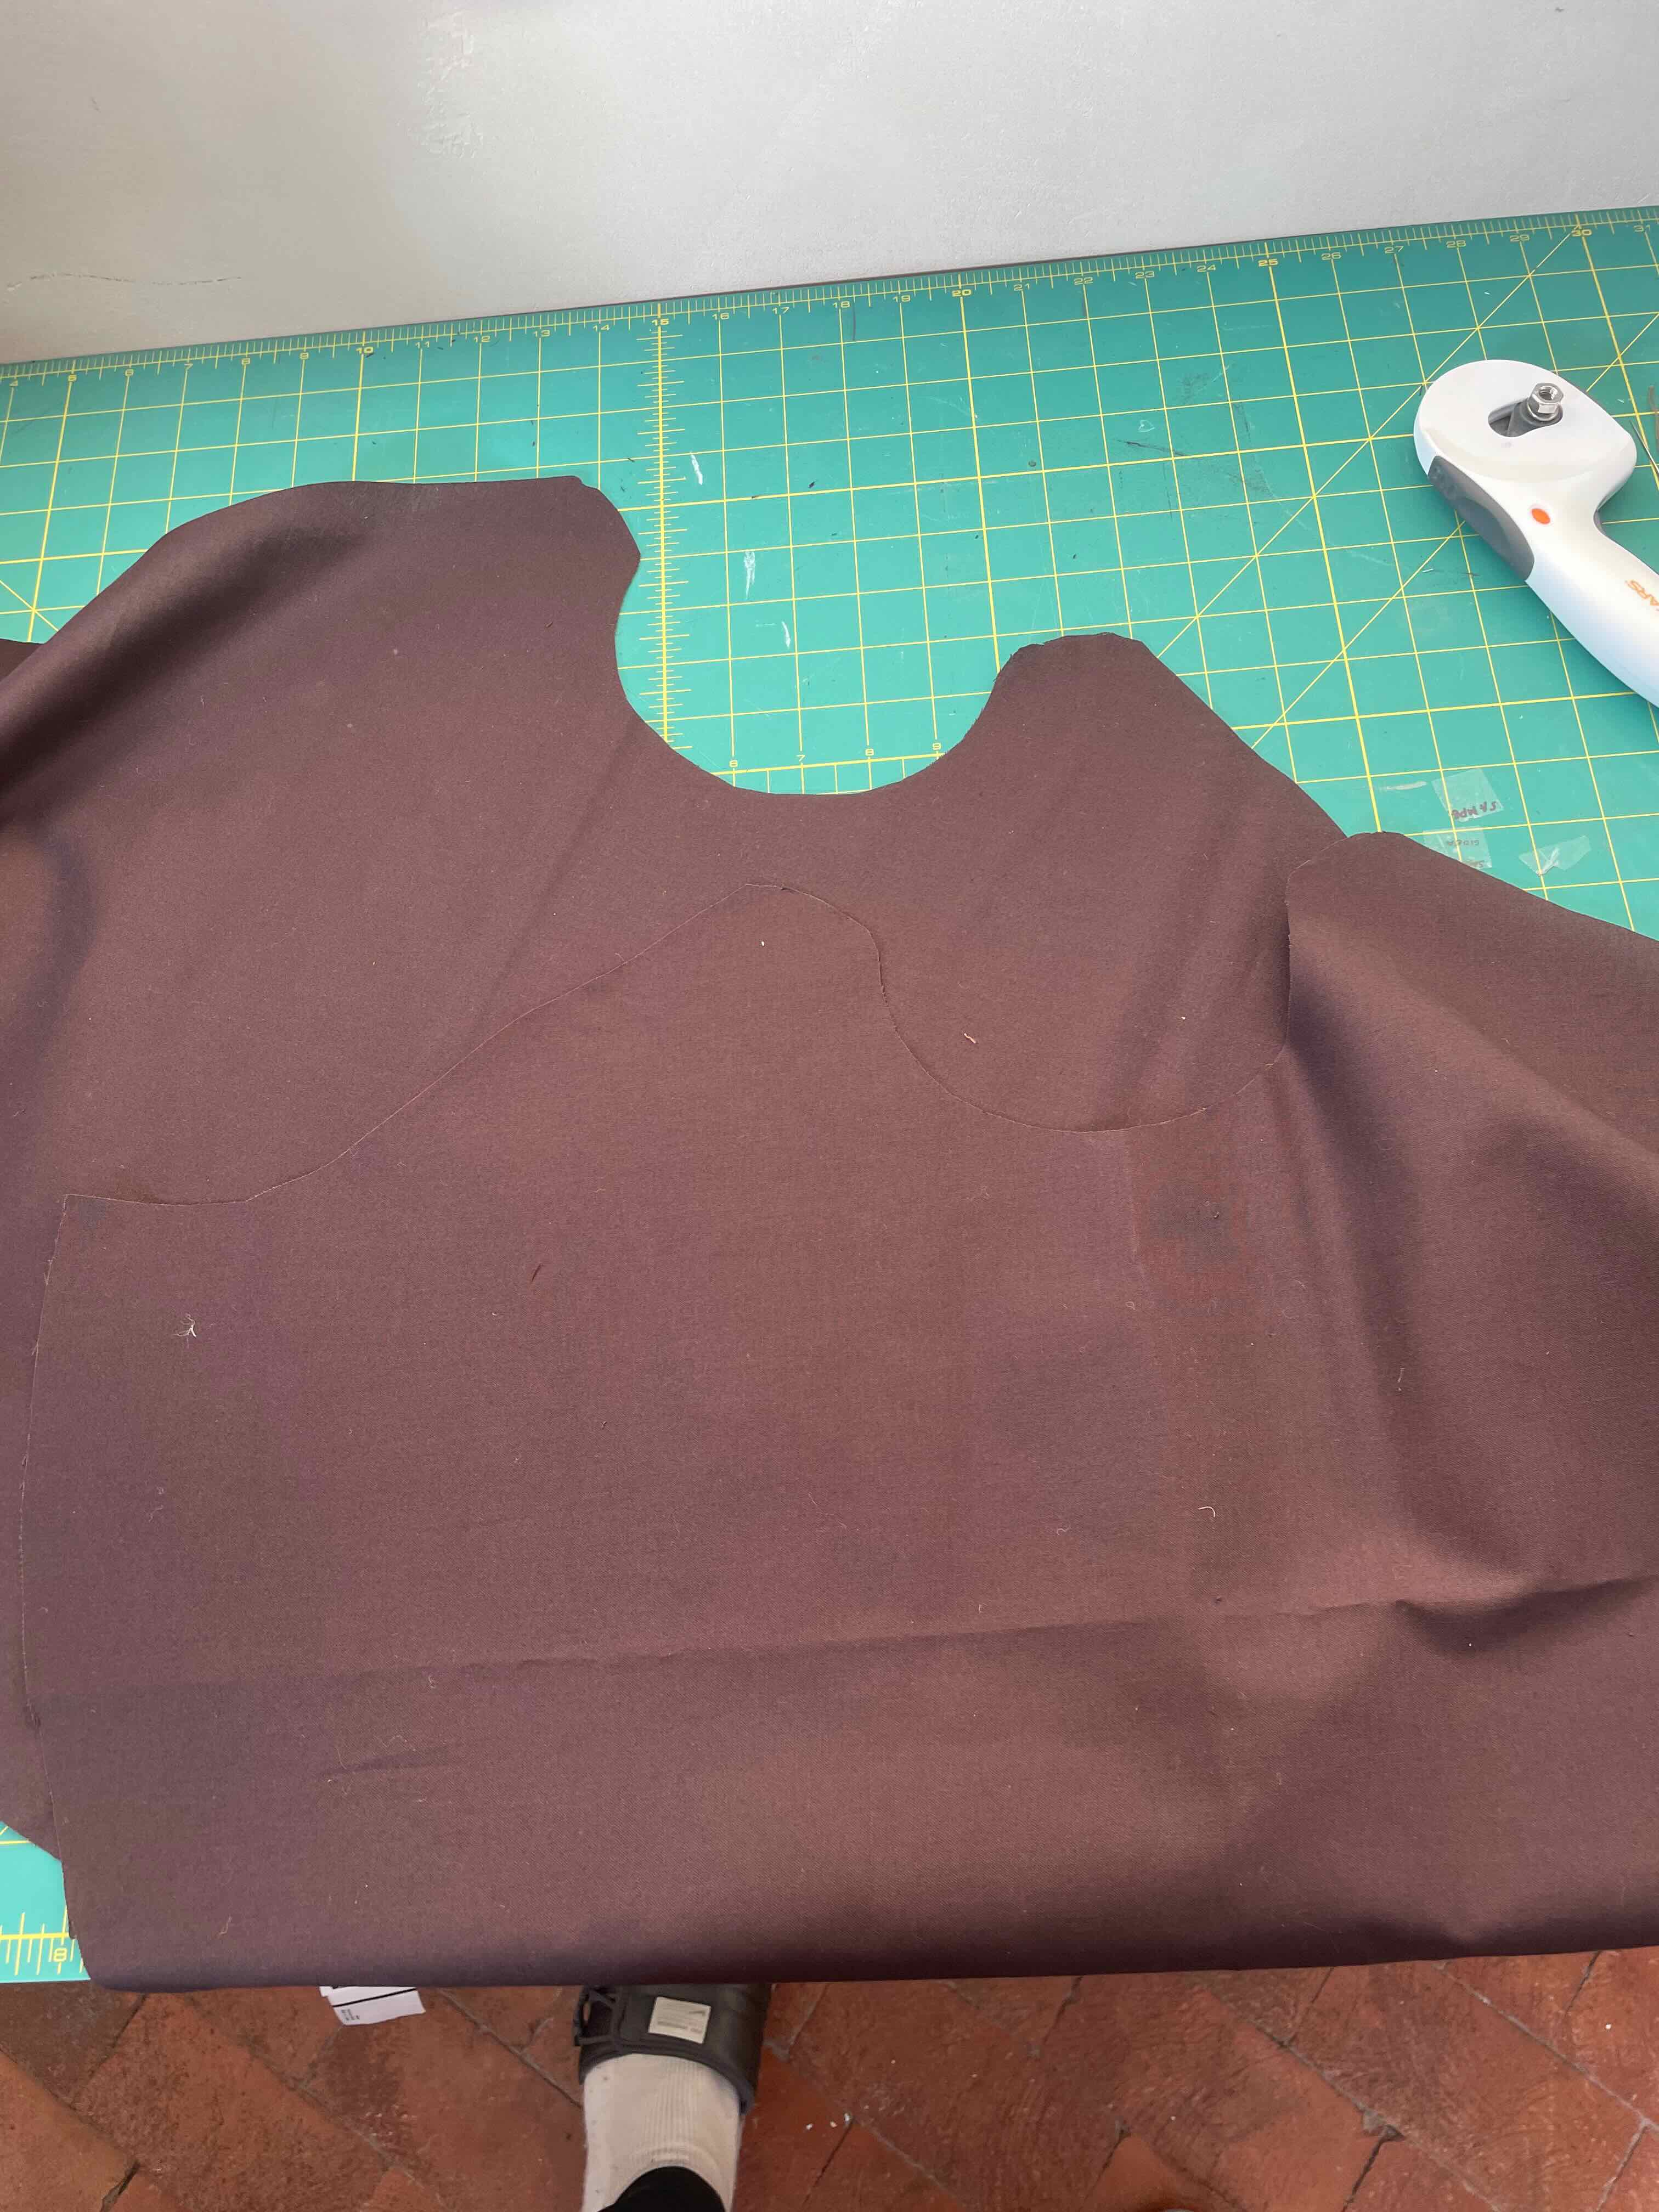
At this point it was only a few hours before the party, so I did some quick sewing and ‘draping’ over the wreath frames I bought. I used some cricut iron-on vinyl for abbreviated lettering. It works really well; it almost looks screenprinted.


And then it was good to go. At Jordan and Madi’s party, with Carlos helping instruct: